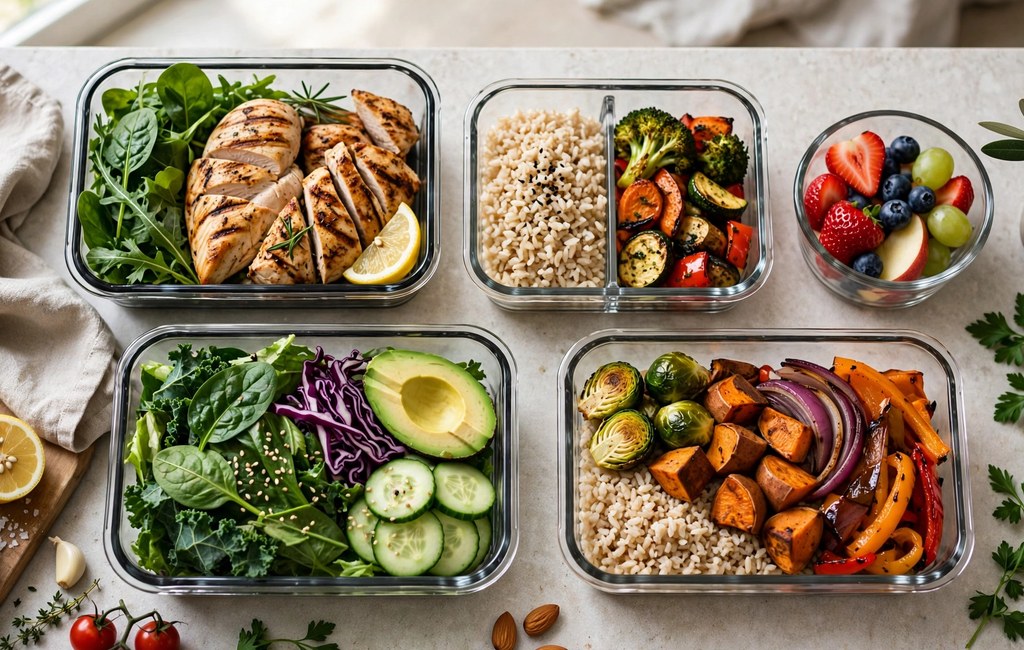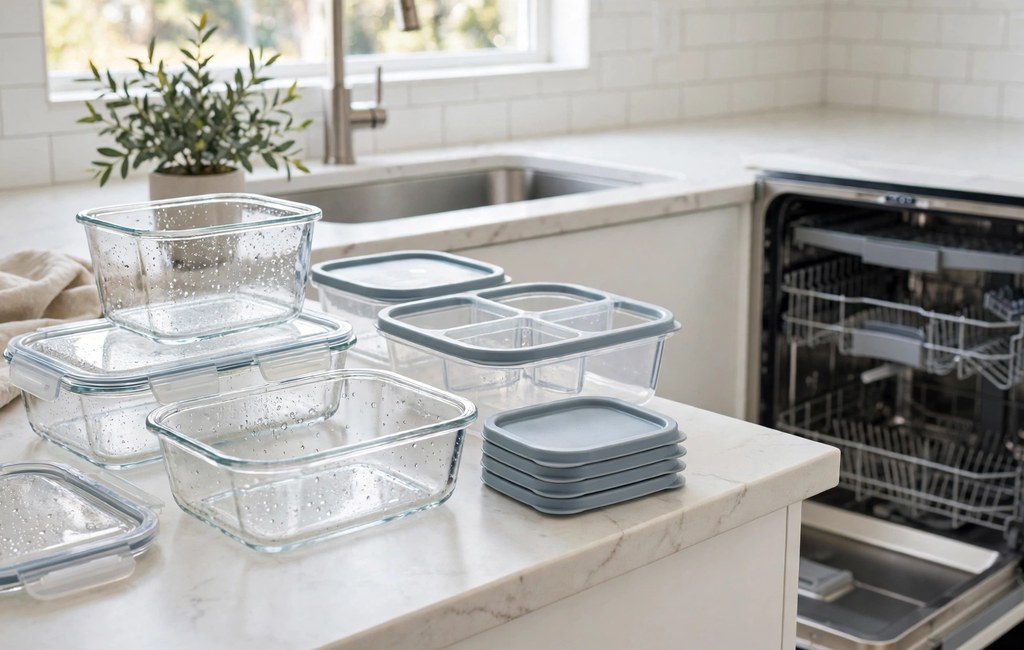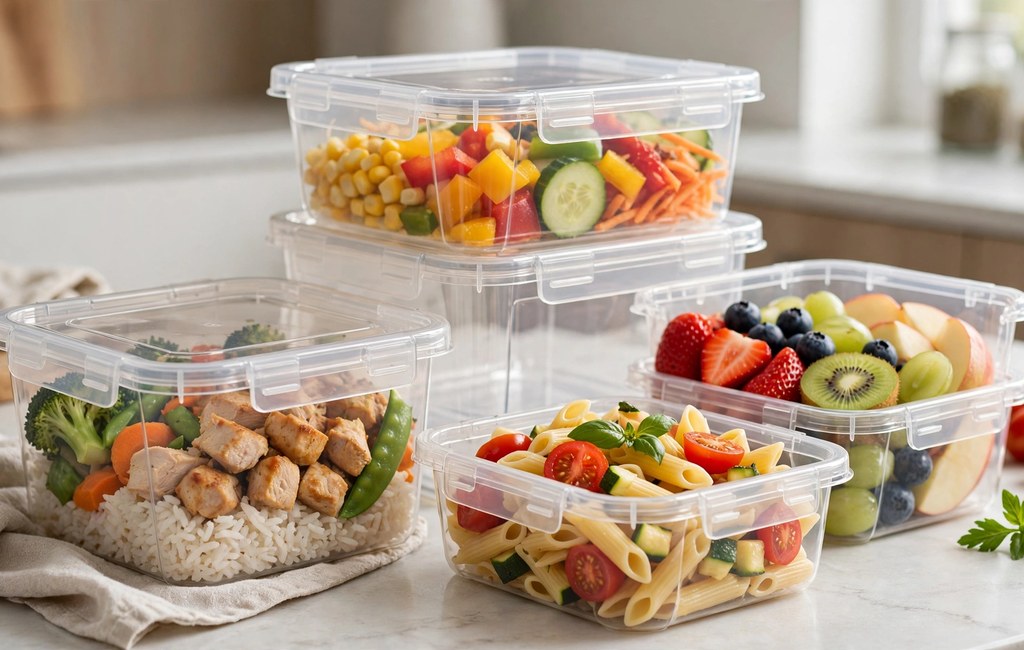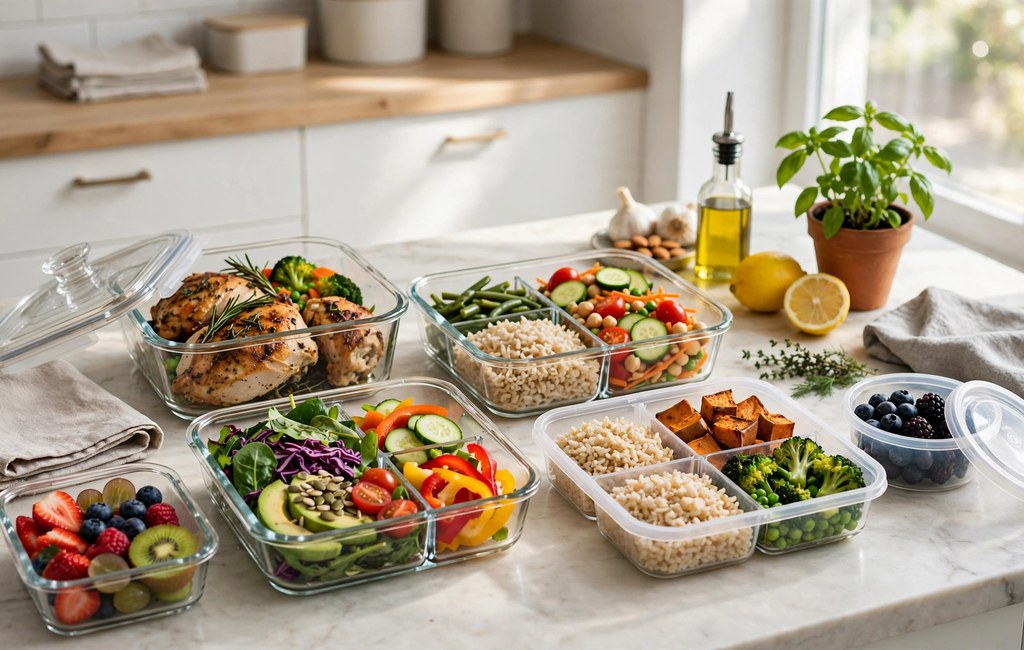
The right meal prep containers simplify weekly cooking, portion control, and fresh food storage. You match meal prep container sizes to your servings, your fridge space, and your reheating routine. First, you choose materials that suit heat, cold, and daily transport without extra hassle.
Good containers protect flavor, texture, and nutrition across several busy days. Also, tight lids prevent spills, odors, and soggy sides during transport and storage. Clear shapes, stackable bases, and simple labels help you find each meal quickly.
This guide compares materials, sizes, lids, compartments, and cleaning routines in plain terms. Next, you will learn safe reheating, freezing, and portioning steps for everyday meals. Finally, you can build a flexible system that fits your kitchen, schedule, and appetite.
Start Meal Prep With Your Weekly Routine
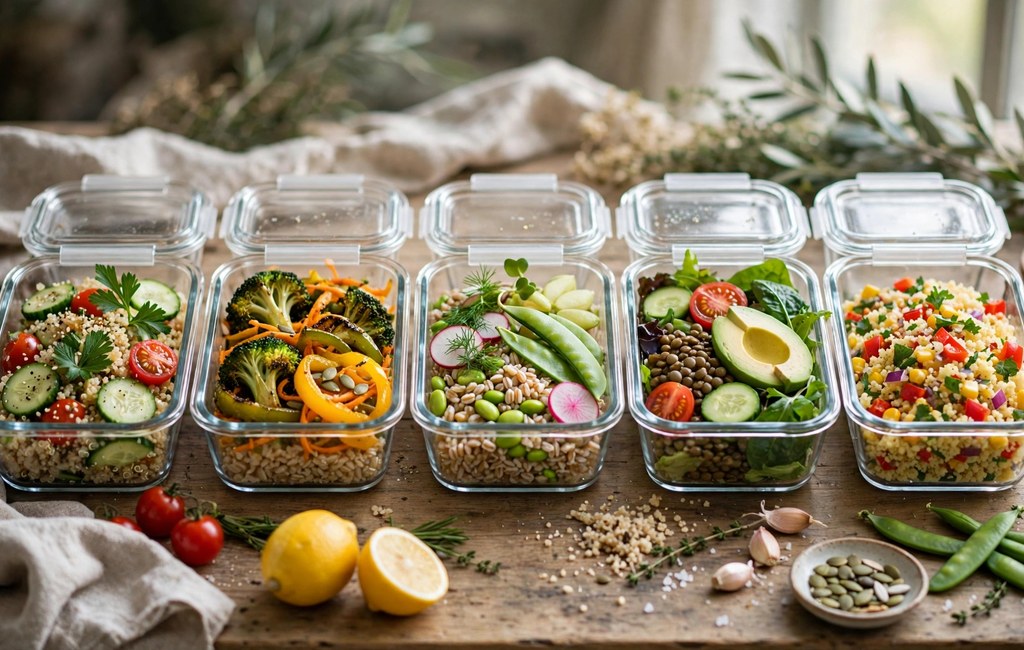
Your routine shapes every container choice more than any single feature. First, you count the meals you pack, freeze, and reheat each week. Then, you note travel time, bag space, and access to a microwave at work.
Busy weekdays reward simple systems with fewer pieces and matching lids. Also, you grab meals faster when every base pairs with one clear lid type. Therefore, you reduce morning stress and you avoid hunting through mixed kitchen cupboards.
Weekend batch cooking needs larger bases for grains, proteins, and roasted vegetables. Meanwhile, weekday lunches need single servings that travel well and reheat evenly. You balance both needs by mixing a few large bases with many single servings.
Household size changes portion counts, fridge space, and washing load each week. For example, a solo cook packs fewer servings than a family cook packs. Similarly, shared fridges demand compact shapes and clear labels for every household member.
Your cooking style also guides material, shape, and lid choices from the start. Saucy meals need deep bases and strong seals that resist leaks. In contrast, salads and grain bowls need shallow bases that protect crisp textures.
You test a routine before you expand a container collection too far. Start with a small set, use each piece for two full weeks, and note friction points. Then, you add only shapes that solve real problems in your weekly flow. Well-chosen meal prep containers also reduce weekday stress.
Compare Meal Prep Containers By Material
Material affects weight, heat tolerance, stain resistance, and long-term durability. Glass suits reheating and acidic foods, while plastic suits travel and light packing. Silicone suits flexible storage, and stainless steel suits rugged daily carrying.
No single material handles every meal, appliance, and trip equally well. Therefore, most cooks mix materials across fridge, freezer, lunch bag, and pantry. You assign each material a clear job, and you avoid forcing one type everywhere.
Check manufacturer labels before you heat, freeze, or wash any container. Labels state safe temperatures, appliance limits, and lid rules for that exact product. Also, you follow those instructions over general advice from articles or friends.
Inspect containers often for cracks, warping, clouding, and loose seals. Damage weakens heat tolerance, harms sealing, and traps odors over time. Next, you retire damaged pieces from food use and replace them promptly. In practice, meal prep containers keep portions visible and consistent.
Glass Meal Prep Containers In Daily Use
Glass offers a stable, nonporous surface that resists stains and odors well. You reheat many glass containers directly after you check the manufacturer label. Also, glass containers show contents clearly, so you identify meals without opening lids.
Glass handles acidic foods such as tomato sauces and citrus dressings with ease. You choose glass meal prep containers for tomato sauces, citrus dressings, and reheated leftovers. Sauces keep their flavor, and bases keep their clean look after washing. Therefore, glass suits batch meals, baked dishes, and leftovers you reheat often.
Weight and breakage form the main tradeoffs with glass in daily travel. Glass adds noticeable weight to a lunch bag, and drops can crack bases. However, careful packing and padded bags reduce breakage risk during commutes.
Thermal shock can crack glass when temperatures change too suddenly. For example, you avoid moving a very hot base straight into icy water. Similarly, you leave headspace in glass bases during freezing, since foods expand.
Plastic Meal Prep Containers In Daily Use
Plastic offers light weight, low breakage risk, and easy stacking for busy households. You carry several plastic bases in one bag without adding much weight. Also, plastic containers suit cold lunches, snacks, and dry ingredients very well.
Plastic quality varies widely across thicknesses, lid styles, and resin types. Thicker bases resist warping better than thin bases during repeated use. Therefore, you check labels for microwave, freezer, and dishwasher guidance before heating.
Some plastic absorbs colors and odors from strong foods over time. Tomato sauce, garlic, and curry can tint bases and linger after washing. However, prompt washing and open air drying reduce odor buildup in most cases.
You choose plastic meal prep containers for travel, school lunches, and outdoor meals. Light bases protect food without burdening children, commuters, or hikers. Next, you reserve glass for reheating-heavy meals at home whenever possible.
Silicone In Flexible Storage
Silicone bends, folds, and squeezes into tight fridge and freezer spaces. You store sauces, soups, and chopped ingredients in flexible pouches or trays. Also, silicone suits small portions that rigid bases waste space around.
Silicone tolerates cold well and handles gentle reheating when labels allow it. You check each product label, since silicone designs differ across brands and shapes. Therefore, you never assume every silicone piece suits every appliance.
Flexible walls make pouring and sealing trickier than rigid bases sometimes. You fill silicone pieces on a tray, seal them carefully, and carry them upright. Similarly, you freeze liquids flat first, then stack frozen pouches neatly.
Silicone resists stains reasonably well and washes easily in most kitchens. You inspect seams and closures often, since worn seals leak during transport. Finally, you air dry silicone fully before stacking, because trapped moisture breeds odors.
Stainless Steel In Rugged Use
Stainless steel offers strong durability, light weight, and excellent resistance to stains. You carry steel bases for cold lunches, snacks, and dry foods with confidence. Also, steel survives drops that crack glass or dent thinner materials.
Steel blocks microwaves, so you never heat steel bases in a microwave oven. You transfer food to a microwave-safe dish before reheating steel-packed meals. Therefore, steel suits no-reheat lunches better than reheat-heavy meal prep routines.
Steel hides contents, so labels and routine placement matter more each day. You label steel bases clearly or pack them in a fixed order. Similarly, you group steel lunches by day, so you grab the right meal quickly.
Steel cleans easily and resists odors from strong foods over long use. You wash steel bases promptly, dry them fully, and store lids separately sometimes. Next, you check seals and clasps often, since loose closures cause leaks.
Disposable Options For Short Term Needs
Disposable pieces suit one-way trips, shared meals, and large gatherings well. You choose disposable meal prep containers for guests, events, and one-way deliveries. Also, disposable containers reduce washing load after busy cooking sessions.
Disposable quality varies, so you match each piece to food temperature and hold time. Thin pieces suit cold foods, while sturdier pieces suit warm foods briefly. Therefore, you read manufacturer guidance before you heat any disposable piece.
Single-use pieces should never enter a microwave unless labels explicitly allow heating. Many single-use tubs, trays, and foam pieces warp or melt under heat. Next, you transfer food to a safe dish whenever labels stay unclear.
You weigh convenience against waste, cost, and storage needs before choosing disposable pieces. Reusable pieces suit daily routines, while disposable containers suit occasional sharing. Finally, you recycle or discard used pieces according to local rules.
Match Meal Prep Containers To Portion Sizes
Size determines portion control, fridge fit, and reheating ease more than style. Oversized bases invite oversized servings, while tiny bases frustrate hungry cooks. Therefore, you match base volume to your usual serving before you shop.
You compare container sizes against your usual servings, your recipes, and your appetite. A single lunch serving needs a different base than a family casserole. Also, you measure one typical serving once, then you choose bases accordingly.
Small bases suit snacks, sauces, dressings, and single sides very well. You pack nuts, fruit, dips, and chopped vegetables in compact pieces. Next, you group small pieces inside a larger lunch bag for easy carrying.
Medium bases suit most single meals with protein, grain, and vegetables. You fit a balanced plate inside one medium base without crushing foods. Similarly, medium bases stack neatly and reheat evenly in most microwaves.
Large bases suit batch cooking, family servings, and shared side dishes. You store cooked grains, roasted vegetables, and soups in large bases. However, large bases cool slower, so you divide hot food into shallow pieces first.
- Small Servings: Hold snacks, sauces, and single sides easily.
- Medium Servings: Hold one balanced meal with protein and vegetables.
- Large Servings: Hold batch portions for families and shared meals.
Meal Prep Containers By Shape And Depth
Shape affects stacking, fridge use, and food layout inside each base. Rectangular bases stack tightly and use fridge corners more efficiently. Round bases suit soups, salads, and foods you stir before eating.
Shallow bases cool food faster and reheat food more evenly than deep bases. Deep bases suit soups, stews, and layered dishes with liquids. Therefore, you keep both shallow and deep shapes for different meal types.
Uniform shapes simplify lid matching, stacking, and cupboard storage greatly. Mixed shapes look flexible, but they complicate lid searches each morning. Next, you standardize two or three shapes across your whole collection.
Portion control starts with consistent bases, not willpower alone each day. You fill the same base the same way, and portions stay predictable. Also, you pair consistent bases with simple meal templates for balanced plates.
You test portion fit with real meals before you commit to a large set. Cook one typical week, pack each meal, and note overflow or empty space. Finally, you adjust sizes based on real packing, not package photos alone. For most households, meal prep containers simplify shopping lists as well.
Choose Lids And Seals For Meal Prep Containers
Lids decide whether meals travel safely or leak inside bags and fridges. A strong seal locks in liquids, blocks odors, and protects crisp foods. Therefore, you test every lid with water before you trust it with soup.
Snap-lock lids use clips on several sides to press seals firmly. You close each clip fully, check corners, and tug gently before packing. Also, you replace lids with cracked clips promptly, since weak clips leak.
Screw lids twist tightly and suit jars, sauces, and dressings very well. You tighten screw lids firmly, wipe threads clean, and check gaskets often. Similarly, you avoid overfilling screw-top pieces, since pressure breaks seals.
Press-on lids suit light storage and quick fridge access for many cooks. You press edges evenly, listen for a full seal, and lift carefully. However, press-on lids suit dry foods better than thin soups during travel.
Gaskets and silicone rings create the barrier that stops most leaks. You remove gaskets weekly, wash grooves thoroughly, and dry parts fully. Next, you reseat gaskets correctly, since twisted rings cause slow leaks.
You choose leakproof meal prep containers for soups, dressings, and saucy dishes. Leakproof containers protect bags, clothes, and fridge shelves during daily travel. Also, you test seals after washing, since heat and wear loosen fits.
Vented lids help steam escape during reheating without splattering food everywhere. You open vents or lift a lid corner before microwaving labeled pieces. Therefore, you never heat a fully sealed base unless labels explicitly allow it.
Lid care extends seal life and prevents odor buildup over months. You wash lids promptly, dry gaskets fully, and store lids upright sometimes. Finally, you match each lid to its base immediately after washing. Reliable meal prep containers protect food texture during storage.
Keep Compartments Working For You
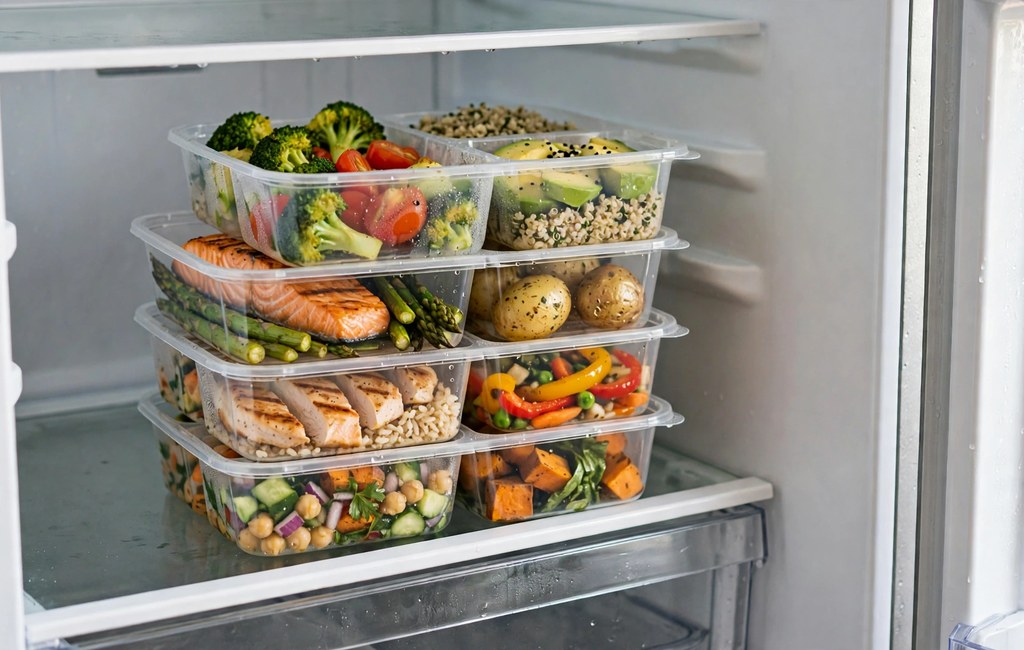
Compartments separate foods that clash in flavor, moisture, or texture. You keep crisp vegetables away from sauces and hot proteins. Also, compartments help picky eaters, children, and portion trackers enjoy mixed meals.
Single-compartment bases offer maximum flexibility for varied meals each week. You pack soups, grain bowls, salads, and mixed dishes without fixed walls. Therefore, single bases suit cooks who change menus often.
Two-compartment bases suit a main dish plus one side very well. You separate protein and vegetables, or grains and salads, cleanly. Similarly, two sections simplify packing without overcomplicating portion choices.
Three-compartment bases suit full plates with protein and two sides. You build balanced meals quickly, and portions stay visible at a glance. However, fixed sections limit flexibility for soups and oversized servings.
You choose meal prep containers with compartments for lunches with wet and dry parts. Compartment containers keep dressings, crunchy toppings, and sides separate until eating. Also, you add small sauce cups for extra separation when needed.
Sealed dividers matter more than divider counts for saucy meals. Some dividers only separate dry foods, while sealed dividers block liquids fully. Therefore, you check divider design before packing soups beside salads.
Compartment depth affects portion balance and food placement each day. Shallow sections suit sides and toppings, while deep sections suit mains. Next, you match section sizes to your usual plate proportions.
Cleaning compartment bases takes more care than cleaning single bases. You wash corners, divider edges, and lid grooves thoroughly after each use. Finally, you dry compartments fully before stacking, since moisture breeds odors. Over time, meal prep containers lower single-use plastic waste.
Freeze Meals In Meal Prep Containers Without Damage
Freezing extends meal prep beyond fridge limits and reduces weekday cooking. You freeze extra servings promptly, label them clearly, and rotate stock regularly. Also, you freeze meals you will not eat within three to four days.
Freezer-safe materials resist cracking, warping, and seal failure in cold. You check labels for freezer guidance before filling any base. Therefore, you avoid thin pieces that crack or lose seals after freezing.
Headspace prevents cracked bases and popped lids during freezing expansion. Liquids expand as they freeze, so you leave space above soups and stews. Similarly, you seal bases after cooling, not while food stays steaming hot.
You choose freezer meal prep containers for batch soups, grains, and cooked proteins. Freezer containers protect texture, limit freezer burn, and stack neatly. Also, you freeze portions flat when possible for faster thawing.
Labeling turns frozen stock into a usable pantry instead of a mystery pile. You write dish names and prep dates on tape or reusable labels. Next, you place oldest meals at the front for first use.
Thawing safely matters as much as freezing safely for every meal. You thaw frozen meals in a fridge overnight rather than on a counter. Also, you reheat thawed meals until steaming hot throughout before eating.
Freezer burn harms texture and flavor when air reaches food surfaces. You press out extra air, seal lids fully, and fill bases sensibly. Therefore, you use freezer pieces promptly instead of storing meals indefinitely.
Soups, stews, cooked grains, and many proteins freeze particularly well. Delicate salads, fried foods, and creamy sauces often lose texture after freezing. Finally, you test one portion first before freezing a large batch. Before buying more, test meal prep containers with real meals.
Reheat Food Safely In The Microwave
Microwave reheating saves time, but labels decide safe use every time. You check microwave-safe labels and manufacturer instructions before heating any base. Also, you transfer food when labels stay missing, faded, or unclear.
Microwave-safe labels apply to specific bases, lids, and heating conditions. A safe base does not guarantee a safe lid under heat. Therefore, you check base and lid labels separately before each reheat.
You choose microwave safe meal prep containers for lunches you reheat at work. Microwave-safe containers simplify reheating, since food stays in one dish. Also, you vent or remove lids when reheating unless labels state otherwise.
Vent lids or lift a corner so steam escapes during heating. Trapped steam builds pressure, warps lids, and splatters food inside microwaves. Next, you cover food loosely with a microwave-safe cover when labels allow it.
Single-use pieces should never enter a microwave for reheating meals. Takeout tubs, yogurt tubs, and foam trays suit cold storage only. Similarly, you move food from single-use pieces into a safe dish before heating.
Stirring and standing time improve even heating across dense foods. You stir halfway through heating, rotate bases when needed, and rest food briefly. Also, you reheat leftovers until steaming hot throughout before eating.
Damaged plastic deserves retirement from heating even with a safe label. Cracks, warping, clouding, and deep scratches weaken heat tolerance. Therefore, you inspect bases before heating and replace worn pieces promptly.
Fatty and sugary foods heat intensely and stress containers more than watery foods. You use shorter heating bursts, stir often, and check bases after heating. Finally, you transfer very hot, fatty foods carefully to avoid burns. Stackable meal prep containers save fridge and cabinet space.
Clean Meal Prep Containers Without Hassle
Dishwasher guidance varies across bases, lids, and gasket materials. You check dishwasher-safe labels and manufacturer instructions before loading any piece. Also, you place lids on upper racks when labels recommend that placement.
You choose dishwasher safe meal prep containers for busy weeks with heavy washing. Dishwasher-safe containers save handwashing time and simplify cleanup routines. Also, you still rinse strong foods promptly to prevent stains.
Heat, detergents, and long cycles wear seals and cloud some plastics over time. You inspect lids after washing, check gaskets, and note warping early. Therefore, you handwash prized lids sometimes even when labels allow dishwashing.
Glass tolerates dishwashers well in most cases, while lids need gentler care. You wash glass bases in dishwashers and wash lids by hand often. Similarly, you dry all parts fully before stacking to prevent odors.
Handwashing suits delicate seals, printed labels, and flexible silicone pieces. You wash with warm soapy water, scrub grooves gently, and rinse thoroughly. Next, you air dry pieces upside down on a clean rack.
Stain and odor removal needs prompt action after strong meals. You wash tomato, garlic, and curry residues quickly with soapy water. Also, you soak stubborn bases briefly, then wash and dry them fully.
Drying matters as much as washing for fresh-smelling containers. Trapped moisture breeds odors, mold, and stale smells inside closed stacks. Therefore, you dry bases, lids, and gaskets separately before storing them.
Organized washing routines prevent lid piles and missing pieces each week. You wash sets together, match lids immediately, and store sets nested neatly. Finally, you keep a small drying area ready after meal prep sessions. Clearly, meal prep containers support steadier eating habits.
Stack, Store, And Carry Meals
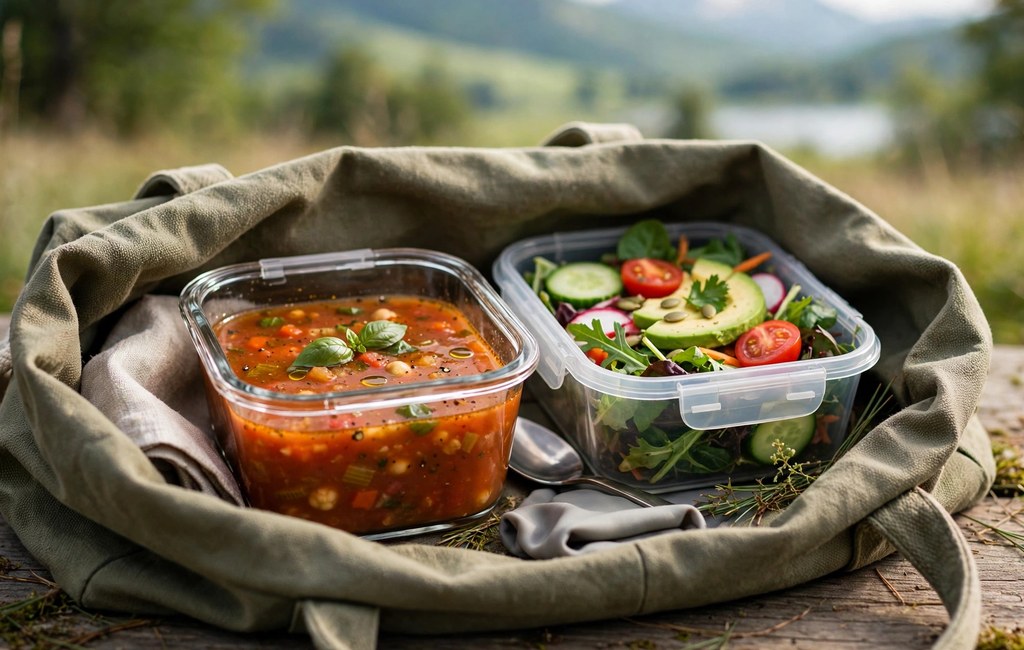
Stacking saves fridge, freezer, and cupboard space across busy weeks. Rectangular bases stack evenly, while uniform lids prevent sliding towers. Also, you place heavier bases below lighter bases for stable stacks.
Fridge organization starts with zones for meals, ingredients, and snacks. You group ready meals together, keep ingredients visible, and place oldest meals forward. Therefore, you waste less food and you find lunches faster.
Clear bases and simple labels speed morning packing and reduce forgotten meals. You label dish names and dates clearly on every base. Similarly, you use a fixed fridge shelf for packed meals each week.
Carrying meals safely needs a bag that fits bases upright and snugly. You pack liquids below dry foods, secure lids fully, and add ice packs. Next, you keep bags upright during travel to protect seals.
Cupboard storage needs lid organization as much as base organization. You store lids upright in a bin, nest bases carefully, and avoid crushing seals. Also, you keep daily bases accessible and seasonal pieces higher up.
Small kitchens benefit from nesting, vertical storage, and multi-use pieces. You nest same-shape bases, file lids vertically, and reuse pieces across meals. Finally, you declutter damaged or unmatched pieces every few months. With practice, meal prep containers make batch cooking routine.
Build A Weekly Meal Planning Workflow
A weekly workflow turns containers into a calm system, not a chore. You plan menus, shop once, cook in batches, and pack promptly. Also, you repeat successful templates instead of inventing new plans weekly.
Menu planning starts with overlapping ingredients and varied flavors. You choose two proteins, two grains, and several vegetables for flexibility. Therefore, you reduce waste and you create different combinations from shared ingredients.
Shopping lists follow menus closely and prevent impulse purchases each week. You check pantry stock, list missing ingredients, and shop by section. Similarly, you buy sturdy vegetables for later days and delicate greens early.
Batch cooking sessions need a clear order and enough containers ready. You start long-cooking grains and proteins first, then roast vegetables. Next, you cool foods in shallow pieces before packing and refrigerating promptly.
Cool food before sealing and refrigerating to protect quality and safety. You spread hot food in shallow containers, cool it promptly, and seal lids. Also, you refrigerate or freeze cooked food within two hours after cooking.
Keep refrigerator temperatures at or below 40 degrees for safe storage. You check fridge settings, avoid overcrowding shelves, and allow air circulation. Therefore, food cools evenly and stays fresh longer each week.
Pack Meal Prep Containers On Prep Day
Packing day follows a simple assembly line for speed and consistency. You line up bases, add proteins first, then grains and vegetables. Similarly, you add sauces separately, seal lids, and label each base clearly.
Eat refrigerated cooked meals within three to four days for best safety. You freeze extra servings promptly when plans extend beyond that window. Next, you track dates daily, so no meal lingers forgotten.
- Plan First: Choose menus and ingredients before shopping each week.
- Cook In Batches: Prepare proteins, grains, and vegetables together efficiently.
- Pack Promptly: Cool, portion, seal, and label meals without delay.
- Rotate Stock: Eat oldest meals first and freeze extras early.
Component prep offers more variety than identical boxed meals daily. You store proteins, grains, vegetables, and sauces in separate bases. Also, you mix components into bowls, wraps, and salads across the week.
Leftover makeovers stretch ingredients without repeating the same plate. You turn roast chicken into wraps, salads, or grain bowls quickly. Similarly, you repurpose grains into soups, stir fries, and breakfast bowls.
Weekly reviews improve your system steadily without major overhauls. You note leaking lids, awkward sizes, and wasted ingredients each week. Finally, you adjust menus, sizes, and quantities based on those notes.
Care For Containers Over Time
Regular care extends container life and protects food quality daily. You wash pieces promptly, inspect seals often, and store pieces correctly. Also, you replace worn pieces before leaks or odors affect meals.
Seal maintenance starts with gentle washing and complete drying each week. You remove gaskets, clean grooves, and reseat rings carefully. Therefore, seals stay flexible and closures stay reliable longer.
Scratches, stains, and clouding signal aging in plastic pieces especially. You track wear across frequently heated bases and retire damaged pieces. Next, you reserve worn pieces for dry storage or discard them responsibly.
Glass care focuses on chips, cracks, and thermal shock prevention. You inspect rims and corners before heating, freezing, or stacking glass. Similarly, you handle hot glass with care and avoid sudden temperature changes.
Steel care focuses on dents, seal wear, and thorough drying after washing. You dry steel fully, check clasps, and store steel without trapped moisture. Finally, you polish steel occasionally for a clean, fresh appearance. Durable meal prep containers repay their cost across many weeks.
Avoid Common Meal Prep Container Mistakes
Buying oversized sets creates clutter without solving real packing needs. You start small, test shapes, and expand only after real use. Also, you avoid duplicate sizes that complicate lid matching each morning.
Ignoring labels causes most heating, freezing, and washing problems. You read labels before heating, freezing, or dishwashing any new piece. Therefore, you prevent warping, cracking, and seal damage from misuse.
Overfilling bases causes leaks, poor cooling, and uneven reheating daily. You leave headspace for liquids, seal lids fully, and pack portions sensibly. Next, you use a larger base when food presses against lids.
Skipping labels on stored meals creates waste and guesswork later. You date every base, name each dish, and rotate stock consistently. Similarly, you discard questionable meals promptly instead of tasting them for safety.
Mixing too many shapes complicates stacking, washing, and lid matching. You standardize shapes, limit lid types, and keep daily pieces consistent. Finally, you store occasional shapes separately from everyday sets.
You choose plastic pieces carefully after checking labels and condition. Plastic containers suit travel and cold meals, while glass suits reheating. Also, you inspect plastic often for warping, scratches, and loose seals. For travel days, meal prep containers prevent leaks and spills.
Frequently Asked Questions
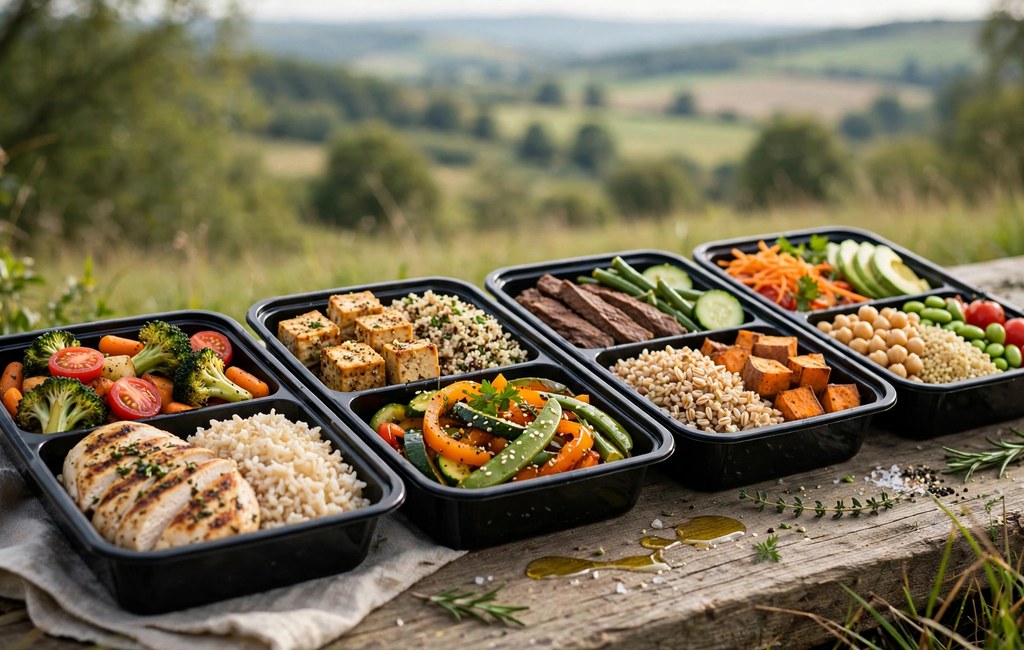
What size containers work best for weekly meal prep?
Medium single-serving bases suit most lunches, while small bases suit snacks and sauces.
Can glass bases go from freezer to microwave safely?
You check manufacturer labels first, leave headspace for freezing, and vent lids during reheating.
How long do meal prepped foods stay fresh in a fridge?
You eat refrigerated cooked meals within three to four days and freeze extras promptly.
Why do some containers leak during travel?
Loose clips, twisted gaskets, overfilling, and worn seals cause most leaks during travel.
How do you prevent odors in reusable containers?
You wash pieces promptly, dry gaskets fully, and store bases unsealed until completely dry.
Build A Container System That Works Daily
The best system matches your meals, appliances, travel, and washing routine. You choose materials wisely, sizes sensibly, and seals carefully each week. Also, you keep labels clear, stock rotated, and damaged pieces retired promptly.
Start with a small, tested set and expand only as needs grow. You learn from real packing, real travel, and real reheating each week. Therefore, your collection grows purposefully instead of filling cupboards randomly.
Good containers support healthier eating, less waste, and calmer weekdays. You plan menus, pack portions, and enjoy fresh meals without daily cooking. Next, you review your system weekly and refine sizes, materials, and routines steadily.
You choose meal prep containers for portion control as a daily habit, not a single purchase. Portion control containers keep servings consistent, meals balanced, and planning simple. Finally, you start today by auditing your cupboard, listing gaps, and packing tomorrow meals confidently. In short, meal prep containers anchor a calmer weekly routine.