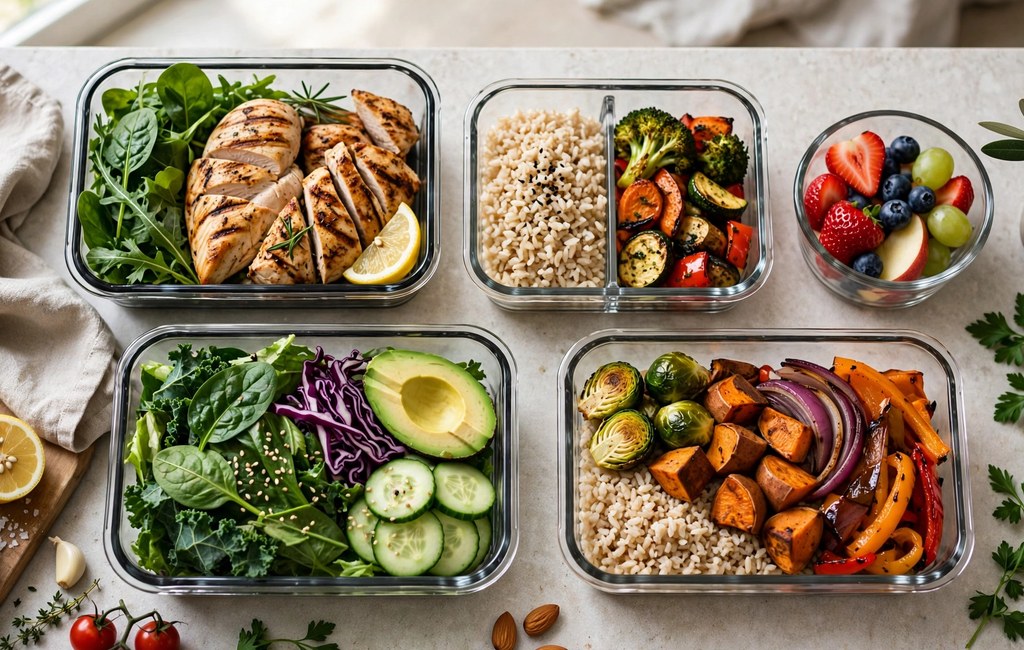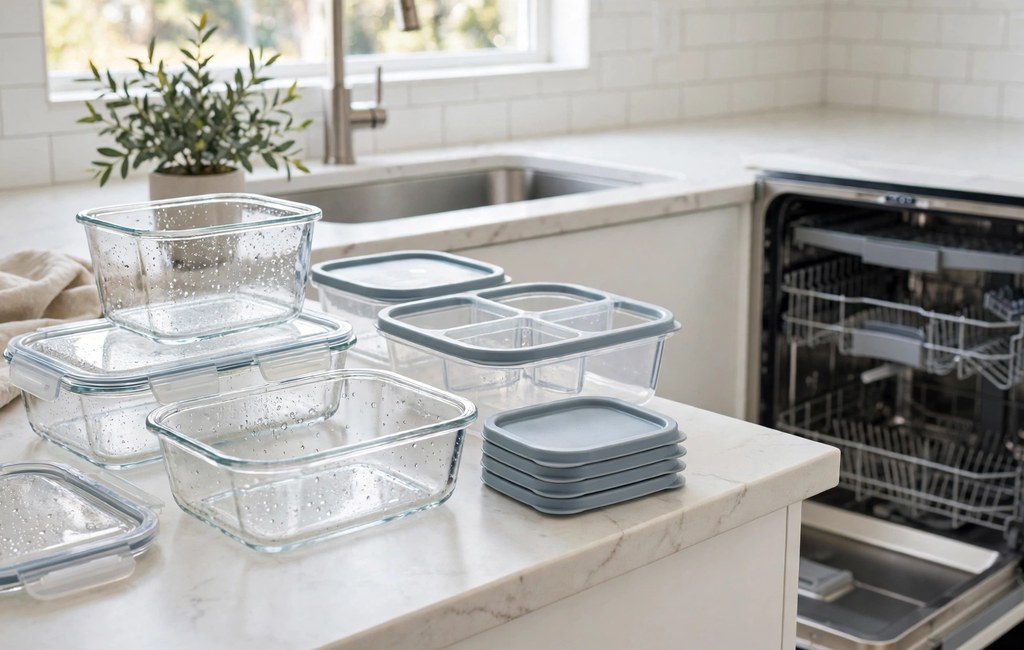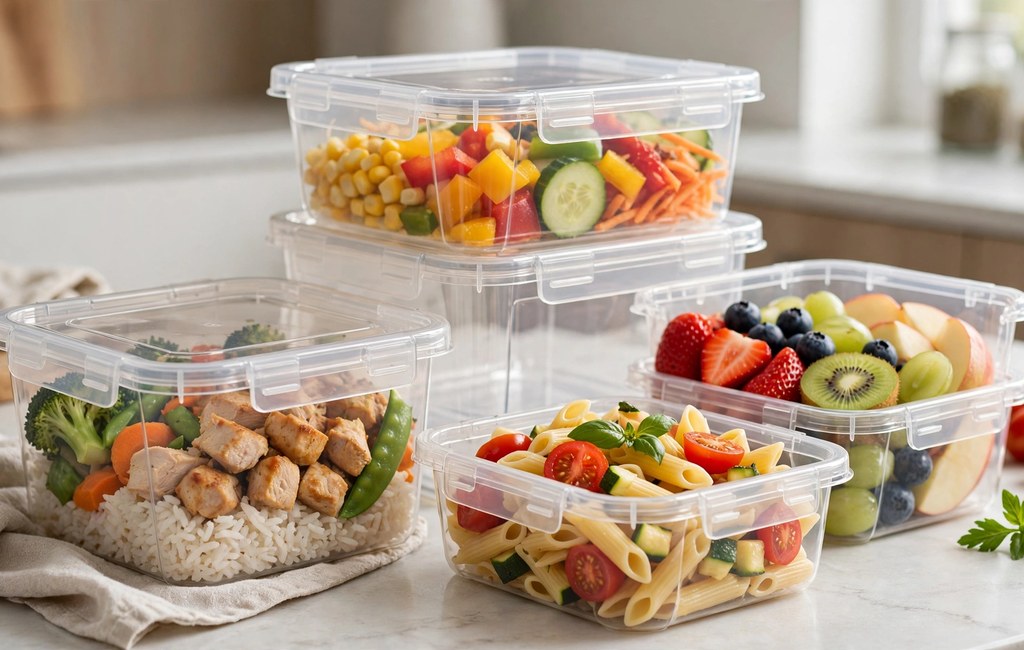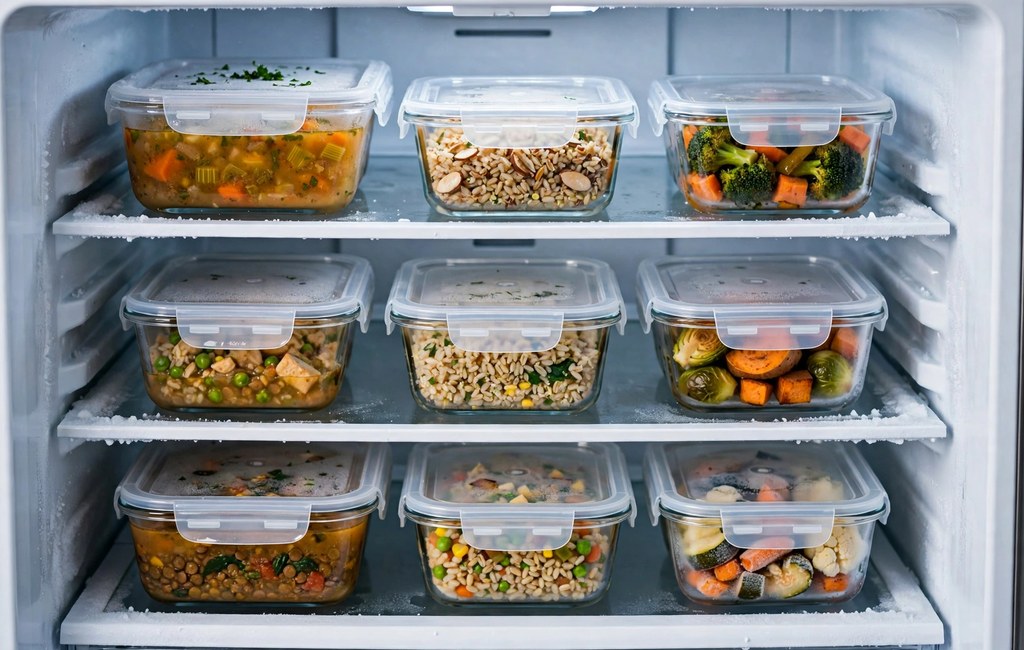
Freezer meal prep containers protect prepared meals from freezer burn, moisture loss, and stray odors. Pick freezer-safe materials, leave headspace for expansion, and seal each lid tightly before freezing. Then freeze food in single portions, label every container clearly, and thaw meals safely in the fridge.
Good containers also save time on busy evenings, since ready meals wait neatly in the freezer. Start with best containers for meal prep when you compare shapes, materials, and lid styles for freezing. For example, shallow containers freeze portions faster than deep tubs packed with several servings.
This guide explains materials, headspace, seals, portions, labeling, rotation, and safe thawing step by step. In addition, simple habits help meals taste fresher after weeks in cold storage.
Why Freezer Meal Prep Containers Need Safe Materials
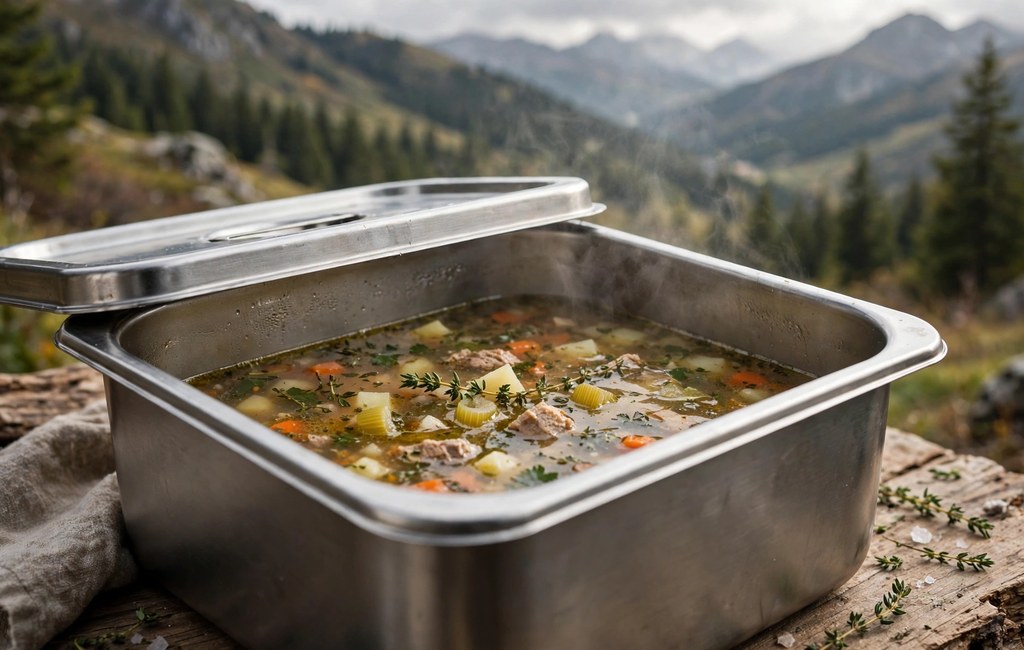
Freezer-safe materials resist cracking, warping, and brittleness at very low temperatures. Thin takeout tubs often crack during freezing, however, so check every label before you pack food. Look specifically for freezer-safe marks, sturdy walls, and lids that close securely every time.
Glass Holds Up Well for Many Meals
Tempered glass and borosilicate glass resist odors, stains, and flavor transfer remarkably well. Glass also lets you see contents quickly, and it handles reheating well after safe thawing. Handle frozen glass gently, however, because sudden temperature changes can crack weaker glass.
Prefer wide-mouth jars or straight-sided dishes for easier filling, scooping, and cleaning. Leave extra space in narrow-neck jars, since expanding liquid presses hard against glass shoulders. Cool hot food before packing glass, and avoid moving frozen glass straight into intense heat.
Plastic and Silicone Offer Light Flexible Options
Sturdy polypropylene plastic stays lighter than glass, and it stacks neatly in crowded freezers. Select BPA-free plastic with thick walls for repeated freezing and daily handling. In contrast, thin plastic often turns brittle, warps, or cracks after repeated freezer use.
Flexible silicone bags and trays release frozen portions easily, and they fold flat for storage. Silicone also suits sauces, smoothie packs, and small portions that rigid tubs waste space on. Check silicone for sturdy seals, because flimsy closures leak liquids before food freezes solid.
Leave Headspace in Freezer Meal Prep Containers
Liquids expand as they freeze, so containers need room for growth. Leave about one inch of headspace for soups, sauces, and other liquid meals. Solid meals need less space, yet you still need a small gap for shifting and lid closure.
Air causes freezer burn, therefore press air out of bags and fill containers sensibly. Wipe rims clean before closing, since food residue prevents lids from sealing tightly. Press plastic wrap directly onto food surfaces for extra protection in longer storage.
Seals That Prevent Freezer Burn
Locking lids and silicone gaskets block cold dry air far better than loose snap-on lids. Test seals regularly, and also replace cracked gaskets or warped lids without delay. Ice crystals inside a container often signal air leaks or loose lids. Store containers upright until food freezes solid, then stack them neatly to save space.
Fill Freezer Meal Prep Containers in Portion Sizes
Freeze meals in amounts you actually eat at one sitting, rather than large family batches. Single portions thaw faster and reheat evenly inside meal prep containers for portion control routines. For instance, freeze one lunch portion per container instead of packing three lunches together.
Cool cooked food within two hours before dividing it promptly into clean portion containers. Flat packs freeze quickly for soups, while rigid tubs suit grain bowls and saucy dishes. Uniform portions also help you plan weekly meals without guessing amounts or thawing extras.
Keep smaller containers for sauces, sides, and snacks, and reserve larger tubs for family meals. Similarly, freeze smoothie ingredients, chopped vegetables, and cooked grains in separate small packs. Separate packs also prevent waste, since you thaw only what dinner actually needs tonight.
Label Clearly and Rotate Older Meals First
Label every container with contents and freeze date before it enters the freezer. Use freezer tape or permanent markers, since ordinary labels often peel off in cold damp air. Clear labels also prevent mystery meals, wasted food, and surprise flavors at dinner.
Place new containers behind older ones, and pull older meals forward for use first. This first in, first out rotation keeps quality high and therefore reduces forgotten freezer stock. Review freezer contents monthly, and move near-date meals into the coming week menu.
Thaw Freezer Meal Prep Containers Safely
Thaw frozen meals in the fridge whenever possible, since steady cold prevents bacterial growth. Plan ahead carefully, because a pound of food often needs a full day to thaw. Set thawing containers on a low shelf tray, and catch drips before they touch other foods.
Cold water thawing works faster for sealed packs, yet it demands constant attention. Move thawed food into microwave safe meal prep containers before reheating for even warming. Cook food immediately after cold water or microwave thawing, since partial warming invites bacterial growth.
Never thaw meals at room temperature for long, since outer layers warm into the danger zone. The danger zone spans forty degrees Fahrenheit to one hundred forty degrees Fahrenheit for bacterial growth. Reheat thawed meals until steaming hot throughout, stir midway, and finally check hot spots carefully.
Common Freezer Meal Prep Container Mistakes to Avoid
- Overfilling containers: Fill containers only to recommended levels for safe expansion. Then seal lids after food cools completely for tighter closure.
- Skipping labels: Mark contents and dates immediately after packing each meal. Otherwise older meals hide behind new stock for months.
- Refreezing thawed meals repeatedly: Avoid repeated freeze-thaw cycles that damage texture and flavor. Instead cook thawed meals promptly and freeze only freshly cooked leftovers.
- Freezing unsuitable foods: Pack sturdy cooked meals, grains, soups, and sauces with confidence. However keep crisp salads, fried foods, and delicate fresh items out of freezer storage.
- Ignoring freezer temperature: Monitor freezer temperature regularly and keep it at zero degrees or below. Additionally organize airflow around containers so cold air circulates evenly.
Frequently Asked Questions
Can you freeze food in any meal prep container?
Freeze food only in containers marked freezer-safe, since ordinary tubs may crack or warp in cold storage.
How do you prevent freezer burn in meal prep containers?
Remove excess air, seal lids tightly, and use containers sized closely to each portion.
How long do frozen meal prep meals stay good?
Frozen meals stay safe almost indefinitely at zero degrees, yet quality peaks within three months.
Can glass containers go from freezer to microwave?
Let glass thaw briefly first, then reheat gradually to reduce thermal shock and cracking risk.
Should you thaw frozen meals on the counter?
Thaw meals in the fridge, cold water, or microwave instead of leaving them at room temperature.
Conclusion
Freezer meal prep containers reward small habits, from headspace and tight seals to clear labels. Pick sturdy freezer-safe materials, freeze sensible portions, and rotate older meals first. Finally, thaw meals safely in the fridge and reheat them thoroughly before serving.
Start tonight by portioning one batch meal into labeled freezer-safe containers. Then build a freezer routine that saves time, reduces waste, and protects meal quality. Your future self will thank you at dinner time.