Clean dishwasher-safe meal prep containers on the top rack with mild dish soap and warm water. First, check the label and manufacturer instructions before you load any container or lid. Then, remove food residue, separate lids and gaskets, and air dry every piece completely after washing.
This guide explains rack placement, lid care, stain removal, hand washing, and smart storage steps. You will learn simple routines that protect seals, prevent odors, and keep containers ready for weekly meals. Also, you will spot warning signs that signal replacement before a worn container leaks or fails. Finally, follow these steps after every meal prep session for cleaner results and longer container life.
Confirm Clean Meal Prep Containers Are Dishwasher Safe
Start with the base, lid, and packaging before you trust any dishwasher claim. For a full overview of container choices, explore best containers for meal prep and compare materials first. Next, look for a dishwasher-safe symbol, clear wording, or a top rack only note. When labels conflict, follow the stricter instruction and hand wash the piece instead.
Check the bottom stamp for a recycling code and material type before loading. Polypropylene and high-density polyethylene generally handle dishwasher heat better than softer plastics. However, material alone never guarantees safety, so confirm the specific item guidance every time. In addition, inspect older containers for fading marks, cracks, warping, or cloudy surfaces.
Treat missing labels as a hand wash signal, especially for painted, decorated, or wooden parts. Similarly, separate lids from bases because lids often carry different care limits than bases.
Load Clean Meal Prep Containers for a Thorough Cycle
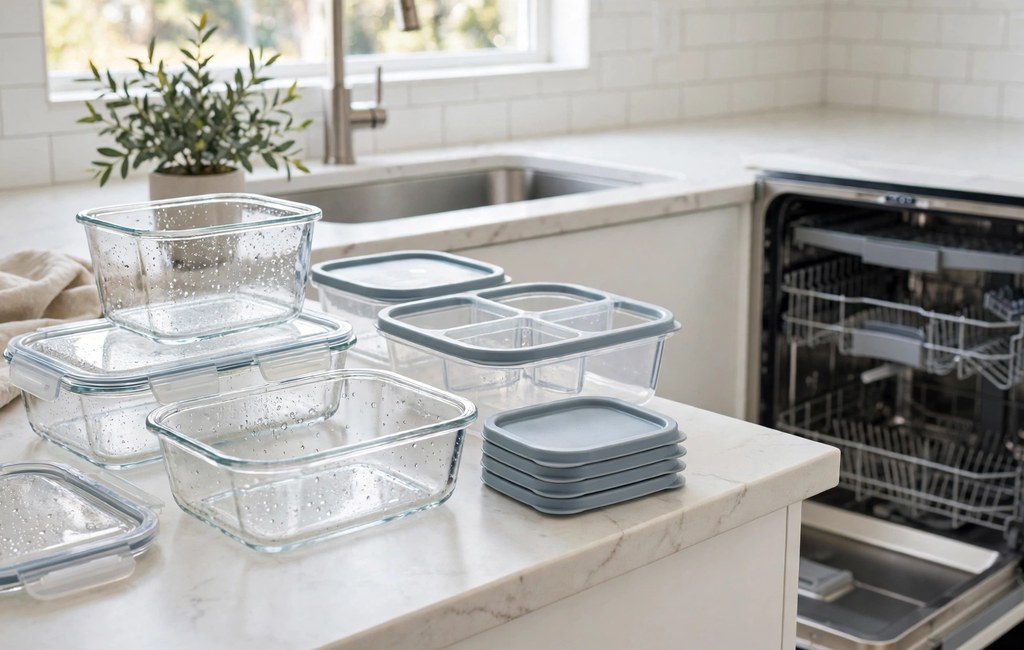
Place containers upside down on the top rack with openings facing downward for drainage. For sturdy bases, compare care needs with glass meal prep containers before you choose a rack position. Next, leave space between pieces so water and detergent circulate around every surface. Meanwhile, angle compartment dividers downward so food residue rinses out instead of pooling inside.
Keep plastic lids and lightweight pieces away from the bottom rack heating element. High direct heat warps thin plastic, weakens snap locks, and shortens seal life over time. Therefore, reserve the bottom rack for sturdy glass bases only when manufacturer guidance clearly allows it. Also, secure lightweight lids in a dishwasher basket so spray pressure cannot flip them over.
Scrape leftover food into compost or trash before loading, and rinse sticky sauces promptly. Pre-rinsing prevents dried residue from baking onto surfaces during heated wash cycles. Use a normal cycle with mild detergent for routine cleaning, and skip harsh abrasive cleaners entirely. Afterward, check corners, grooves, and compartment edges for trapped food before you unload. In practice, clean meal prep containers keep flavors true.
Care for Lids, Gaskets, and Seals
Remove silicone gaskets and wash them separately whenever your lid design allows removal. For flexible lids, review cleaning notes for plastic meal prep containers and inspect seals after each wash. Next, scrub gasket grooves with a small soft brush and warm soapy water. Then, rinse gaskets fully and dry them before you press them back into place.
Open snap locks and hinges during washing so water reaches hidden crevices and joints. Also, wipe hinge areas with a soft cloth after cycles to remove detergent buildup. Check seals for cracks, stiffness, flattening, or lingering smells after every few washes. Replace a warped lid or damaged gasket promptly, since a poor seal invites leaks and spoilage.
Avoid heated dry settings for lids when possible, since gentler drying preserves elasticity longer. Instead, air dry lids upright with seals facing outward for full airflow. For hygiene, clean meal prep containers matter every single week.
Keep Meal Prep Containers Clean Without Stain Damage
Act quickly on tomato sauce, curry, coffee, and oily dressings before pigments settle deeper. Wash containers promptly after meals, and soak stubborn residue in warm soapy water first. For example, soak greasy film for ten minutes, then scrub gently with a non-abrasive sponge. Avoid steel wool and harsh scouring pads, since scratches trap bacteria and deepen stains.
- Baking soda paste: Spread a thick paste inside the container, wait thirty minutes, then scrub gently.
- White vinegar soak: Fill the container with equal parts vinegar and warm water for one hour.
- Lemon juice rinse: Rub lemon juice over odors, let it sit briefly, then wash with mild soap.
- Sunlight airing: Place a clean, dry container in sunlight briefly to freshen lingering smells naturally.
Repeat a gentle treatment once more for deep stains instead of switching to harsh chemicals. However, discard containers with deep cracks, persistent odors after cleaning, or warped bases. In addition, reserve glass for strongly colored foods when plastic staining frustrates you repeatedly. Over time, clean meal prep containers resist stains and odors better.
Hand Wash Items That Skip the Dishwasher
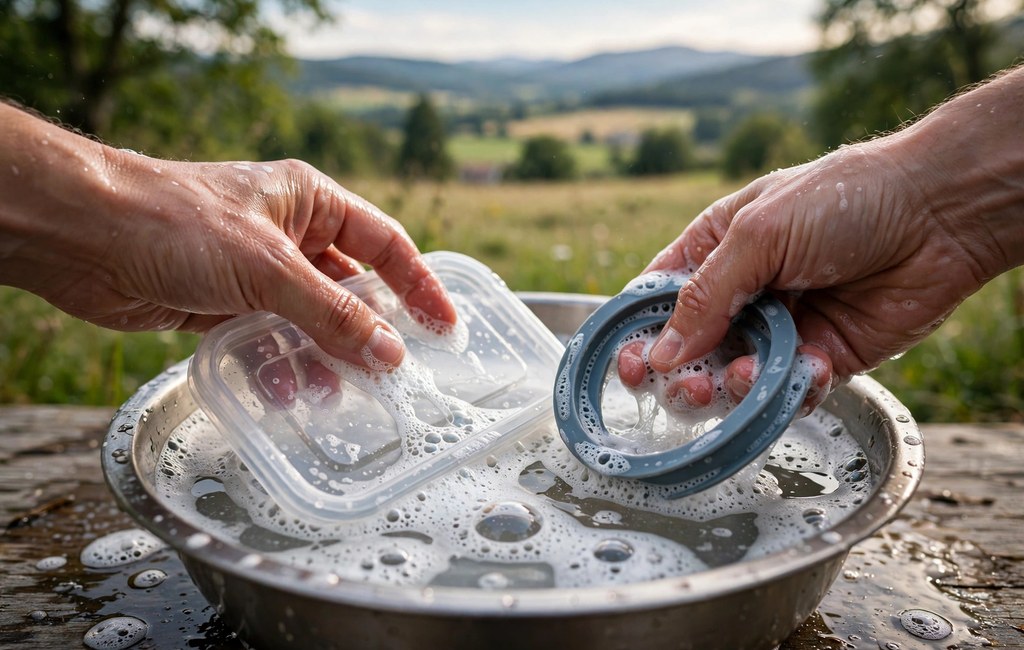
Hand wash any container without a dishwasher-safe mark, plus damaged lids and loose gaskets. First, fill a basin with warm water and a small amount of mild dish soap. Next, wash the base, lid, and gasket separately with a soft sponge or cloth. Then, pay extra attention to corners, threads, vents, and compartment dividers during scrubbing.
Soak dried food for ten to fifteen minutes before scrubbing, and change cloudy wash water promptly. Rinse every piece under clean warm water until soap suds disappear completely from surfaces. Also, wash cutting boards and utensils separately when raw meat juices touched shared surfaces. Finally, address stubborn smells with baking soda or vinegar instead of mixing random household chemicals.
Dry and Store Clean Meal Prep Containers After Washing
Air dry containers upside down on a clean rack, and keep lids and gaskets apart. Leave pieces apart until every groove, seal channel, and corner feels completely dry. Avoid sealing damp containers, since trapped moisture encourages mold and musty odors.
Store clean containers with lids slightly ajar or stacked separately for steady airflow. Nest bases by size, keep matching lids nearby, and label stacks for quick meal prep. In addition, check stored containers monthly for dust, moisture, or stale smells before reuse. Rewash any container that smells musty, shows spots, or sat unused for long periods.
For food safety, refrigerate leftovers promptly and use refrigerated meals within three to four days. Also, reheat leftovers thoroughly to 165 degrees Fahrenheit before serving them again. When doubt remains, discard questionable food rather than tasting it for safety clues.
Frequently Asked Questions
Can You Put Meal Prep Containers in the Dishwasher?
Yes, load only containers with a clear dishwasher-safe mark, and place lids on the top rack.
Should Lids Go on the Top Rack or Bottom Rack?
Place lids on the top rack, away from direct heat, to prevent warping and seal damage.
How Do You Remove Tomato Stains From Plastic Containers?
Apply baking soda paste, wait thirty minutes, scrub gently, then rinse with warm water.
Why Do Clean Containers Still Smell After Washing?
Odors hide in gaskets, grooves, and scratches, so wash seals separately and air dry fully.
Can You Dishwasher Wash Containers Without a Label?
No, hand wash unmarked containers until you confirm dishwasher safety through manufacturer guidance.
Conclusion
Clean containers protect flavor, seals, and food safety through every busy meal prep week. Start tonight by checking labels, separating lids, and drying every piece completely before storage. Choose one container now, wash it using these steps, and build a cleaner meal prep routine. In short, clean meal prep containers make weekly prep feel easier.