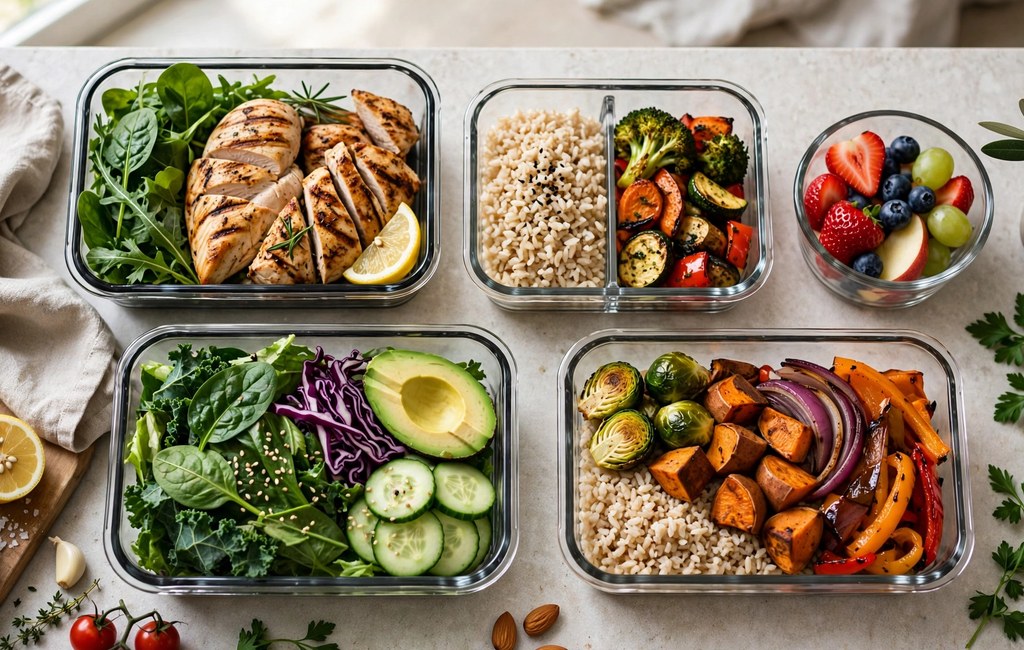
Meal prep containers with compartments divide one lunch into separate sections for different foods. Dividers keep flavors apart, protect textures, and simplify balanced packing every week. You can build varied meals quickly, carry them neatly, and reheat portions without mixing everything together daily. Small sections also hold sauces, snacks, and toppings without touching main dishes.
Each section creates a clear home for protein, vegetables, grains, or fruit. As a result, you spend less time deciding portions and more time enjoying lunch. Additionally, separate sections reduce spills, limit sogginess, and preserve distinct tastes until mealtime. This guide explains packing, balancing, cleaning, and choosing compartment containers wisely and effectively.
How Meal Prep Containers Protect Flavor and Texture
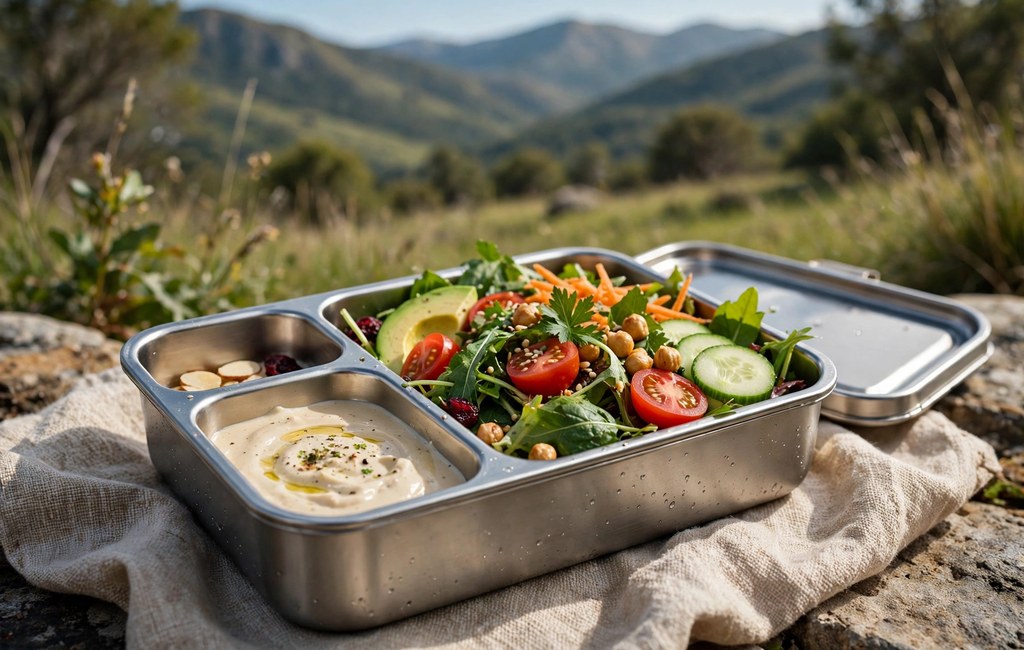
To compare options, explore best containers for meal prep and compare compartment layouts carefully. Fixed dividers create physical barriers between foods with different flavors, moisture levels, and textures. Meanwhile, crunchy vegetables stay crisp beside warm grains instead of absorbing unwanted moisture. Similarly, strong flavors like garlic, curry, or pickles stay inside their own sections.
Texture matters because soggy crackers, wilted greens, and mushy rice quickly spoil lunch enjoyment. Therefore, place dry or crisp foods far from saucy items and juicy fruits. Also, cool cooked foods completely before sealing lids to limit condensation inside containers. Pack delicate items on top or in shallow sections where heavier foods cannot crush them. In practice, meal prep containers with compartments keep dressings away from greens.
Plan Balanced Meals Across Sections
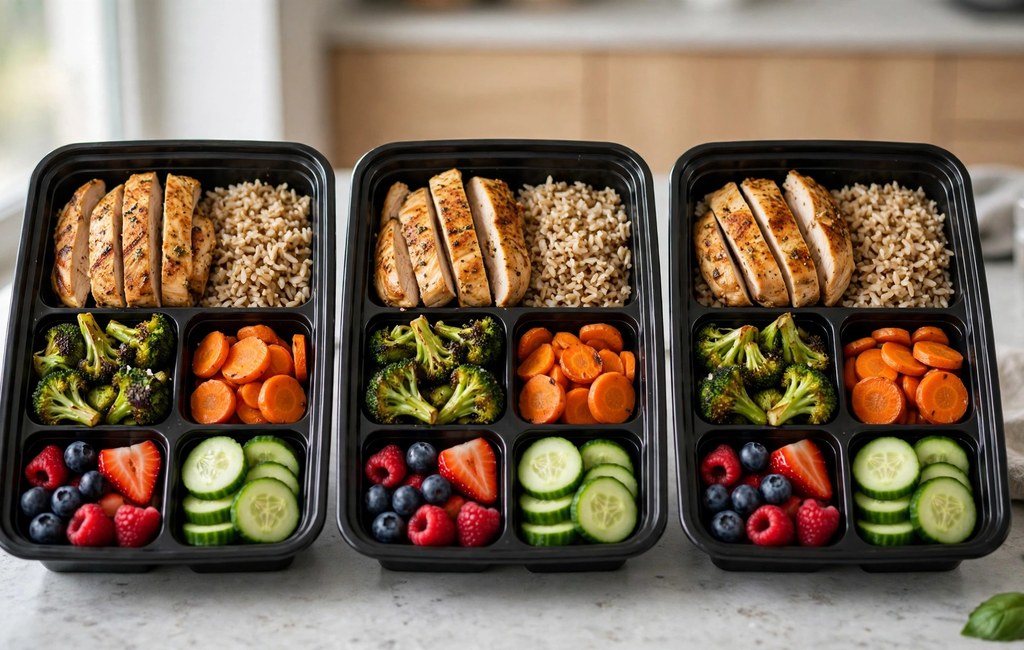
Start each container with a simple template that balances protein, produce, grains, and healthy fats. A clear template using meal prep containers for portion control helps you fill sections consistently without guesswork. Assign the largest section to vegetables, the next to protein, and another to grains. Reserve a small section for fruit, nuts, cheese, or another satisfying snack.
Rotate proteins and vegetables across the week to prevent boredom and expand nutrient variety. Moreover, prepare grains and proteins in batches, then assemble different combinations each day. Leave one section flexible for seasonal produce, leftovers, or new flavors you want to try. Lastly, label containers with contents and prep dates to simplify weekday choices. For variety, meal prep containers with compartments hold several small portions.
- Protein section: Fill this section with grilled chicken, tofu, eggs, or beans.
- Vegetable section: Add roasted broccoli, carrots, cucumbers, or leafy greens.
- Grain section: Include quinoa, brown rice, pasta, or whole grain bread.
- Snack section: Place berries, nuts, cheese cubes, or crunchy vegetables here.
Keep Wet and Dry Foods Apart in Meal Prep Containers
Moisture travels quickly inside closed containers, especially when warm foods release steam. Hence, separate juicy tomatoes, cooked vegetables, and saucy dishes from dry foods. Use silicone cups inside larger sections to create extra barriers for moist items. Thoroughly dry crackers, bread, and cereal before packing to preserve crunch.
Place sturdy grains or proteins at the bottom and delicate greens near the top. Next, pack salads without dressing and add crunchy toppings just before eating. If a container lacks sealed dividers, nest small lidded cups inside for wet components. Consequently, lunches arrive fresher, drier, and more appealing at mealtime.
Use Small Sections for Sauces and Dressings
Sauces transform plain grains and vegetables, yet one spill can ruin an entire lunch. Thus, reserve the smallest section for dressings, dips, salsa, or vinaigrette. Fill sauce sections only three quarters full to leave room for secure sealing. Furthermore, choose thick sauces for travel because thin liquids leak more easily through lids.
Keep hummus, ranch, and yogurt based dips separate until you eat. At lunch, dip carrot sticks, cucumber slices, or peppers instead of pre coating them. Likewise, pour dressing over salads at mealtime to keep greens crisp and bright. Freeze extra sauce portions separately, then thaw one portion overnight in the refrigerator.
Clean Divided Containers Without Hassle
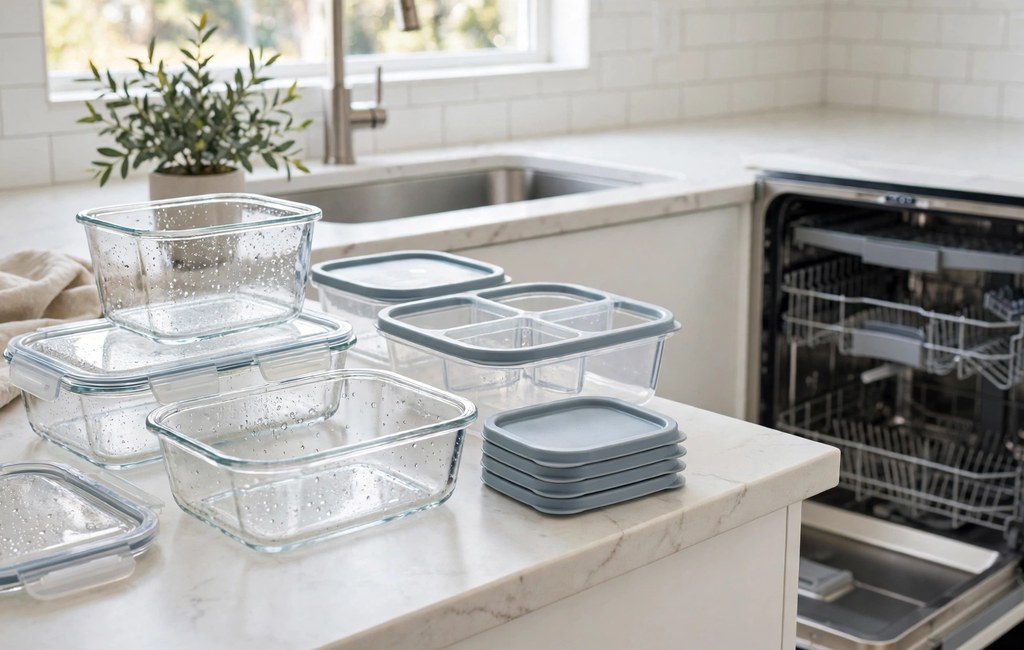
Divided containers clean easily when you rinse residue promptly after eating. Remove lids, seals, and removable inserts, then wash each part with warm soapy water. Reach divider corners, seams, and grooves with a small brush to remove hidden food. Finally, dry every part completely before stacking to prevent odors and moisture buildup.
Check manufacturer guidance before microwaving, freezing, or dishwashing any container. Understanding meal prep container sizes helps you match compartment layouts to appetite and storage space. Inspect seals regularly and replace containers with cracked lids or warped dividers. Store clean containers with lids slightly open to improve airflow between uses. After washing, meal prep containers with compartments dry fully before stacking.
Choose Compartment Meal Prep Containers Over Single Sections
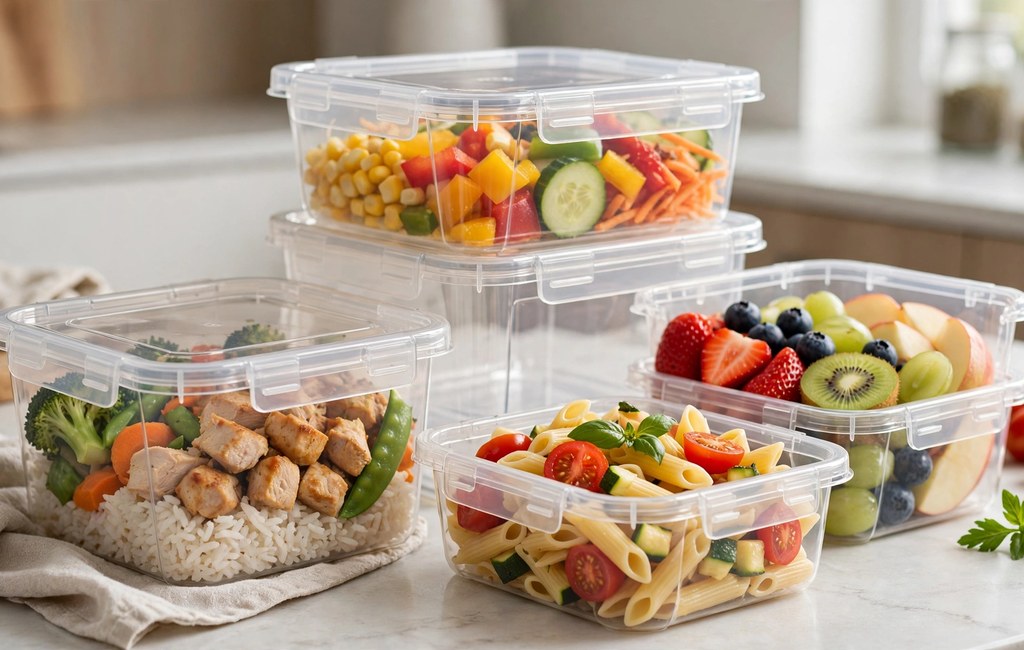
Single section containers suit soups, stews, pasta bakes, and mixed grain bowls. However, mixed dishes often lose distinct flavors and textures during storage and reheating. Separate sections solve this problem by keeping components separate until you combine them. So, choose compartments for varied lunches, snacks, and meals with contrasting textures.
Refrigerate perishable meals within two hours of cooking to protect food safety. In addition, keep refrigerator temperatures at or below 40 degrees Fahrenheit for safe storage. Eat most cooked leftovers within three to four days and freeze later portions promptly. Reheat leftovers thoroughly and discard food that smells off or looks questionable.
Glass containers resist stains and odors, while plastic containers offer lighter everyday carrying. Stainless steel containers provide durability for transport, although they generally need separate reheating dishes. Choose materials based on weight, cleaning ease, and reheating habits rather than appearance alone.
Frequently Asked Questions
Can compartment containers keep food fresh all week?
Plan refrigerated meals for three to four days and freeze later portions promptly.
Do compartment meal prep containers prevent soggy lunches?
Wait to add dressings until mealtime, separate wet and dry foods, and cool meals before sealing.
Can you microwave meal prep containers with compartments?
Vent lids during heating, check manufacturer labels first, and stir foods halfway through.
Are compartment containers leakproof for sauces?
Sealed sauce sections work well, yet thin liquids still need small lidded cups for travel.
How many compartments work best for balanced lunches?
Three or four sections usually balance protein, produce, grains, and a snack effectively.
Conclusion
Organized containers turn chaotic lunches into balanced, tasty, and enjoyable meals. Build one simple template, separate wet and dry foods, and protect sauces carefully. Then, refine your layout each week based on appetite, schedule, and favorite combinations.
Prepare three balanced lunches ahead using one compartment layout this week. Afterward, notice which sections work best and adjust portions for next week. Begin tomorrow by planning one balanced container for your next lunch. In short, meal prep containers with compartments make lunches simpler to plan.