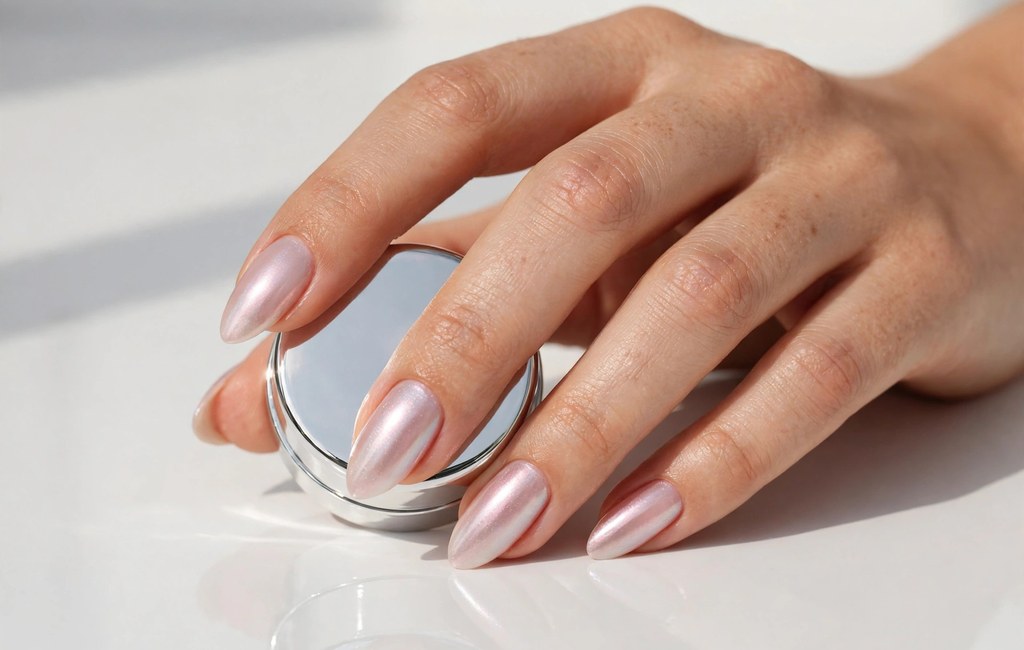
You can create the glazed donut look at home with sheer milky polish and fine chrome powder. First, you lay down a milky base and then rub powder over it. Finally, you seal everything under clear top coat for a soft pearly shine.
Also, this quiet finish suits short nails, oval nails, and almond shapes equally well. For example, it pairs with many trendy simple nail designs because the base stays soft and clean. However, light even layers and careful edge sealing give you the smoothest lasting result. Still, the whole process feels simple once you understand each separate step clearly. Overall, the glazed donut look flatters every nail shape and length.
What Makes the Glazed Donut Look Different
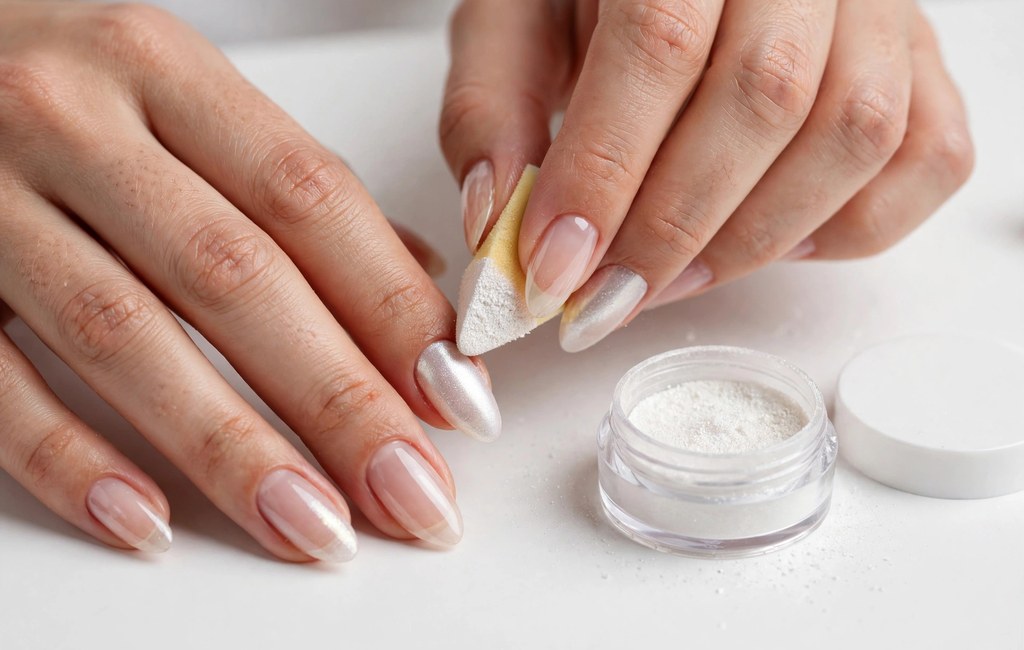
The glaze looks soft because the base color stays sheer and slightly translucent underneath. Meanwhile, fine chrome particles catch light and create a gentle pearl like glow. In fact, the finish shifts subtly as you move your hands under light.
A mirror chrome manicure reflects light sharply and hides the color underneath completely. Instead, this look keeps the milky base visible through the delicate shimmer layer. Overall, you get quiet shine rather than bold sparkle or heavy glitter.
Also, the look photographs softly because the pearl layer diffuses bright reflections gently. For example, daylight shows white pearl tones while indoor light reveals pink hints. Still, the base remains the star because chrome only enhances its color.
What You Need at Home
First, gather simple gel basics before you start painting any single nail. Also, a clean workspace helps you control loose powder and avoid dusty mistakes.
- Base coat: Always apply this first because it protects nails and supports even wear.
- Sheer milky polish: Choose white, pale pink, or soft nude shades for the translucent base.
- Fine pearl chrome powder: Pick a white or opal powder for the classic glazed effect.
- No-wipe top coat: Use this layer before powder and again after powder application.
- Soft sponge applicator: Rub powder gently with this tool for smooth and even coverage.
- Lamp, brush, and wipes: Cure gel layers properly and dust away loose powder neatly.
Also, keep cuticle oil nearby for the final step after curing finishes. However, you should skip harsh tools because gentle prep protects the nail surface. For example, a soft brush removes stray powder without scratching the shiny layer.
How to Apply the Glazed Donut Look Step by Step
Prepare the Nail Surface
First, wash and dry your hands, then shape each nail with gentle strokes. Next, push cuticles back gently and never cut live cuticle skin at home. Also, wipe each nail clean so polish sits smoothly on a dry surface.
Lay Down the Sheer Base for the Glazed Look
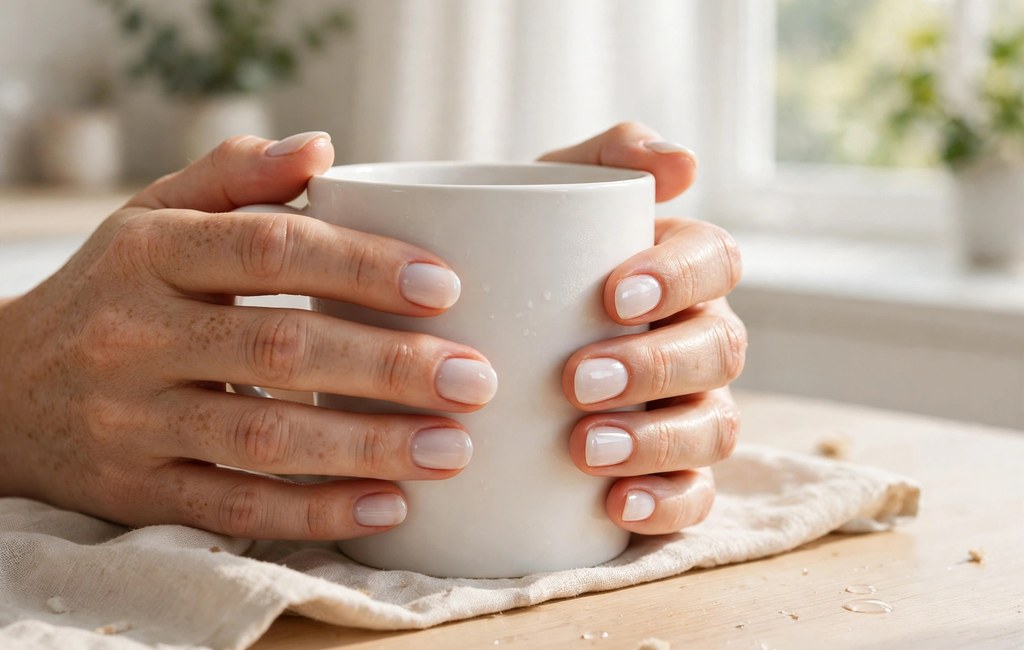
First, paint a thin base coat and cure it fully per lamp guidance. Next, add one thin coat of color inspired by milky white nail designs at home today. Then, cure that coat fully and add another thin coat if needed.
Rub Chrome Over the Top Coat
First, paint no-wipe top coat evenly and cure it per product guidance. Next, load a sponge applicator lightly and rub powder in small circles. Then, keep rubbing until the surface turns smooth, even, and softly reflective. Finally, dust away loose powder with a clean and very soft brush.
Seal the Edges and Finish
First, float final top coat over chrome without pressing the brush down hard. Next, run the brush along each free edge and seal every tip carefully. Finally, cure the final layer fully and then apply cuticle oil around edges.
Also, keep top coat off your skin because cured edges feel cleaner afterward. If top coat floods the cuticle, then clean the edge before curing it. Overall, neat edges help the whole manicure look polished and professionally finished.
Choosing Your Glazed Donut Look Tint and Variation
A white base gives the brightest pearl effect and the cleanest overall finish. Meanwhile, a pink base warms the shine and flatters many skin tones softly. Also, a nude base keeps the result natural and close to bare nails.
You can also deepen the tint with two coats for stronger color payoff. For example, fans of simple aura nail designs often prefer softer blended color transitions. Still, thin coats keep the glaze clear and prevent a heavy opaque look.
In addition, you can rub powder lightly for shimmer or firmly for reflection. However, a heavier rub creates stronger shine and hides more base color. Overall, small changes in tint and pressure create noticeably different finished looks.
Fixing a Dull or Patchy Glazed Look
When the Shine Looks Dull
Dull chrome often follows a thick sealing coat or incomplete final curing step. Instead, float a thinner final coat and cure it fully next time around. Also, excess loose powder can mute shine, so dust nails before sealing them.
When Coverage Looks Patchy
Patchy spots usually mean the top coat cured unevenly or stayed too tacky. For example, sticky areas grab powder clumps while dry areas reject powder entirely. Next, rub extra powder onto bare spots gently before you seal the nail.
If patches remain, then remove that nail finish and restart the layer. Meanwhile, clean applicators prevent old powder clumps from spreading across fresh surfaces unevenly. As a result, slow small circles usually beat fast heavy rubbing strokes.
Caring for the Glazed Donut Look and Removing It Safely
First, protect gel work from water and cleaning products with household gloves daily. Also, apply sunscreen or wear fingerless gloves before curing nails under UV lamps. However, you should never pry or peel lifting gel from natural nails. Instead, you protect the nail plate and avoid painful surface damage that way.
For removal, soak cotton with acetone and rest it on each nail. Next, wait patiently and then slide softened gel away without forceful scraping motions. Finally, wash your hands, dry them thoroughly, and moisturize skin and cuticles.
Frequently Asked Questions
How do you apply chrome powder to nails?
First, you rub fine powder over cured no-wipe top coat evenly.
Why does my chrome powder look patchy?
Uneven curing or tacky spots usually cause patchy powder coverage on nails.
Can you do glazed donut nails at home?
Yes, you can create this look at home with gel basics.
How do you seal chrome powder on nails?
Next, you float top coat over powder and cap each free edge.
Why does chrome nail powder look dull?
Overall, thick top coat or loose powder can dull the sealed finish.
Conclusion
Overall, the glazed donut look combines sheer color, pearl powder, and careful sealing. Also, thin layers and full curing keep the finish smooth and bright. In fact, small tint changes let you refresh the look each time.
Now gather your basics and try this soft glazed finish at home. First, start with one hand and follow each step in order carefully. Then, share your pearly result and enjoy your fresh, simple manicure today. With practice, the glazed donut look takes only a few extra minutes.