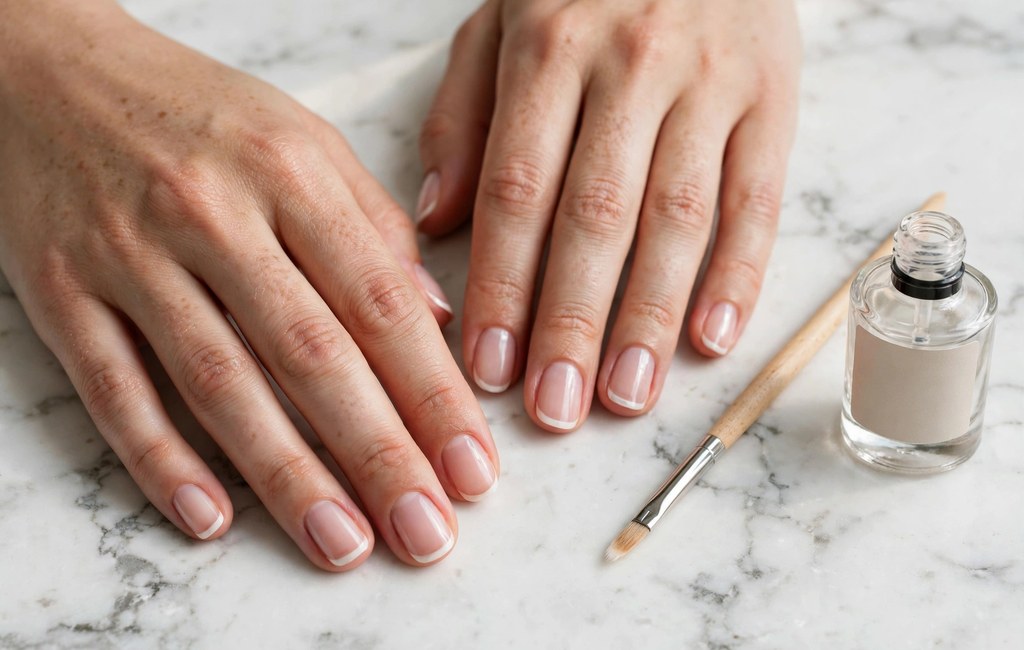
You can do simple French tip nails at home with basic tools and steady, thin layers. First, you shape the nails, apply a sheer base color, and paint a clean white tip. Then, you seal the design with top coat for a neat, glossy finish.
Also, careful prep matters more than artistic skill for this classic look. For example, a smooth nail surface helps every line look crisp and even. Overall, the technique suits beginners because each step stays simple and forgiving. Next, this guide walks you through each stage in clear order. Overall, simple french tip nails reward slow, steady brush control.
What You Need for Simple French Tip Nails
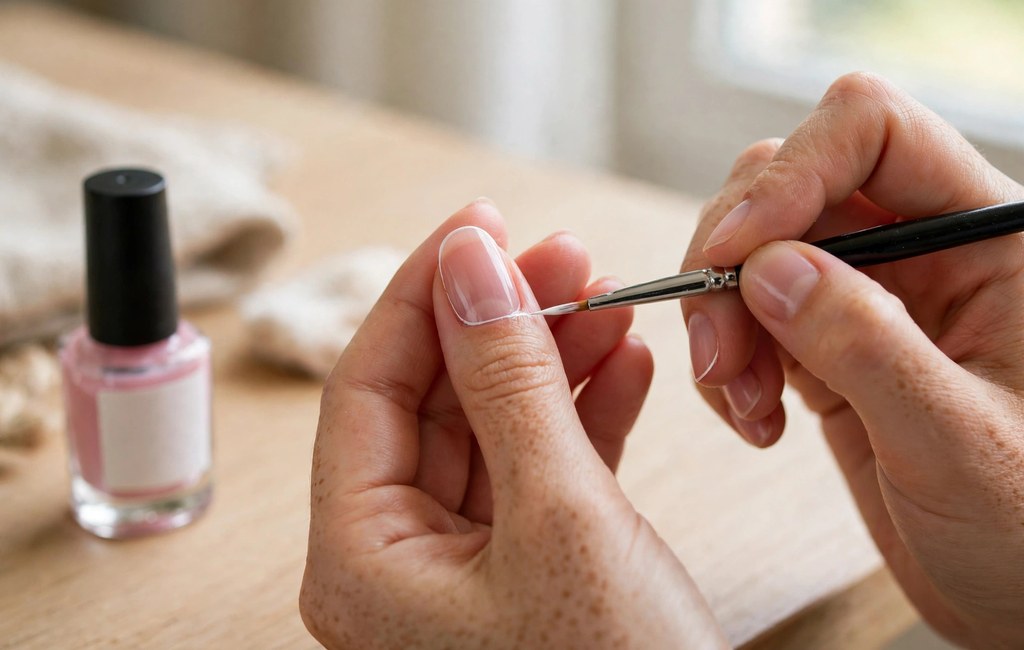
First, gather a file, buffer, cuticle pusher, base coat, and top coat. Also, choose sheer pink or nude polish plus crisp white polish for tips. Then, explore trendy simple nail designs for inspiration before you settle on one look.
In addition, keep a small cleanup brush and polish remover close by. Meanwhile, set out cotton pads, a flat surface, and bright, even lighting. Still, skip extra tools at first and keep your setup calm and simple.
Simple Tools That Help Most
- Fine liner brush: Helps you also paint narrow tips with steady control and cleaner edges.
- Nail guides or tape: Creates a helpful boundary while you first learn the classic tip shape.
- Makeup sponge: Also blends white polish softly for the faded baby-boomer variation you try later.
- Orange stick: Pushes cuticles back gently and also lifts tiny smudges around the edges.
How to Prep French Tip Nails for a Clean Base
First, wash and dry your hands, then remove old polish completely. Next, file each nail gently in one direction toward your chosen shape. Then, avoid sawing back and forth, because rough filing can split edges.
Also, push cuticles back softly with a pusher or orange stick. However, never cut live cuticle skin, because that skin protects the nail. Finally, buff the surface lightly and wipe away dust before you paint. With practice, simple french tip nails take only minutes per hand.
Step by Step: The Classic French Tip Technique
Apply the Base and Sheer Color
First, apply base coat before color and let that thin layer dry fully. Next, paint one or two thin coats of sheer pink or nude polish. Then, keep each coat thin, because thick polish pools and wrinkles easily.
Also, let each layer dry before you add the next one. Meanwhile, check the color in natural light and adjust the sheerness calmly. For example, one sheer coat looks airy, while two coats look creamier.
Paint the White Tip Line
First, rest your painting hand on the table for steady control. Next, place a small dot of white polish at each side edge. Then, sweep both dots toward the center and join them in one curve.
Also, follow the natural free edge and shape your smile line gently. Instead, avoid loading the brush heavily, because excess polish floods the tip. Finally, paint a second thin coat only after the first coat dries.
Clean Up and Seal the Finish
First, dip a flat cleanup brush in remover and trace each tip edge. Next, wipe the brush on a pad between nails for sharper results. Then, apply a glossy top coat across the whole nail in thin strokes.
Also, seal the free edge lightly so the tip resists early chipping. Overall, let the manicure dry fully before you touch fabrics or water. Still, expect cleaner lines each time, because practice builds steady hand control.
Modern Twists on the Classic French Tip
First, keep the classic base and change only the tip style each time. Also, these variants use the same prep, base coat, and top coat routine. Overall, small changes refresh the look without adding difficult steps.
Micro Tips and Colored Tips
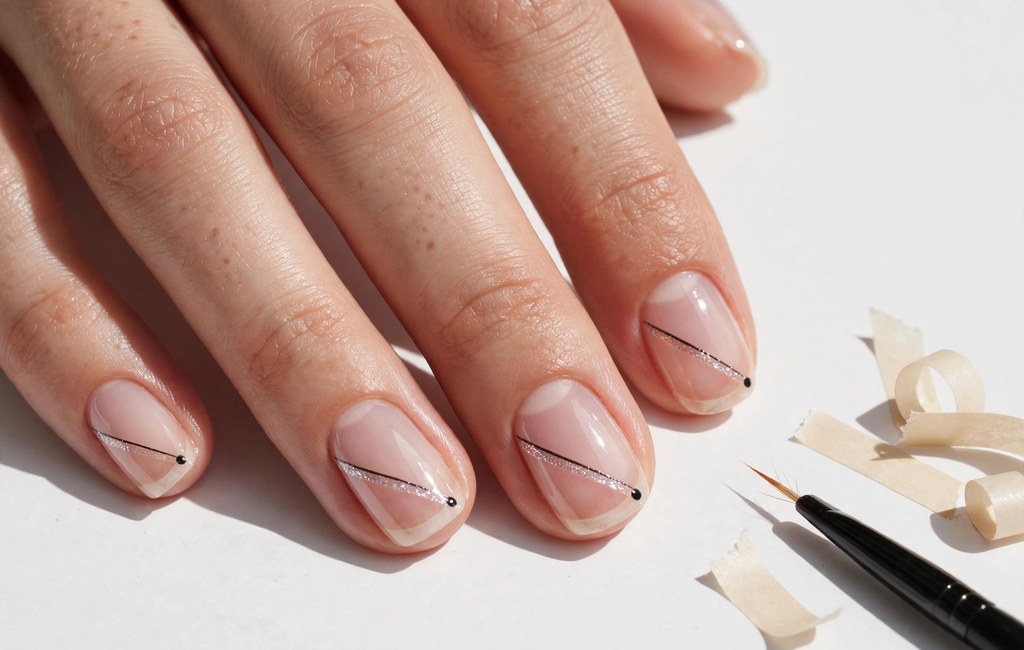
For example, micro tips use an extra thin line along the free edge. Next, paint that line with a liner brush and use very little polish. Also, this delicate style suits minimalist designs for short nails especially well.
Meanwhile, colored tips swap white polish for pastel, red, black, or metallic shades. Then, test one bold shade first and keep the base sheer and simple. However, balance bright tips with a calm base, so the look stays neat.
Reverse French and Baby-Boomer Tips
First, reverse French tips place the accent along the cuticle area instead. Next, paint a small curved band near the cuticle and leave tips bare. Also, keep that band thin, because bulky lines overwhelm short nail beds.
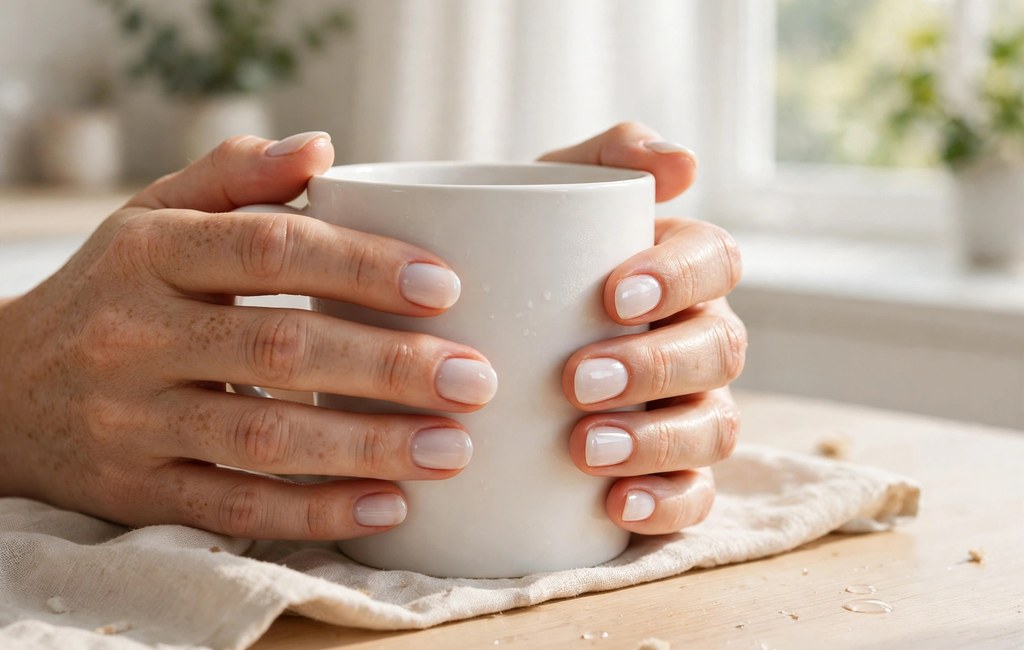
Meanwhile, baby-boomer tips fade white polish into the pink base without hard lines. Then, dab white polish with a sponge and feather the edge downward gently. For example, soft milky white nail designs inspire this blended, gentle French variation.
Common Mistakes With French Tip Nails
First, thick tips usually come from too much polish on the brush. Instead, wipe excess polish away and build the tip in thin layers. As a result, your lines stay smoother and dry more evenly overall.
Also, uneven smile lines often come from rushing both sides at once. Next, paint one side, then mirror that curve on the other side. Finally, step back often and compare all five tips under bright light.
Meanwhile, chips often start at unsealed edges or after long water exposure. So, wear gloves for washing tasks and refresh top coat during the week. Still, remove lifting polish promptly, because trapped moisture can dull the finish. For short nails, simple french tip nails keep the look light.
Frequently Asked Questions
How do you do French tips at home for beginners?
First, prep gently, apply base coat, paint thin tips, and seal everything with top coat.
How can I make my French tip lines straight?
Also, rest your hand flat, use a liner brush, and clean edges afterward.
Why do my French tips chip so quickly?
However, thick coats and unsealed edges usually cause chips, so apply thinner layers instead.
Can I do French tips on short nails?
For example, micro tips suit short nails because the thin line preserves visible nail length.
How do I remove gel French tips safely?
Finally, soak gel polish off with acetone instead of peeling or prying it away.
Conclusion
Overall, simple French tips reward patience, thin layers, and careful cleanup most. Also, the classic method gives you endless room for color and shape changes. In fact, one careful practice set builds confidence for every later variation.
Next, choose your base shade today and paint your first set tonight. Then, start with classic white tips and try one modern twist next time. Finally, take a photo, note your best hand, and repeat the routine weekly. In short, simple french tip nails suit almost every occasion.