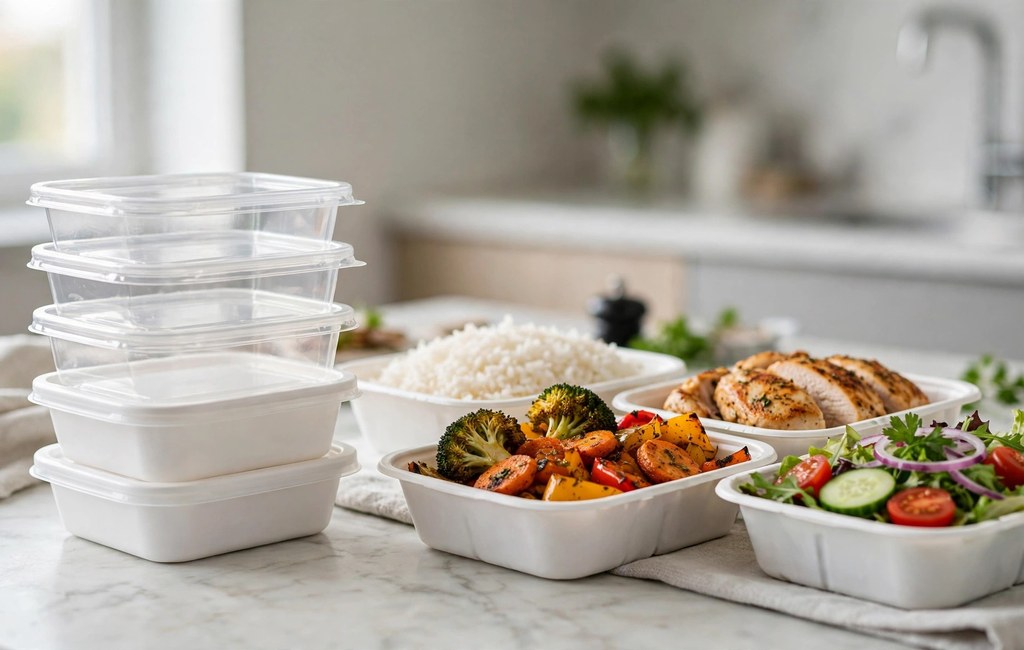
Disposable meal prep containers simplify packing, portioning, and cleanup for single occasions. You fill each container once, seal the lid, and discard or recycle the container after use. They suit events, shared meals, and trips where returning containers creates extra hassle.
First, choose a size that matches one serving without crowding the food inside the container. Next, pack sauces separately, cool hot food before sealing, and label each container clearly. Finally, follow label directions, respect food safety limits, and sort waste thoughtfully afterward. This guide explains suitable occasions, smart packing steps, and limits worth respecting every time.
When Disposable Meal Prep Containers Make Sense
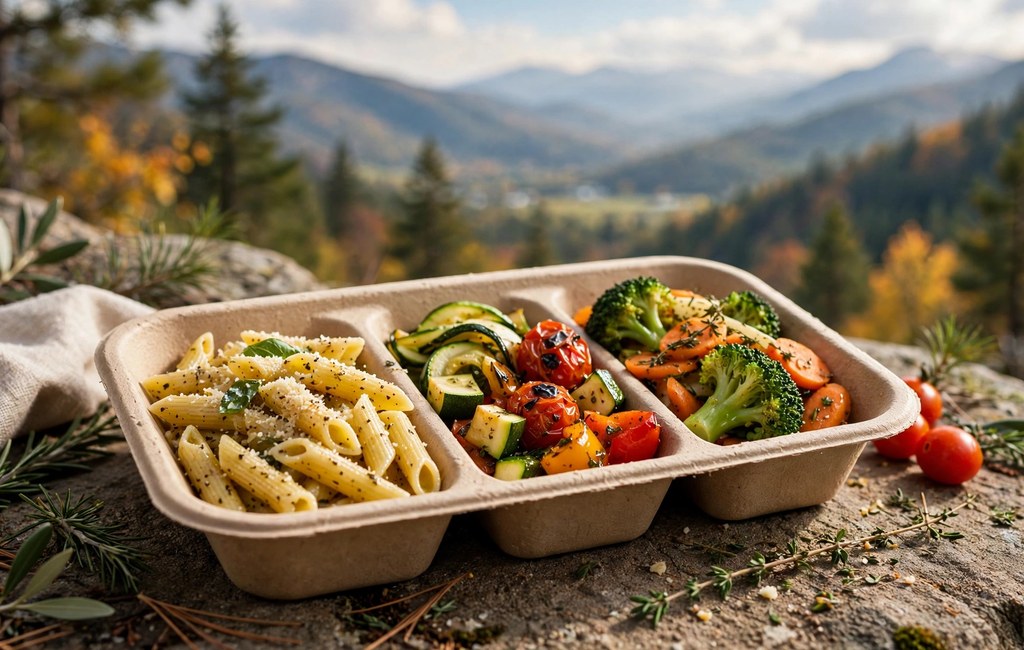
Single-use packing works best when convenience matters more than long-term storage. Readers who compare durable options can explore best containers for meal prep for broader guidance. That comparison helps you decide when disposables serve a purpose and when reusables fit better.
Catering teams, party hosts, and potluck cooks value containers they can hand out freely. Guests carry meals home without tracking borrowed dishes or arranging later returns. Hosts also avoid washing dozens of containers after guests leave the event.
Gifting meals works similarly for new parents, neighbors recovering from illness, and busy friends. You deliver soup, casserole, or a grain bowl in a container recipients can keep. Also, single-use packing suits picnics, road trips, and school events with limited washing facilities.
Choose Disposable Meal Prep Containers by Size and Shape
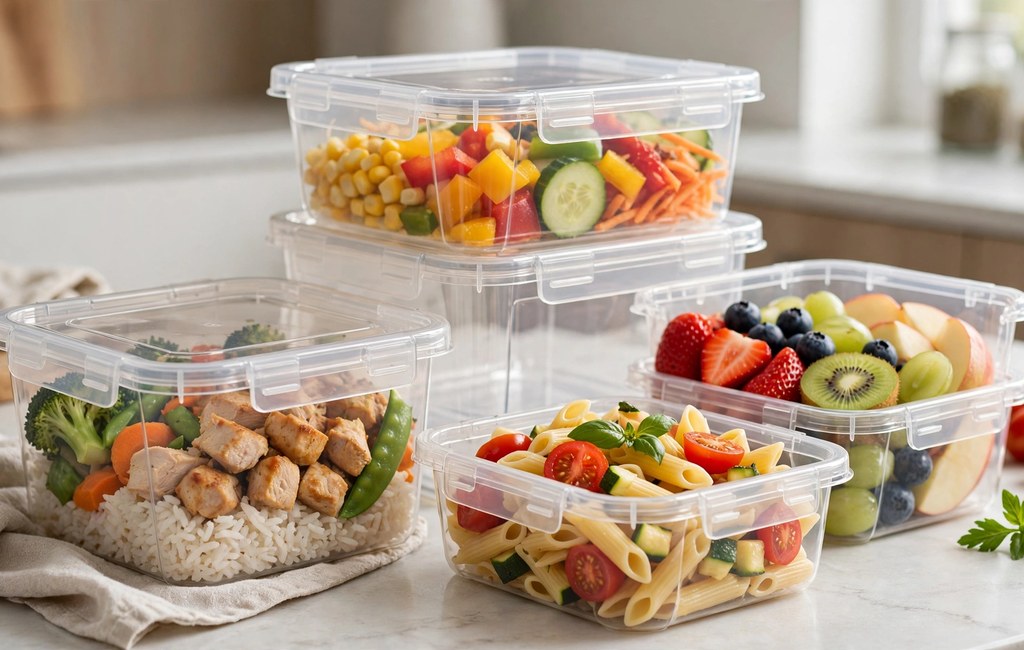
Match container volume to the meal, not to the largest dish in your kitchen. For example, a balanced adult portion often fills two to three cups, including protein, grains, and vegetables. Smaller cups suit snacks, dips, fruit, and single side dishes without wasted space.
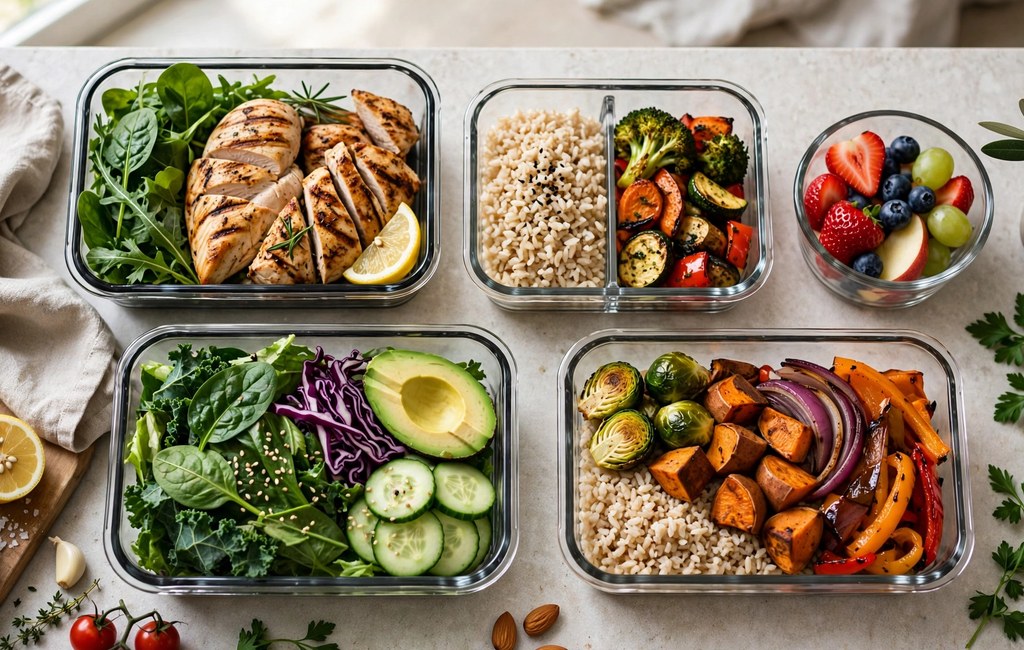
Compartment containers keep flavors separate and help you portion each food group visually. Use one section for protein, another for grains, and a third for vegetables. In contrast, single-compartment containers suit soups, stews, pasta, and mixed dishes that blend naturally.
Clamshell containers close quickly and suit sandwiches, salads, and baked goods for transport. Additionally, hinged lids reduce lost pieces and speed packing during busy event preparation. Aluminum foil pans handle casseroles, roasted vegetables, and baked dishes for larger groups.
- Snacks and sides: Choose smaller sizes for snacks and sides. Keep portions visible and avoid overfilling each cup.
- Single meals: Pick medium containers for single meals. Leave room for toppings without pressing food against lids.
- Family portions: Reserve large trays for family portions. Divide servings at the table instead of packing oversized portions.
- Sauces and dressings: Add small cups for sauces and dressings. Keep wet toppings separate until serving time arrives.
Pack for Portions That Stay Fresh
Cool hot food before sealing containers, because trapped steam softens textures and weakens seals. Then, divide large batches into shallow containers so heat escapes quickly and evenly. Label each container with the dish name and the packing date for easy rotation.
Wet ingredients need separation from crisp ingredients until serving time. Sauces travel best in small sealed cups, while leakproof meal prep containers handle dressings during longer trips. Layer sturdy ingredients below delicate greens, nuts, and crunchy toppings for better texture.
Also, leave a little headspace for soups, stews, and saucy dishes that expand or shift. Wipe rims clean before closing lids, because food residue prevents a flat, secure seal. Press lids firmly around every edge and check corners before stacking or bagging containers.
Lid Fit, Stacking, and Transport
Test each lid before packing food, since mismatched lids cause most spills during transport. Thinner walls flex during travel, whereas plastic meal prep containers with sturdy rims hold their shape better. Match every lid to its base during packing, rather than sorting lids after filling containers.
Stack containers with flat bases and similar footprints for stable, balanced piles. Furthermore, place heavier containers below lighter ones and keep soups upright during every trip. Use insulated bags or coolers for perishable meals on warm days or long journeys.
Pack containers snugly inside bags so they cannot slide, tip, or crush each other. Meanwhile, keep cold foods cold and hot foods hot until guests or recipients eat. Unpack perishable meals promptly at arrival instead of leaving bags in warm vehicles.
What Not to Do With Single-Use Containers
Do not microwave single-use containers, even when food inside them feels cold. Transfer food into a microwave-safe dish before heating, and follow that dish label carefully. Check every container label first, because materials and intended uses vary widely.
Discard cracked, warped, melted, or heavily scratched containers without hesitation. Damaged containers seal poorly and may shed particles into food during handling. Also, avoid reusing single-use containers repeatedly as everyday storage for hot foods.
Refrigerate perishable leftovers within two hours of cooking or serving. Shorten that window to one hour when outdoor temperatures exceed ninety degrees Fahrenheit. Eat most refrigerated leftovers within three to four days, and freeze extras sooner. Reheat leftovers thoroughly to one hundred sixty-five degrees Fahrenheit before eating.
Avoid sealing steaming food immediately, because condensation weakens lids and dulls flavors. Instead, cool food briefly, seal containers, and refrigerate promptly after packing. Discard food you doubt, because smell and appearance cannot guarantee safety alone.
Use Disposable Meal Prep Containers With Less Waste
Reserve disposables for occasions that genuinely need them, and use reusables for daily routines. Consequently, that habit reduces waste without removing convenience from events and gifted meals. Buy only the count you need for one occasion, rather than stockpiling many sizes.
Sort used containers according to local recycling and composting rules in your area. Empty and rinse rigid containers before recycling, and remove food residue first. Compost only certified compostable containers where facilities accept them locally.
Remember that terms like biodegradable do not automatically mean compostable at facilities. Therefore, read labels carefully and place uncertain items in trash rather than recycling bins. Furthermore, choose paperboard or plant-fiber options only when local composting accepts them.
Frequently Asked Questions
Can you microwave disposable meal prep containers?
No, transfer food into a microwave-safe dish before heating instead.
How long do leftovers last in disposable containers?
Eat most refrigerated leftovers within three to four days for safety.
Are disposable meal prep containers recyclable?
Some rigid containers qualify for recycling, so check local rules and labels first.
How do you stop disposable containers from leaking?
Wipe rims clean, press lids firmly, leave headspace, and transport soups upright.
What size disposable container works for one meal?
Choose a two to three cup container for a balanced single adult portion.
Pack Simply and Clean Up Easily
Disposable containers earn their place for events, gifts, and travel with careful packing. Choose suitable sizes, seal lids firmly, respect safety limits, and sort waste thoughtfully. Start your next shared meal with this plan, and enjoy easy packing plus simpler cleanup.