You keep carved pumpkins fresh longer by cleaning, soaking, and sealing cut edges promptly. Additionally, cool shade and flameless lighting slow drying, mold growth, and early collapse. With consistent care, most pumpkins stay firm and bright for five to ten days.
However, heat, sunlight, and bacteria quickly undo even detailed carving work after cutting. Therefore, smart pumpkin preservation starts before you draw any stencil or template design. This guide explains practical steps for cleaning, hydrating, displaying, and reviving your jack-o’-lantern safely. Finally, simple habits protect your porch decoration through Halloween night and beyond.
Start With a Clean, Well Carved Pumpkin
First, choose a firm pumpkin with firm skin, a sturdy stem, and no soft spots. Also, wash the rind with mild soap and water before you open the pumpkin. Clean skin removes dirt and mold spores that speed decay after carving.
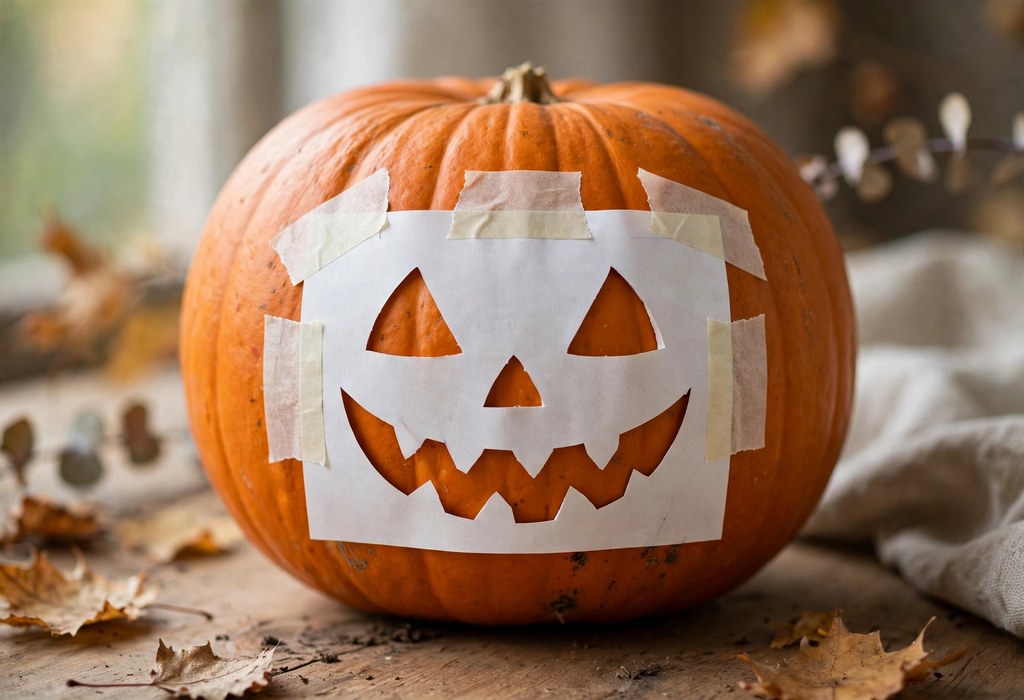
Meanwhile, plan your design before you make the cut into the rind. Browsing Halloween Pumpkin carving gives you designs that match your skill level. Then, transfer the pattern carefully and keep details sturdy and well spaced.
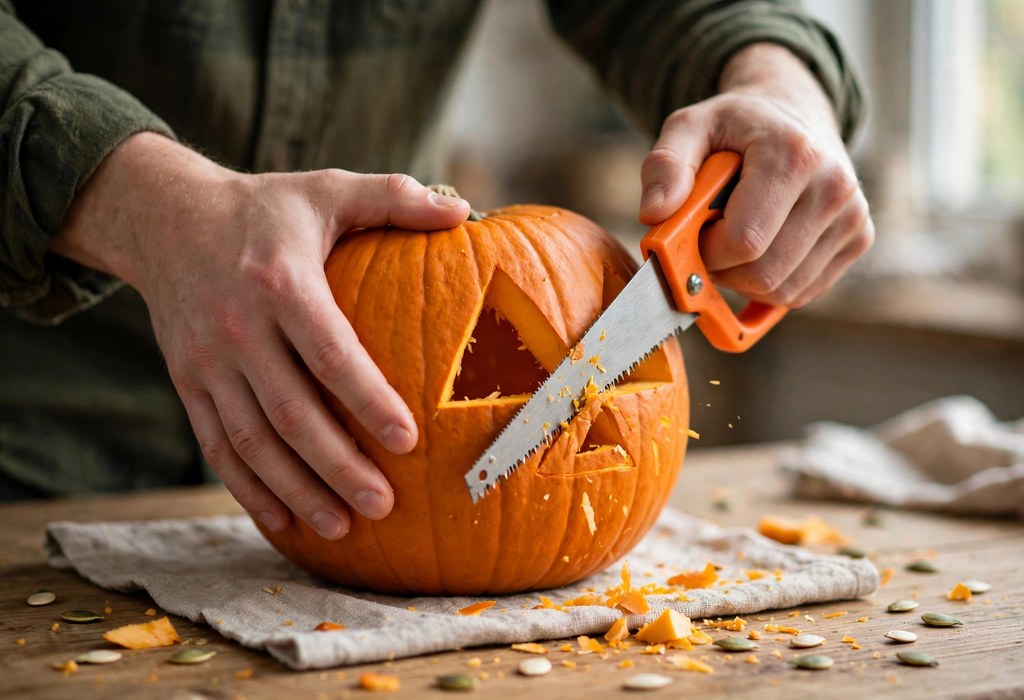
Next, open a pumpkin carving kit and check every tool before you start scooping. Reliable pumpkin carving tools help you cut cleanly without tearing the flesh. For example, a serrated knife slices thick rind smoothly and controls narrow curves.
Clean and Disinfect With a Bleach Soak
After carving, scrape every string and seed from the inner walls during thorough scooping. Leftover pulp holds moisture and feeds mold, bacteria, and fruit flies quickly. Furthermore, dry the cavity with clean towels until the flesh feels barely damp.
Steps for an Effective Bleach Soak
- Bleach soak: Mix one tablespoon of bleach into one gallon of cool water.
- Full soak: Submerge the carved pumpkin completely and soak it for thirty minutes.
- Drain step: Lift the pumpkin carefully and drain excess solution from the cavity.
- Drying step: Pat cut edges dry and air the pumpkin before sealing them.
Importantly, keep bleach solution away from children, pets, clothing, and food surfaces. Also, never feed a bleach treated pumpkin to wildlife after Halloween ends. Instead, compost only untreated pumpkins and dispose of treated pumpkins with household trash.
Seal Cut Edges and Lock in Moisture
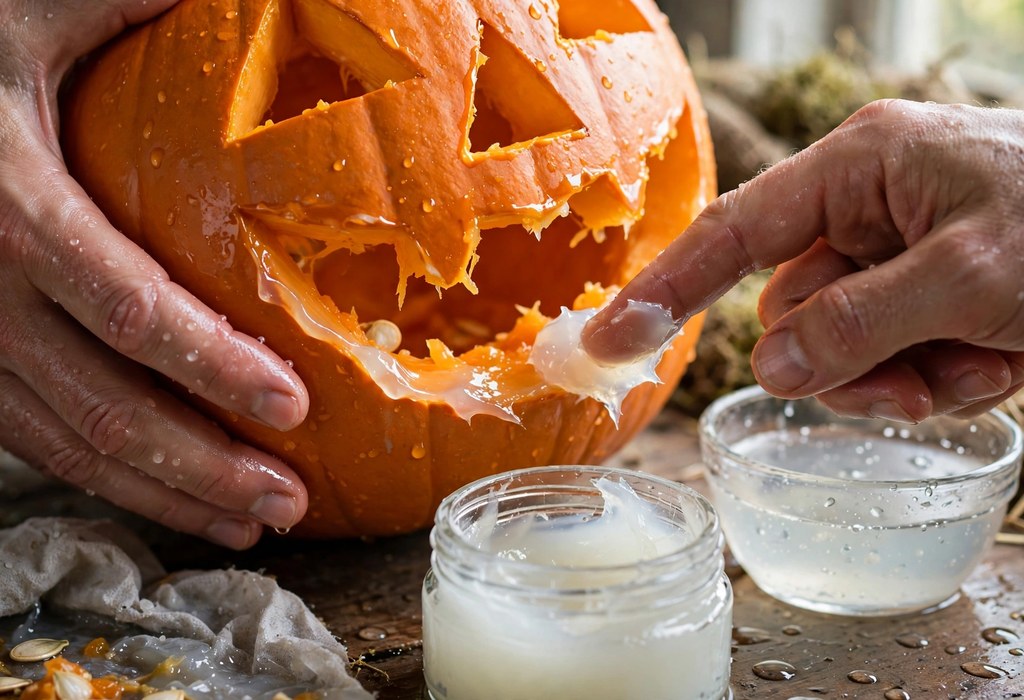
Once the pumpkin dries, seal every exposed edge before you display it. A thin layer of petroleum jelly blocks air and slows moisture loss. Similarly, sealing the inner walls helps thin features hold their shape longer.
- Edge coating: Spread petroleum jelly thinly over every carved edge with clean fingers.
- Inner coating: Coat the inside walls lightly and cover thick cuts especially well.
- Daily check: Reapply the coating whenever edges look dry, pale, or curled.
However, apply only a thin layer because thick globs attract dust and dirt. Vegetable oil offers a backup option, although many carvers find jelly lasts longer. Consequently, choose petroleum jelly for detailed faces with many small, delicate cuts.
Display Your Pumpkin in Cool Shade
Location strongly affects lifespan, so place your jack-o’-lantern on a covered, shaded porch. Direct sunlight heats the flesh, fades the rind, and speeds shriveling. Ideally, display temperatures stay between fifty and sixty degrees for best results.
Choose Flameless Light for Safer Glow
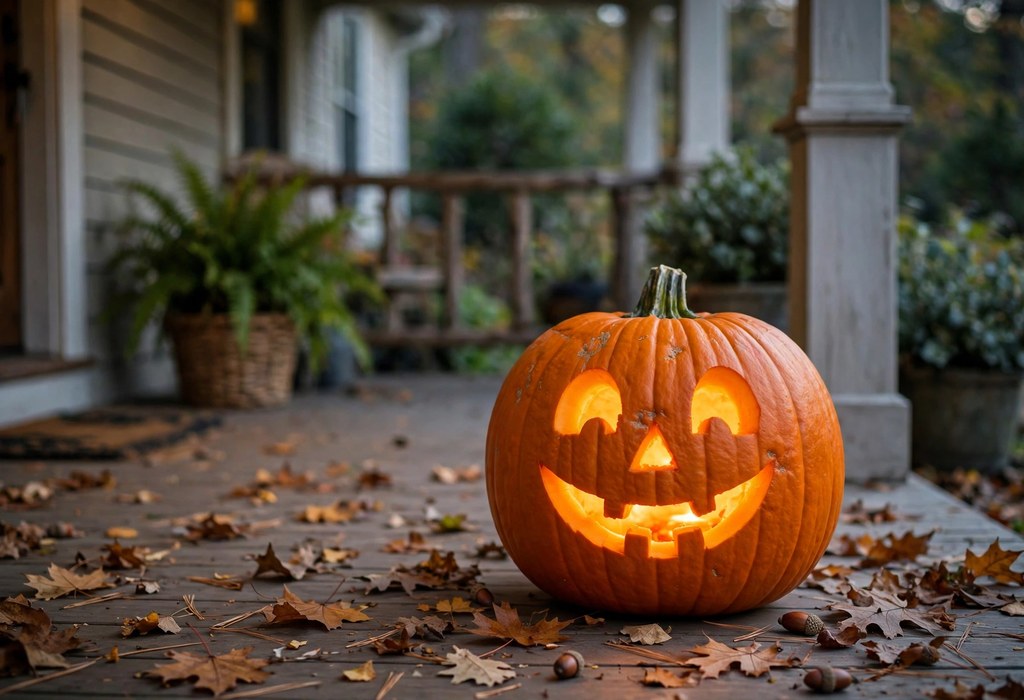
For lighting, place an LED candle inside the pumpkin instead of a real flame. A battery tealight gives a similar warm glow without heating the inner flesh. Real candles cook the pumpkin from inside and shorten its display life.
When nights turn freezing, move the pumpkin into a garage or cool entryway. Beginners can also try easy pumpkin carving ideas that use fewer cuts and thicker walls. Thicker walls resist collapse and suit a busy haunted house display.
Hydrate Daily and Revive a Shriveled Pumpkin
Sealed pumpkins lose water daily through every exposed cut and opening. Therefore, mist the inside lightly with clean water each morning and evening. Alternatively, cover the pumpkin with a damp towel during quiet daytime hours.
Revive a Pumpkin With a Cold Soak
If edges curl and features sag, a cold water soak can revive them. Submerge the whole pumpkin in cold water for one to eight hours. Afterward, drain the pumpkin thoroughly, pat it dry, and reseal the edges.
- Mold warning: Discard the pumpkin if fuzzy mold spreads across the flesh.
- Smell warning: Toss the pumpkin if it smells sour, fermented, or strongly rotten.
Still, a soak only helps a shriveled pumpkin without mold or soft rot. Refrigeration overnight also slows decay when outdoor temperatures stay warm.
Know How Long a Carved Pumpkin Really Lasts
Typically, an untreated carved pumpkin lasts only three to five days outdoors. With careful pumpkin preservation, many displays stay presentable for seven to ten days. Cool regions sometimes extend that window, while warm porches shorten it.
Carving closer to Halloween gives your design the best chance to look fresh. In addition, carve backup pumpkins later if you need displays across event nights. Ultimately, treat a carved pumpkin as temporary porch decoration, not a permanent keepsake.
Frequently Asked Questions
How long do carved pumpkins last outside?
Most carved pumpkins last three to five days untreated and up to ten days preserved.
Does bleach help carved pumpkins last longer?
Yes, a brief bleach soak kills surface mold and bacteria that speed early decay.
Can you revive a shriveled carved pumpkin?
You can revive a mold-free pumpkin by soaking it in cold water overnight.
Should you use a real candle or an LED candle?
An LED candle protects the pumpkin because it produces glow without damaging heat.
What does petroleum jelly do for a carved pumpkin?
Petroleum jelly seals cut edges and slows moisture loss that causes curling and shriveling.
Conclusion
In short, clean thoroughly, soak briefly, seal edges, and display your pumpkin in shade. These simple pumpkin preservation habits help your jack-o’-lantern greet guests with a bright glow. Start tonight, prepare your pumpkin, and enjoy a fresher display all Halloween week.