No-carve pumpkin decorating ideas let you paint, wrap, and dress whole pumpkins without cutting them open. These safe projects suit kids, classrooms, and busy families perfectly. Moreover, uncut pumpkins last far longer and avoid knife risks entirely.
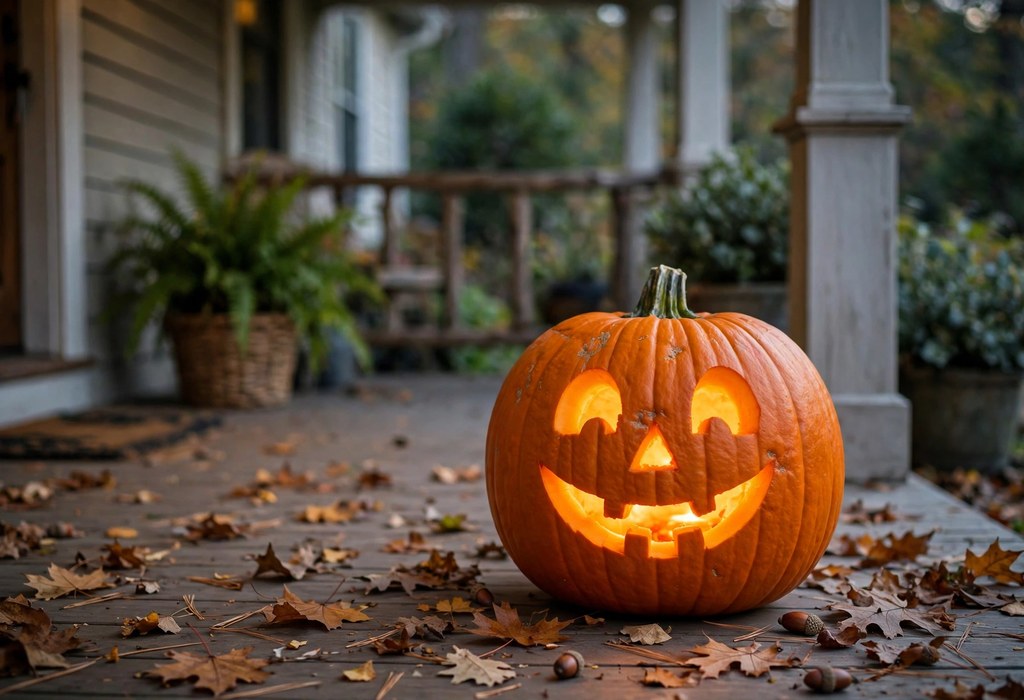
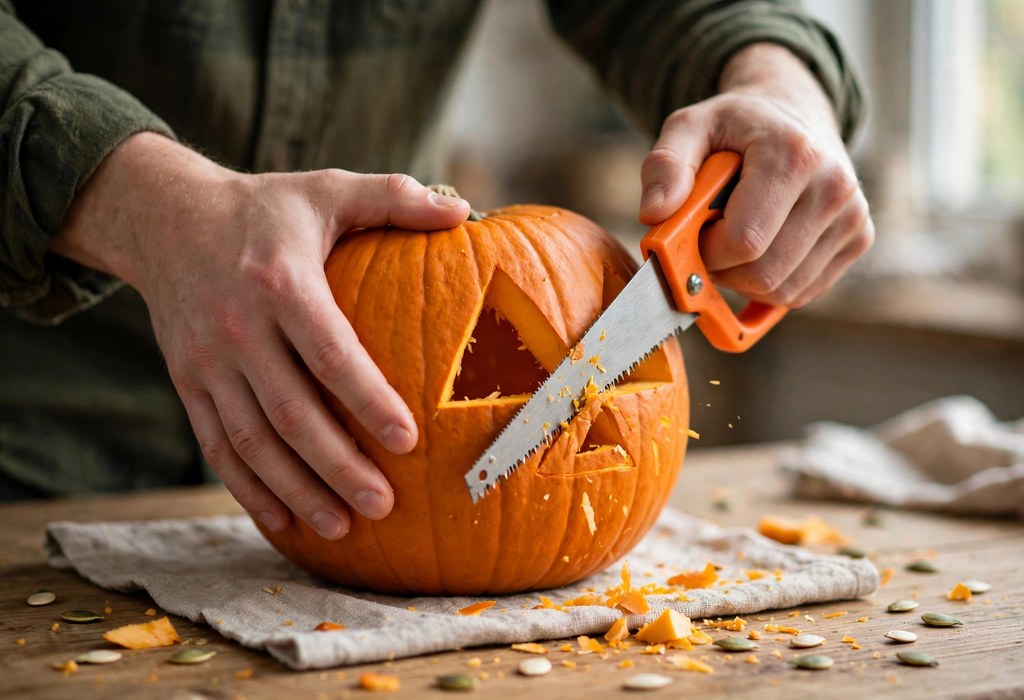
Instead of scooping seeds and gripping a serrated knife, you simply decorate the smooth outer skin. Additionally, teachers love these projects because students finish quickly and clean up easily. Furthermore, a finished pumpkin becomes a bright porch decoration that stays fresh for weeks. Meanwhile, classic Halloween Pumpkin carving still inspires many designs and color choices here. However, these no-carve versions keep hands safe and surfaces surprisingly clean.
Choosing the Right Pumpkin for Decorating
First, pick a pumpkin with smooth, firm skin and no soft spots. Additionally, a flat bottom helps the pumpkin sit steady during decorating. Moreover, medium pumpkins suit small hands and limited classroom table space.
Meanwhile, white pumpkins show paint colors vividly and suit elegant designs. However, classic orange pumpkins still deliver the strongest traditional Halloween contrast. Therefore, mix sizes and colors for a display with real depth.
Painted Pumpkins for Bold, Easy Designs
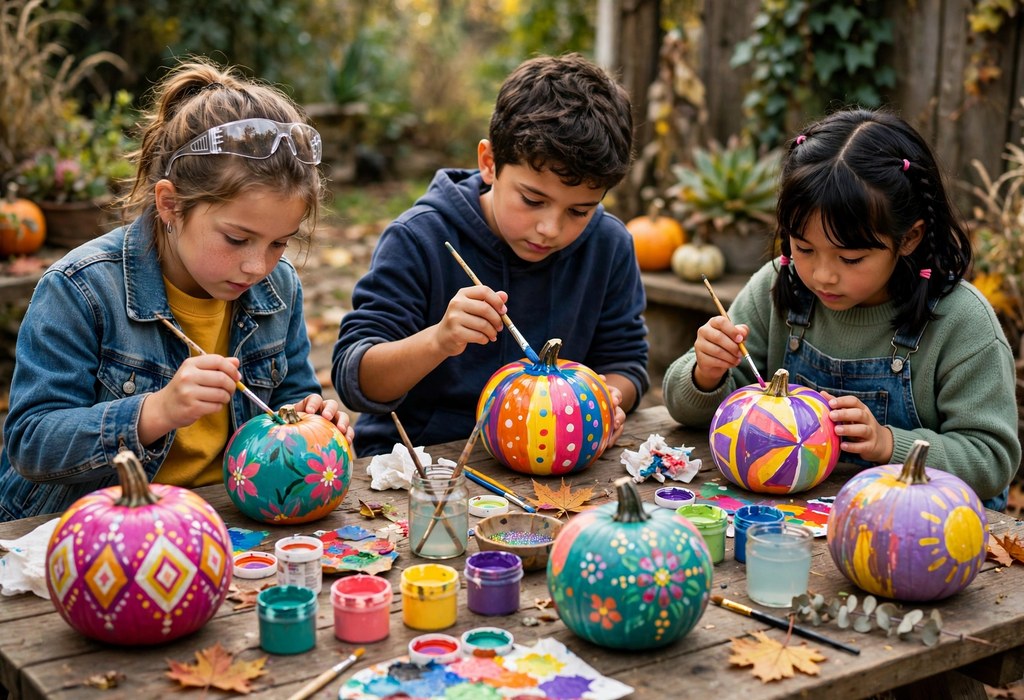
First, acrylic paint covers pumpkin skin smoothly and dries within minutes. For example, children paint silly jack-o’-lantern faces with wide eyes and toothy grins. Additionally, adults paint elegant stripes, polka dots, and harvest patterns instead.
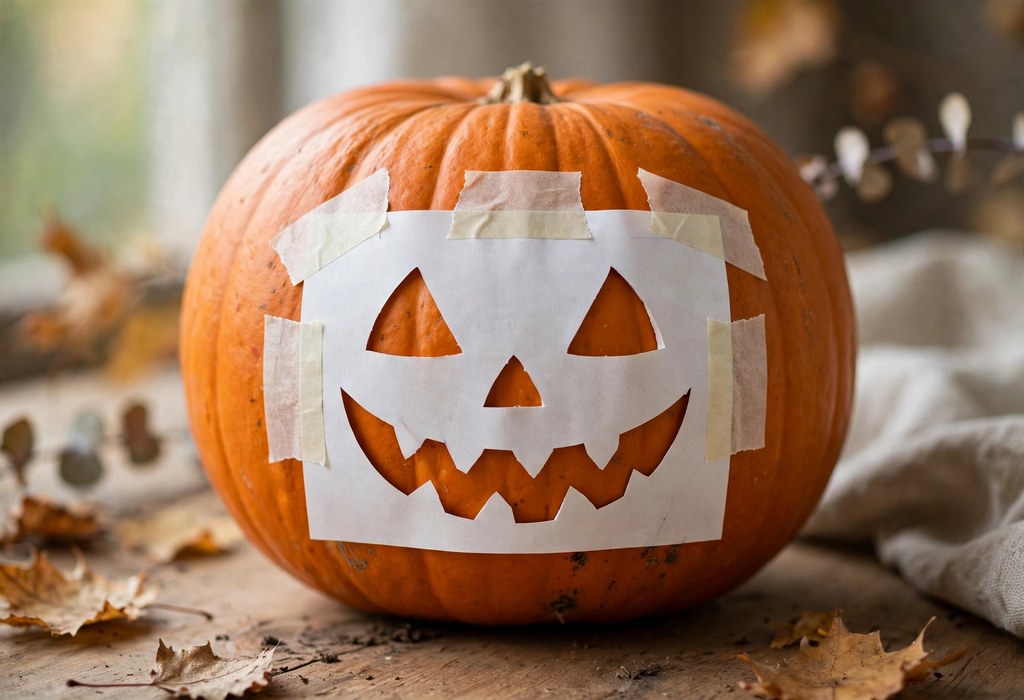
Meanwhile, a paper stencil or template helps anyone paint crisp shapes without freehand skills. Simply tape the template down, dab paint inside, and lift it away carefully. Then, seal the design with clear craft sealer for outdoor durability.
Furthermore, chalk paint creates a matte finish that children draw on repeatedly. Indeed, metallic paints add shimmer that catches evening porch light beautifully. Consequently, one pumpkin can match spooky, playful, or elegant themes easily.
Melted Crayon Pumpkins
First, adults peel crayons and glue the sticks around the pumpkin stem. Next, a hair dryer melts the wax and creates colorful drips downward. However, adults should handle the heat and supervise children throughout.
Additionally, white pumpkins make rainbow wax drips look especially bold and bright. Moreover, this project turns broken crayon pieces into striking Halloween art. Therefore, classrooms often choose it for older students and art lessons.
Stickers, Decoupage, and Push-In Accessories
Additionally, stickers and push-in pieces transform pumpkins in minutes without any mess. For example, foam stickers create faces, letters, and spooky scenes instantly. Moreover, decoupage glues patterned napkins or tissue paper smoothly onto the surface.
- Painted faces: Brush on bold eyes and grins.
- Sticker faces: Press on eyes, mouths, and bats for instant character.
- Decoupage layers: Brush glue over napkins and smooth every wrinkle gently.
- Push-in accessories: Insert plastic ears, hats, and arms without cutting skin.
- Glitter accents: Sprinkle glitter over glue swirls for sparkling Halloween shine.
Furthermore, families seeking cute pumpkin carving ideas for kids will find softer themes here too. Indeed, friendly ghosts, smiling cats, and cheerful scarecrows suit younger children best. Additionally, character pumpkins delight fans who copy favorite heroes with paint.
Fabric, Ribbon, and Glitter Wraps
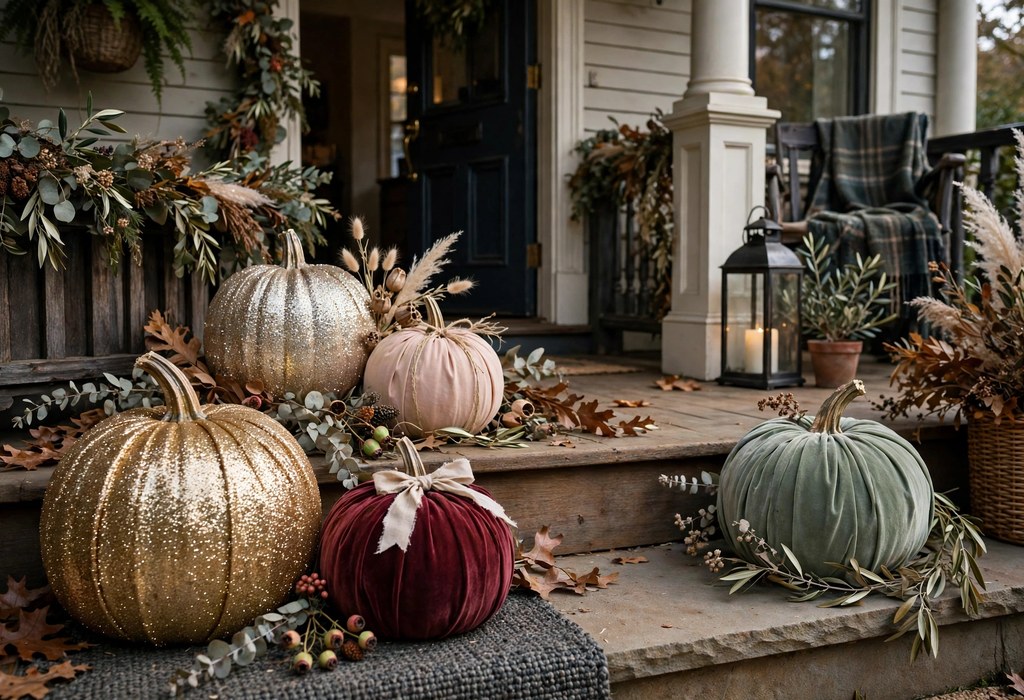
Meanwhile, fabric wraps give plain pumpkins a cozy, tailored look instantly. Simply drape burlap, plaid, or lace around the pumpkin and tie it neatly. Then, finish the stem with ribbon bows, twine, or raffia.
Additionally, glitter transforms simple pumpkins into glamorous centerpieces for parties. First, brush glue across the surface in stripes, dots, or swirls. Next, shake glitter generously over the glue and tap away extra sparkle.
Furthermore, mummy wraps use gauze strips and large googly eyes playfully. However, outdoor pumpkins need weatherproof fabrics and strong, water-resistant glue. Therefore, test wraps indoors first before arranging them outside overnight.
Making No-Carve Pumpkins Last Longer
Importantly, pumpkin preservation starts before you decorate any pumpkin at all. First, wash the skin gently and dry it completely with a towel. Additionally, some carvers use a bleach soak and petroleum jelly on cut pumpkins.
However, uncut pumpkins skip those steps and naturally resist rot much longer. Moreover, you never open a pumpkin carving kit or risk a slipping blade. Consequently, whole pumpkins often decorate porches beautifully for several weeks.
For example, printable pumpkin carving stencils also work beautifully as painting guides on whole pumpkins. Simply trace the design lightly, then fill it with paint or glitter glue. Therefore, you reuse familiar patterns without cutting a single line.
Additionally, keep decorated pumpkins under covered porches during heavy rain. Meanwhile, good airflow around each pumpkin slows mold and soft spots. Indeed, simple care stretches your display well beyond Halloween night.
Displaying Your Finished Pumpkins
Finally, group pumpkins by height and color along steps and railings. Additionally, pair them with an LED candle or a flameless tealight nearby for glow. However, never place a real tealight inside an uncut, decorated pumpkin.
Meanwhile, a haunted house display gains impact from painted ghosts and glittery skulls. Furthermore, classroom displays stay tidy because nobody tracks seeds across the floor. Indeed, neighbors notice creative no-carve designs just as quickly.
Moreover, stair displays look stronger when you alternate painted and wrapped pumpkins. For example, place glitter pumpkins highest and character pumpkins lowest for children. Consequently, every visitor sees each design clearly from the sidewalk.
Frequently Asked Questions
How long do uncarved pumpkins last?
Generally, uncarved pumpkins last several weeks outdoors when you keep them dry and shaded.
What paint works best on pumpkins?
Typically, acrylic craft paint adheres best and covers pumpkin skin with bold color.
Can toddlers decorate pumpkins safely?
Absolutely, toddlers safely press stickers and finger paint onto pumpkins with adult supervision nearby.
How do you decorate a pumpkin without carving it?
Simply paint it, wrap it in fabric, or add stickers and push-in accessories.
Do no-carve pumpkins create less mess in classrooms?
Indeed, no-carve pumpkins create far less mess because nobody scoops seeds or pulp.
Conclusion
In short, no-carve decorating delivers color, character, and safety without any cutting. Moreover, these ideas welcome every age and skill level at the table. Therefore, gather paint, fabric, and stickers today and start decorating your Halloween pumpkins now!