Essentially, a complete pumpkin carving kit gives you safer control and cleaner cuts. Inside, you will find serrated saws, sturdy scoops, pokers, and detail tools. Together, these tools help beginners create a glowing jack-o’-lantern without wrestling slippery rind.
Moreover, purpose-made tools beat large kitchen knives for both safety and precision. Choosing each tool by function simplifies every stage, from scooping to lighting. Families also gain confidence when adults handle sharp edges and supervise children closely.
This guide explains each essential tool, plus practical safety habits for every session. Readers planning broader Halloween Pumpkin carving can match tools to chosen designs first.
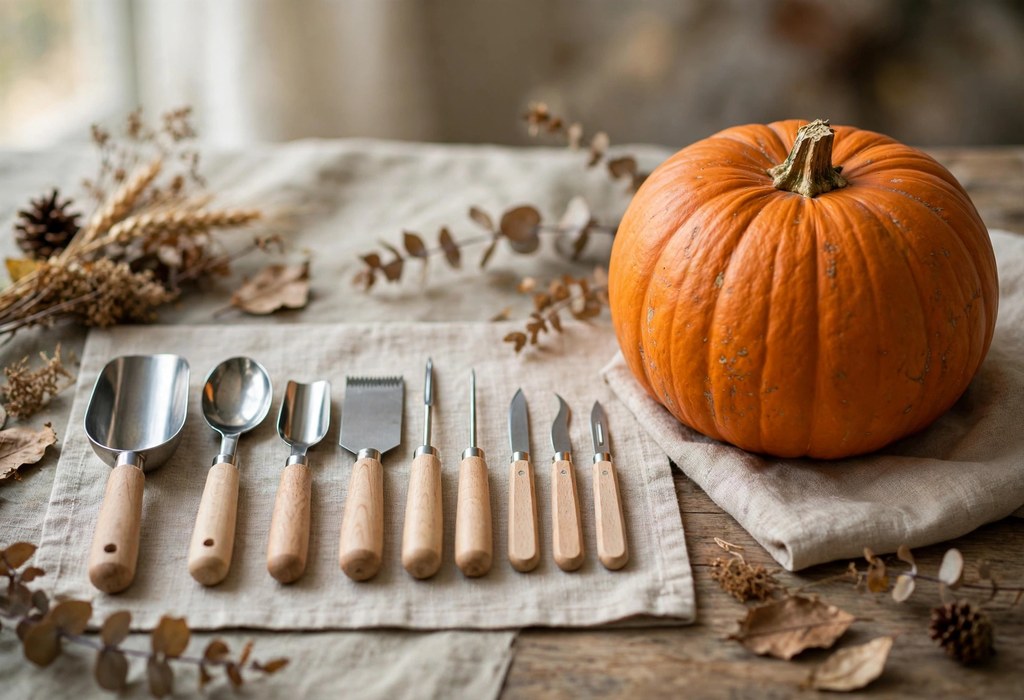
The Core Cutting Tools
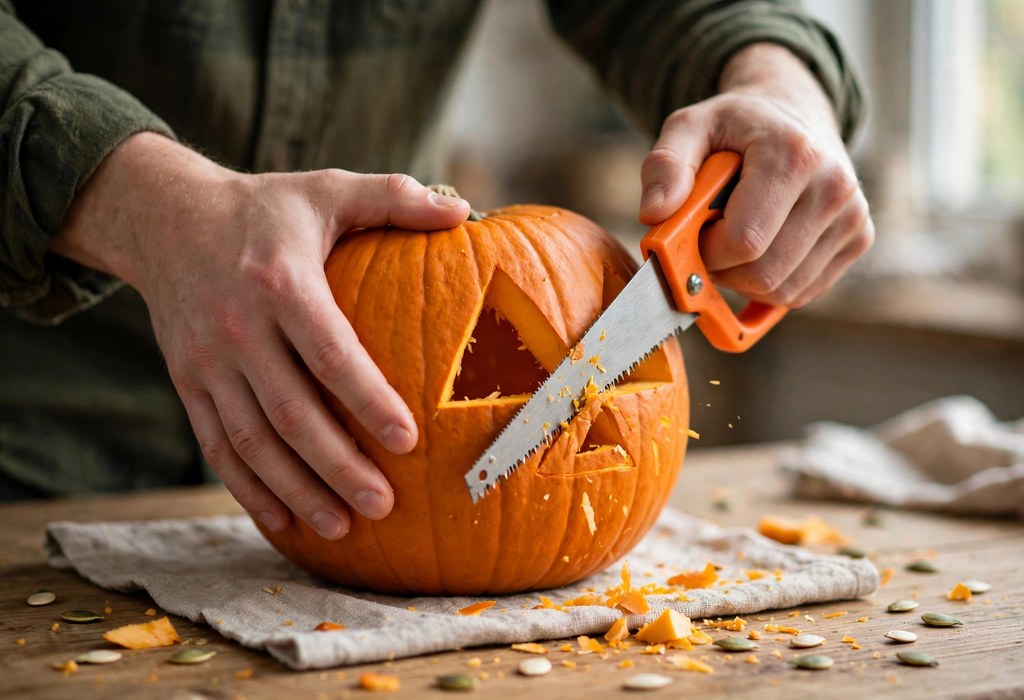
First, serrated saws form the foundation of every reliable carving setup. Their small teeth grip rind steadily and cut with short, controlled strokes. By contrast, a large serrated knife often wedges inside thick pumpkin walls.
Sturdy handles also improve your grip and reduce sudden slips during cutting. Short saws handle corners, curves, and classic triangular eyes with greater ease. Meanwhile, longer saws tackle lids and larger shapes across bigger pumpkins efficiently.
- Serrated saw: Cut lids and outlines using short, steady strokes.
- Detail knife: Trim tight corners and refine small facial features carefully.
- Lid cutter: Angle cuts inward so lids sit securely afterward.
Scoops and Scrapers for Clean Interiors
Before carving, scooping removes seeds, strings, and loose pulp from inside. Strong scoops save time and spare your hands unnecessary strain and mess. Flat scrapers then thin walls evenly and help light shine through designs.
Even walls carve more smoothly and resist cracking during detailed work afterward. Additionally, thinner walls near one inch support cleaner cuts and brighter glow. Keep a large bowl nearby and collect seeds for roasting later.
Transfer Tools for Accurate Designs
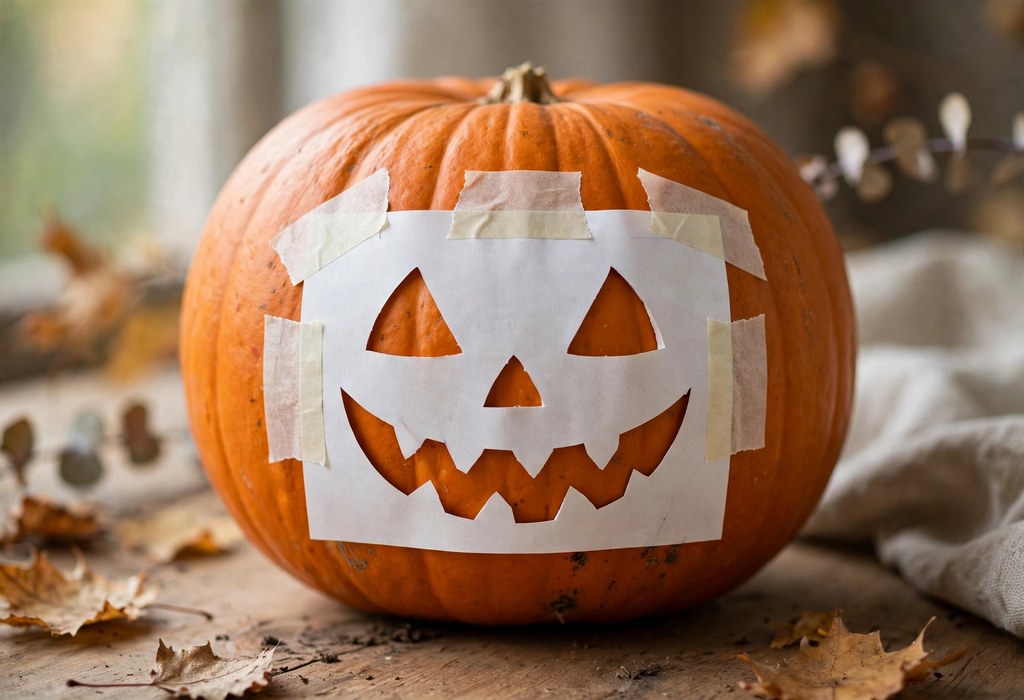
Next, pokers and transfer wheels copy designs accurately onto pumpkin skin. Secure a paper stencil flat, then punch dotted lines along every edge. Afterward, you remove the template and connect the dots while cutting.
Beginners exploring easy pumpkin carving ideas should choose bold shapes and wide openings. Simple patterns reduce frustration, plus they forgive minor slips and uneven strokes. Washable markers also let artists sketch freehand faces and erase mistakes quickly.
Hold the poker like a pencil and press straight into the rind. Furthermore, steady pressure creates clear dots without tearing delicate paper patterns. Young helpers can safely punch dots while adults supervise sharp saws.
Detail Tools and Drills for Patterns
Small detail knives shave shallow layers and create glowing shaded effects. Loop tools and small gouges also carve grooves, fur, and textured details. Careful artists work slowly, since shallow cuts preserve strength and prevent break-throughs.
Similarly, a handheld drill creates perfectly round holes for dot patterns. Polka dots, constellations, and borders look crisp when holes stay evenly spaced. Only adults should operate drills, however, and secure pumpkins before drilling begins.
- Poker tool: Punch guide dots through paper patterns before cutting.
- Drill bit set: Bore clean holes for stars, dots, and borders.
- Gouge tool: Shave thin skin layers for soft shaded highlights.
Lighting Options for a Safe Glow
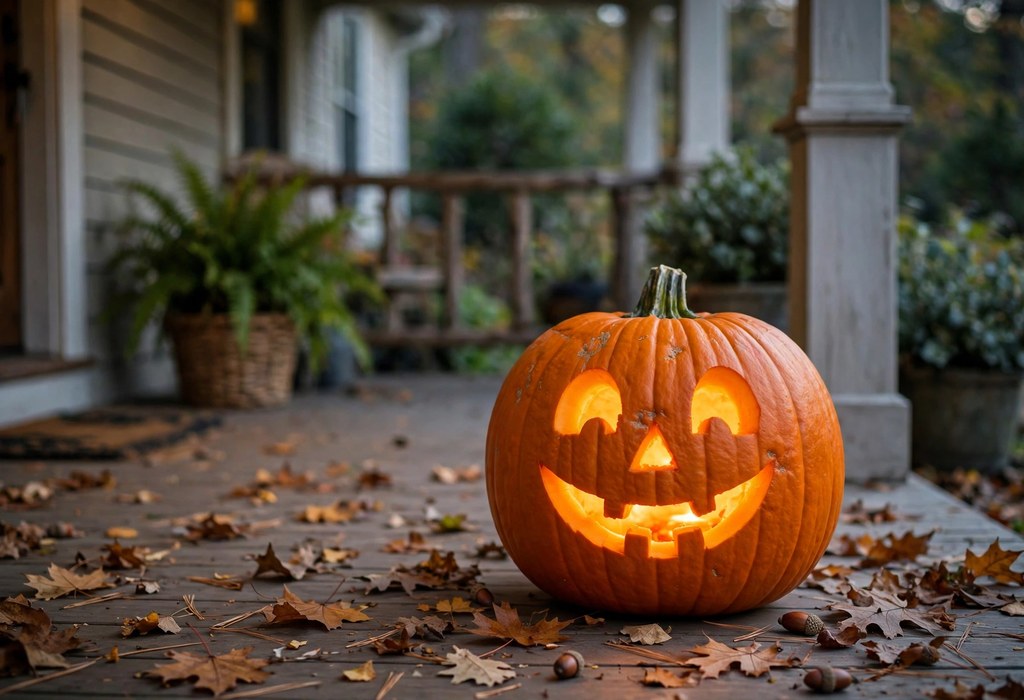
Once carving ends, lighting turns simple cuts into dramatic nighttime effects. An LED candle offers steady, flameless light and lasts through evening displays. In contrast, a real tealight creates warm flicker and classic Halloween atmosphere.
Flameless lights suit busy porches, indoor displays, children, and curious pets best. Real flames demand constant supervision, stable holders, and clearance from dry leaves. For a haunted house display, colored lights add eerie depth and theatrical contrast.
- LED candle: Provide bright flameless glow without heat or smoke indoors.
- Tealight candle: Deliver authentic flicker under close adult supervision only outdoors.
- String lights: Wrap soft light around grouped pumpkins for layered displays.
Thoughtful placement turns any carved pumpkin into welcoming porch decoration each night. Position lights centrally, then test brightness before guests arrive at dusk.
Safety Rules for Every Carving Session
Safety starts before the first cut, with preparation guiding every later step. Set pumpkins on stable, non-slip surfaces and light the workspace brightly. Dry hands, handles, and pumpkin skin thoroughly and repeat drying often.
Always cut away from your body and keep fingers outside blade paths. Use short sawing strokes, never force stuck tools, and pause between cuts. If a tool sticks, wiggle it gently instead of yanking it free.
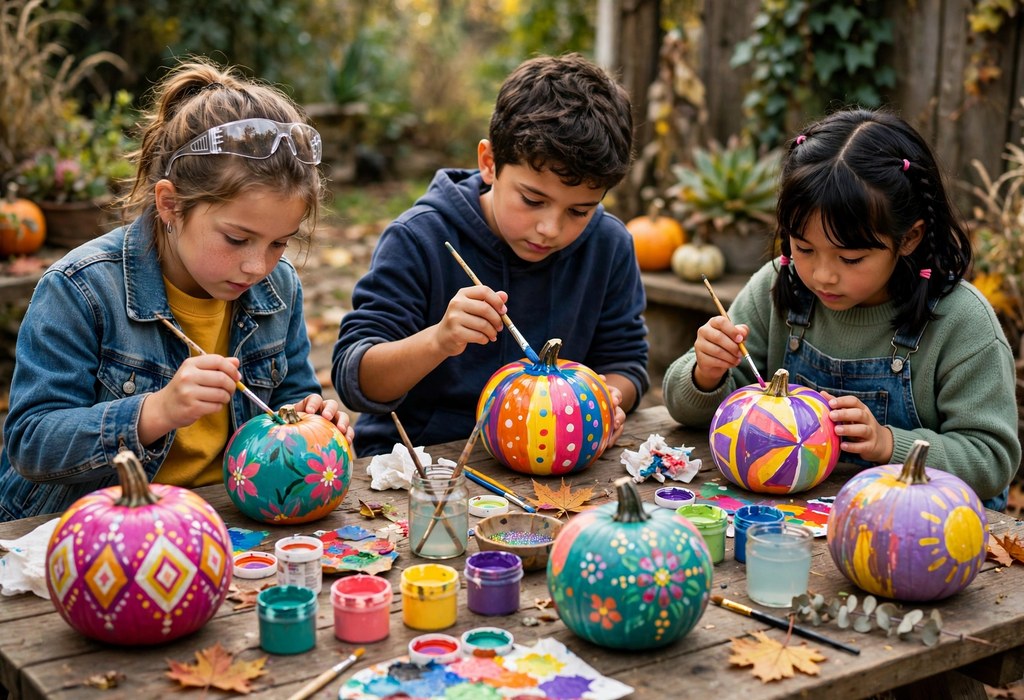
Adults should handle sharp tools while children draw, scoop, and decorate safely. Supervise children throughout every session, even during seemingly harmless scooping tasks. Store bandages, antiseptic, and clean cloths nearby for treating minor cuts.
Rinse minor cuts promptly, apply steady pressure, and cover wounds with bandages. Seek medical care quickly when bleeding continues or fingers lose movement.
- Grip check: Wipe hands and handles before every cutting pass.
- Stable base check: Place pumpkins on flat, non-slip surfaces before carving.
- Adult role check: Assign sharp cutting tasks only to responsible adults.
Cleaning, Storage, and Preservation Basics
After display planning, smart pumpkin preservation extends your hard work for days. A brief bleach soak discourages mold and slows decay on cut surfaces. Rub petroleum jelly along cut edges and seal moisture inside the flesh.
Gardeners wanting to keep carved pumpkins fresh longer should refrigerate pumpkins overnight. Clean tools after use, dry them fully, and store edges safely away. Organized storage also prevents dull blades, rust, and accidental cuts next season.
Frequently Asked Questions
What tools do you need to carve a pumpkin safely?
You need serrated saws, sturdy scoops, pokers, detail tools, and lights.
Is a kitchen knife or a carving saw safer for pumpkins?
Purpose-made saws prove safer because small teeth require less force overall.
How do you transfer a stencil onto a pumpkin?
Tape your stencil flat, then punch dotted guide holes along lines.
Can children help carve pumpkins safely?
Children can draw designs, punch dots, and scoop pulp under supervision.
Should you use an LED candle or a real tealight?
Choose an LED candle for flameless safety during busy porch displays.
Conclusion
Overall, the right toolkit turns pumpkin carving into safe, satisfying family fun. Gather your kit today, choose a simple design, and start carving confidently. Then display your finished jack-o’-lantern proudly and share the glow with neighbors.