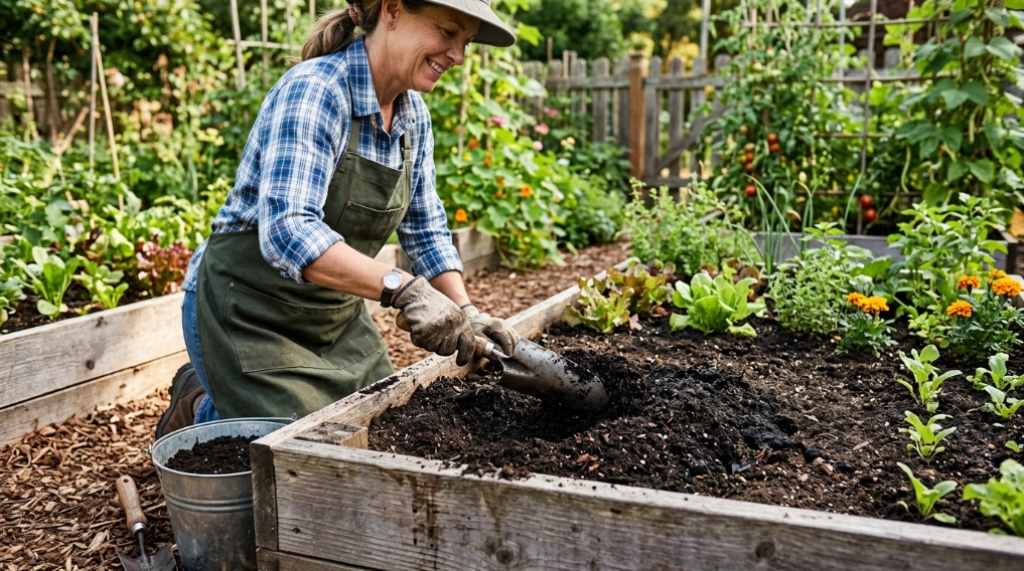
Texas gardening is a battle against sun, clay soil, and a growing season that flips from balmy to brutal in a single week. You’ve probably stood in the garden center, stared at a wall of hand tools, and wondered why one trowel costs $12 and another costs $40. The real problem isn’t price—it’s that most transplanters fail in our specific conditions. They bend in our caliche, snap in our heat, and rust in our humidity. If you’ve dealt with a warped blade or a handle that blisters after twenty minutes of planting, you know the frustration. This guide will help you compare transplanter tools for Texas gardens by focusing on soil type, ergonomics, and durability—so you buy once and plant for decades.
What Exactly Is a Transplanter Tool and How Is It Different from a Trowel?
A transplanter tool is a narrow, long-bladed hand tool designed specifically to dig deep holes, lift root balls, and move young plants with minimal disturbance. Unlike a standard trowel, which has a wide, scooping blade, a transplanter features a sharp, pointed tip and a longer, slimmer profile that slices through compacted soil.
Key Design Differences That Matter in Texas
In our state, the distinction isn’t just academic. The narrow blade of a transplanter reduces soil resistance, making it easier to penetrate the dry, hard crust we call soil. Trowels tend to act like shovels—they scoop and disturb—while transplanters act like knives, cutting cleanly.
Why a Trowel Won’t Cut It Here
If you try to use a wide trowel in the Blackland Prairie region, you’ll spend twice the time fighting the soil. The wider surface area creates more friction, causing the tool to bounce off hardpan rather than dig in. A transplanter’s profile gets the job done in one smooth, vertical motion.
The Measurement That Matters: Blade Length
For Texas, look for a blade length of at least 6 to 8 inches. This length is critical because we need to plant deep enough to get roots below the scorching surface heat and into cooler, moisture-retaining earth.
Why Does Soil Type in Texas Determine Which Transplanter You Should Buy?
The answer is simple: because our soil varies from Gulf Coast sand to West Texas caliche, and a tool that works in one region will fail in another. You cannot buy a generic, “one-size-fits-all” transplanter and expect it to survive the extremes of the Lone Star State.
The Heavy Clay Problem (East & Central Texas)
Clay soil is sticky, dense, and highly reactive to moisture. When dry, it’s like concrete; when wet, it’s like modeling clay. For this soil, you need a transplanter with a polished or coated blade that resists sticking. A matte, rough steel blade will drag and clump, making every hole a workout,Before bringing your gardening tools indoors or after spending a long day working in the dirt, ensure your indoor living space stays hypoallergenic by using a specialized vacuum cleaner for bed to remove dust mites.
The Sandy Loam Issue (Gulf Coast & Piney Woods)
In sandy areas, the tool will sink easily, but the risk is bending. A thin, flimsy blade will twist when you leverage it against roots. You need a thicker, heat-treated steel blade that can handle lateral torque without warping.
The Caliche & Rocky Terrain (West Texas & Hill Country)
Caliche is a hardened layer of calcium carbonate that feels like soft rock. You don’t dig into caliche; you chip at it. For this, you need a transplanter with a hardened, sharp point and a heavy-duty tang that connects the blade to the handle. A weak tang will snap right off in this soil.
| Texas Region | Soil Type | Critical Tool Feature |
|---|---|---|
| East / Central | Clay / Blackland | Nonstick-coated blade; polished finish |
| Gulf Coast | Sandy Loam | Thick, heat-treated steel for torque |
| West / Hill Country | Caliche / Rock | Hardened point; reinforced tang |
How Do You Evaluate Handle Materials for Hot and Humid Climates?
The handle is your point of contact, and in Texas, it will be subjected to 100-degree heat, drenching humidity, and frequent immersion in water. You need a material that won’t warp, rot, or become slippery when wet.
Wooden Handles: Pros and Cons
Ash and hickory wood are classic choices because they absorb shock, which helps when you hit rock. However, in Texas’ humidity, wood can swell, crack, and splinter unless sealed with a marine-grade varnish. If you love the feel of wood, choose one with a clear, waterproof finish and plan to re-oil it annually.
Fiberglass Handles: The Texas Workhorse
Fiberglass is virtually indestructible in our climate. It doesn’t react to moisture, resists UV damage, and won’t bend permanently. The downside is that fiberglass can transmit more vibration to your hand, which might be an issue if you have arthritis.
Ergonomic Rubberized Grips: Essential or Overhyped?
Rubberized grips are not a luxury in Texas. When the mercury hits 95°F and your hands are sweating, a slick handle becomes a safety hazard. A cushioned, textured grip allows you to maintain control and prevents blisters during long planting sessions in the spring.
Which Blade Material Offers the Best Durability Against Texas Rocks and Roots?
The blade is the business end, and in Texas, it takes a beating. The material needs to hold a sharp edge, resist bending, and fight off corrosion from our humid nights and frequent watering.
Stainless Steel: Rust Resistance vs. Brittleness
Stainless steel is excellent for rust prevention, making it perfect for the Gulf Coast. However, it tends to be more brittle than carbon steel. If you’re in rocky terrain, a very hard stainless blade might chip. Look for high-carbon stainless steel, which offers a compromise of toughness and rust resistance.
Carbon Steel: The Tough Guy That Needs Care
Carbon steel can be sharpened to a razor’s edge and is incredibly tough. The catch is that it rusts almost immediately in Texas humidity. If you choose carbon steel, you must clean and dry the blade after every single use. This is a dealbreaker for many weekend gardeners unless you’re diligent about maintenance.
Coated & Powder-Coated Blades: The Low-Maintenance Option
Many modern transplanters feature a powder coating or a non-stick coating (like Teflon). These coatings serve a dual purpose: they prevent soil from sticking to the blade, and they provide a layer of protection against rust. The downside is that these coatings can wear off eventually, especially in sandy soil that acts like sandpaper.
Can an Ergonomic Design Really Reduce Back and Wrist Strain?
Yes, and this is where most budget tools fail. A transplanter that is poorly balanced forces you to grip harder and bend lower, which leads to fatigue. In Texas, we plant in February and March, which is often still cold and windy, so you’re not just fighting the tool—you’re fighting the elements.
Understanding the “D” or “T” Handle
Different handle shapes alter the mechanics of your wrist and shoulder. A “T” handle places your hand directly over the blade, which distributes force along the vertical axis—ideal for pushing into hard dirt. A “D” handle offers more control for twisting and lifting, which is useful for extracting root balls from pots.
The Importance of Weight Distribution
You want a transplanter that feels “head-heavy.” If the tool feels weighted toward the handle, you’ll have to lean in more, putting stress on your lower back. A well-designed tool will have a heavy blade and a lighter handle, moving the center of gravity forward.
Should You Buy a Long-Handled Standing Transplanter?
For large raised beds or in-ground plots, a standing transplanter (36–40 inches long) is a game-changer. It saves you from kneeling, which is a huge benefit in Texas where the ground gets very hard. However, these tools are harder to control for precise, small jobs, so you might need both types.
How Do You Test the Strength of the Tang and Socket Connection?
The tang is the metal piece that extends from the blade into the handle. This is the weakest point of most transplanters. In Texas, where we frequently twist the tool to break roots, this joint is under constant stress.
The “Solid Socket” vs. “Flat Tang” Comparison
A solid socket construction means the handle slides into a cylindrical metal sleeve before the tang is pinned. This is the strongest connection. Flat tang designs (where a flat piece of metal is inserted into a slot in the handle) are cheaper but are far more likely to snap. Always choose a solid socket for our hard soils.
Look for the “Riveted” vs. “Screwed” connection.
Some tools use screws to hold the handle on, which can come loose. A heavy-duty rivet is permanent and won’t back out over time. If you see a screw, plan on carrying a screwdriver in your tool tote to tighten it every few weeks.
How to Do the “Bench Test” Before Buying
In the store, hold the handle in one hand and the blade in the other, then try to twist them in opposite directions. If you feel any flex or twist at the junction, put it back. The tool should feel like one solid, unyielding piece of metal.
What Is the Ideal Blade Width for Seedlings vs. Established Plants?
The width of the blade dictates the size of the hole you dig. For Texas gardeners who start with seed trays and 4-inch pots, a narrow blade is better. But if you regularly transplant shrubs or large perennials, you’ll need a wider, more robust tool.
Narrow Blades (2 to 3 Inches): For Seedlings and Herbs
A narrow blade creates a minimal disturbance hole. This is critical in Texas heat because exposing roots to air for even a few seconds longer can dry them out. The narrower the hole, the faster you can backfill and seal the moisture in.
Wide Blades (4 to 5 Inches): For Shrubs and Perennials
When you’re moving a gallon-sized nursery pot, you need to create a hole that is roughly the same circumference as the root ball. A narrow blade would take you forever. A wider blade acts more like a space-saving shovel, but it is still flatter than a traditional trowel.
The “Tulip” or “Daisy” Blade Shape
Some transplanters have a unique notch cut out of the side of the blade near the tip. This notch is designed to hook onto thick roots and sever them without you having to change your grip. This is a highly functional feature for Texas gardens where old tree roots are prevalent.
Is a Rust-Resistant Coating Worth the Extra Cost?
Absolutely. Think of rust as the enemy of longevity. In the humid summer months, a bare metal tool left in a shed will develop rust spots within a week. Rust not only looks bad, but it also pits the metal, creating friction that makes digging harder.
The Cost of Maintenance vs. The Cost of Replacement
A $30 transplanter with a coating will last you a decade. A $15 uncoated tool will likely rust, become sticky, and need replacement in two years. Over ten years, the cheaper tool actually costs you more money and more frustration.
Where to Look for Coating Quality
Check the area where the blade meets the tang. This is often a shadowed, damp area where rust starts first. The coating should be even and present all the way down to the tip. If the tip is exposed bare metal, that’s fine, but the bulk of the blade should be protected.
When Coating Doesn’t Matter
If you are purely a “dry gardener” who only plants in the spring and fall (which is smart in Texas), you might get away with a simpler tool. However, for those who garden year-round, the coating is a necessary investment.
What Is the Best Way to Test a Transplanter’s Balance in the Store?
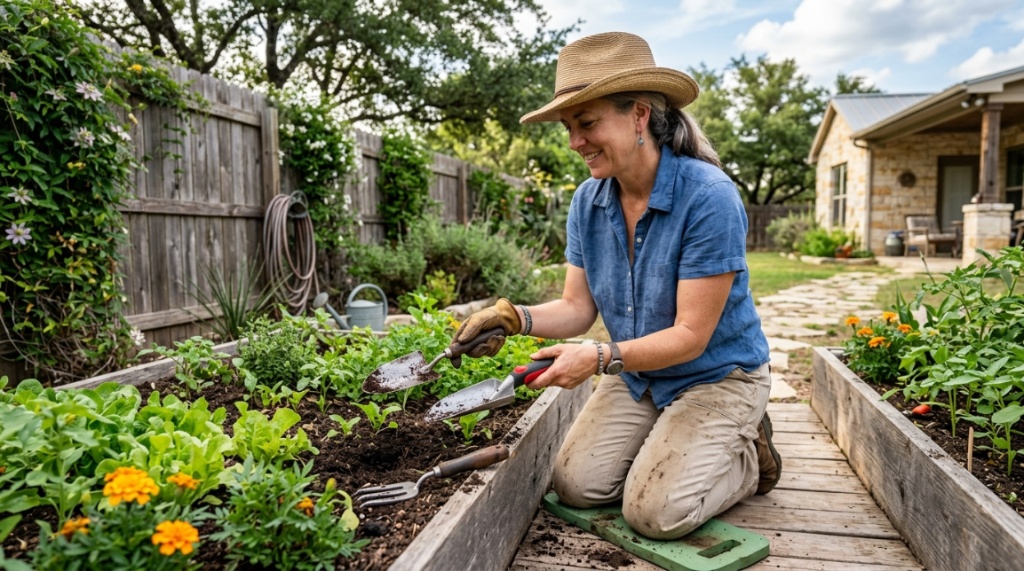
You can’t just look at a tool; you have to feel it. In the store, balance is determined by how the tool rests in your hand when you hold it naturally by your side. If the head flops forward, the tool is too head-heavy.
The “Elbow Bend” Test
Hold the handle with your elbow at a 90-degree angle, as if you are about to dig. The tool should feel like a natural extension of your forearm. If you feel strain in your wrist to keep it upright, the balance is off.
Simulate the “Poke” Motion
Pretend you are stabbing the ground. Use a quick, jabbing motion in the air with the store model. A good transplanter should feel like it’s following your hand’s direction effortlessly. If it wobbles, the shaft is too thin or the head is too heavy.
The “Mitt” Test (For Glove Compatibility)
If you wear thick gardening gloves, test the tool while wearing them. How do they feel? Many gardeners buy tools and then switch gloves only to find the new tool is too skinny or too fat to grip comfortably. This is a detail that is often overlooked in online reviews but matters for physical comfort.
How Many Different Transplanter Types Do You Actually Need for a Texas Garden?
You don’t need a set of ten tools—you need two versatile, high-quality tools. A mini transplanter (for pots and seedlings) and a full-size transplanter (for the ground). Buying a single, expensive “universal” tool often leaves you with a compromise that does both jobs poorly.
The Mini Hand Transplanter: Under $20
This tool has a blade length of about 3-4 inches. It’s perfect for planting plugs, dividing small perennials, and working in tight spaces in raised beds. This is the tool you’ll use 70% of the time in Texas.
The Full-Size Hand Transplanter: $25–$40
This is our heavy lifter. It features an 8-inch blade, a reinforced tang, and a comfortable grip. This is the tool you use to plant tomato plants, pepper starts, and perennial shrubs. We highly recommend reading a full compare transplanter tools for Texas gardens guide to see specific model recommendations that have been field-tested locally.
When to Use a Bulb Planter (Auger Style)
If you plant a lot of bulbs in the fall, a separate auger-style bulb planter is worth it. These tools pull a plug of soil out of the ground, making a perfect hole. They are not great for transplanting live plants because they disturb too much soil, but they are perfect for daffodils and tulips.
Should You Choose a Transplanter with Measurement Marks on the Blade?
Yes, and this is a feature that is underrated. Measurement marks (usually embossed inches) on the side of the blade simplify depth planning. This is helpful for Texas gardeners who need to plant deep to avoid surface heat.
The Benefit for Consistent Planting Depth
When you’re planting 20 tomato plants, you don’t want to guess the depth each time. Marks allow you to consistently plant at 4 inches or 6 inches. This promotes uniform root development across your entire garden.
Potential Downsides: Writing Wears Off
On cheaper tools, the paint or stamping is superficial and will wear off within a season. Look for tools where the marks are deeply stamped into the steel, not just printed on top. Deep stamping won’t fade and is easy to read even with dirty hands.
Frequently Asked Questions
Can I use a hori-hori knife instead of a transplanter?
Yes, a hori-hori is a multi-purpose tool that works well for transplanting. However, it is often heavier than a dedicated transplanter. Choose a hori-hori if you also need a tool for cutting roots and dividing plants; choose a transplanter if you primarily want a narrow, dedicated digging tool.
What is the best transplanter for pots and containers?
For containers, choose a mini transplanter with a sharply pointed tip. Ensure the handle is lightweight because you will be working at awkward angles. Avoid long-handled tools for container work—they are too awkward.
How do I stop my transplanter from rusting in humid Texas summers?
After use, wipe the blade dry with a cloth. If you have a carbon steel blade, rub it with a light coat of linseed oil or a rust inhibitor like Boeshield T-9. Store all tools off the ground—hang them on a pegboard or keep them in a bucket of sand mixed with mineral oil.
Is a forged steel transplanter better than a cast one?
Yes. Forged steel is heated and hammered into shape, which gives it a dense grain structure that resists bending and snapping. Cast steel is poured into a mold and is more brittle. If the price tag is low, check to see if it’s cast; if so, avoid it for Texas clay.
How often should I sharpen my transplanter?
You should sharpen your transplanter at least once a month during the planting season. A sharp tip makes a huge difference. Use a flat file to maintain the bevel. A dull transplanter bounces off the ground, making work exhausting.
Why does my transplanter have a notch on the side?
That notch is a root cutter. It is designed to hook onto a thick root and slice through it with a slight sideways pull. This is extremely useful in Texas gardens where existing tree roots invade your planting beds.
Are expensive transplanters actually worth it?
If you garden more than 2 hours a week, yes. Expensive tools (over $30) are typically made of higher quality steel and have superior ergonomics. For casual gardeners, a mid-range option is sufficient. The main distinction is durability and handle comfort.
Conclusion: Making the Final Call on Your Next Transplanter
Choosing the right transplanter for a Texas garden isn’t about picking the shiniest tool on the rack. It’s about identifying your specific soil texture, the types of plants you grow, and your physical comfort needs. Remember to prioritize a solid socket construction, a sharply pointed blade, and a handle that feels good in your hand. Whether you’re planting winter greens in Amarillo or summer peppers in Houston, this single tool will be your constant companion. Take your time, visit a local nursery to feel the tools in person, and invest in a reliable brand. Your hands and your plants will thank you for years to come.