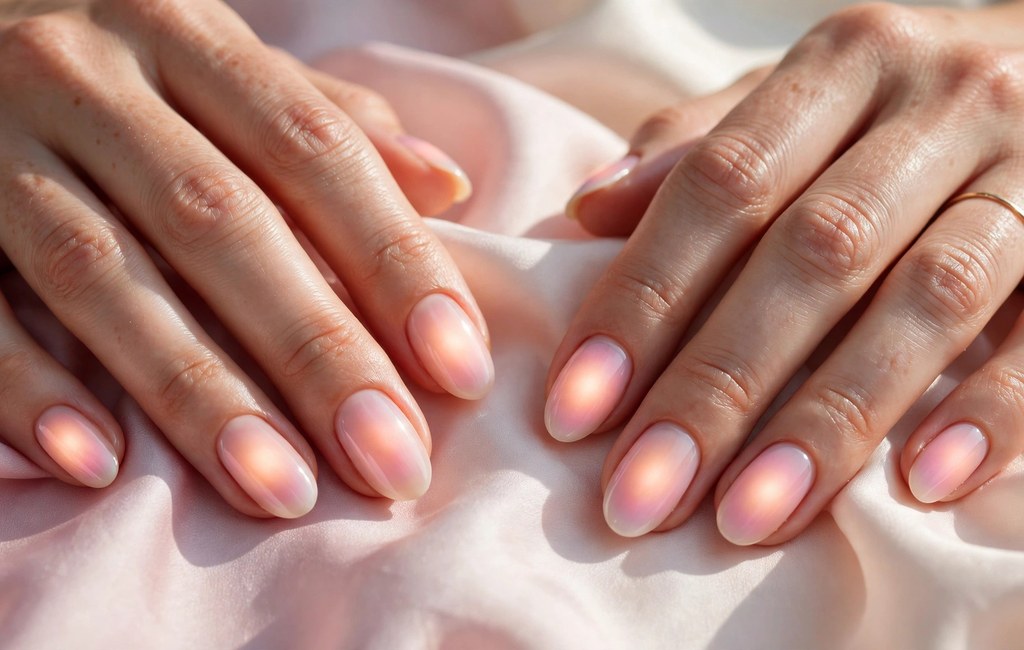
Simple aura nail designs place a soft color center on each nail. Then the center fades gently into a paler base shade. Also, soft modern shades keep the glowing effect calm and wearable.
For example, blush centers suit milky bases, and lavender centers suit pale blue bases. However, the technique stays simple because thin layers build the glow gradually. Still, a sponge or a soft brush creates the whole effect at home.
Overall, this guide explains blending methods, shade pairings, and length adjustments clearly. In addition, it shares simple fixes for patchy edges and harsh circles. Overall, aura nail designs reward a light touch with the sponge.
What Makes Aura Nail Designs Glow Softly
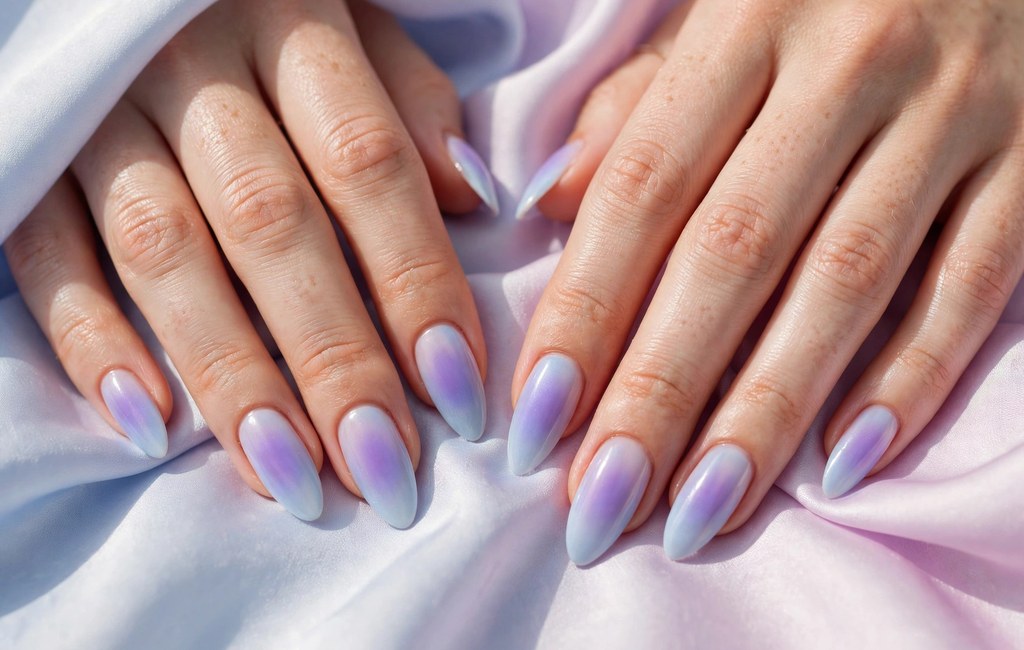
Also, aura nails belong among trendy simple nail designs because one blended center creates the decoration. The center holds the strongest color on the nail. Then the edges fade until they nearly disappear.
In fact, the glow looks soft when no hard border appears. A visible ring usually signals one heavy layer instead. Therefore, light layers and gentle pressure protect the faded finish.
How the Center Creates Depth
First, a deeper center shade gives the design clear depth. A paler base then frames that center without competing strongly. For example, lilac glows softly against a milky pink base.
However, close shades need enough contrast to stay visible. Still, two neighboring pastels often blend most smoothly for beginners. Overall, balance contrast and closeness before you start painting.
Prepare Your Nails for Aura Nail Designs
First, shape each nail and push cuticles back gently. Never cut live cuticle skin during this preparation step. Then wash hands and dry nails fully before painting.
Also, apply a base coat first on every nail. The base coat protects nails and grips color evenly. Next, add the pale base shade in thin coats.
Tools That Help the Blend
Meanwhile, simple tools control the small aura center well. You only need a sponge, a brush, and two shades.
- Small makeup sponge: Choose a dense sponge for soft, even dabbing.
- Soft blending brush: Use light strokes to feather hard outer edges.
- Two soft shades: Pick one pale base and one deeper center.
- Thin top coat: Seal the blend without dragging the colors.
However, dense sponges leave fewer speckles than loose sponges. In addition, a clean sponge corner keeps each edge tidy.
Blend the Aura With a Sponge
First, let the pale base shade dry completely. Then dab the center shade onto a sponge lightly. Next, tap excess polish onto a clean paper towel.
Then press the sponge gently onto the nail center. Use tiny taps and lift the sponge straight upward. Also, repeat thin passes until the center looks rich.
Next, tap a clean sponge edge around the circle. This soft tapping feathers the color into the base. Finally, seal the design after the polish dries fully.
Blend the Aura With a Brush
Instead, a soft brush suits very small aura centers. First, dot the center shade onto the middle carefully. Then sweep tiny strokes outward from the center edge.
However, keep the brush almost dry during feathering. A wet brush drags color and creates streaky lines. Still, short strokes preserve the round, glowing shape well.
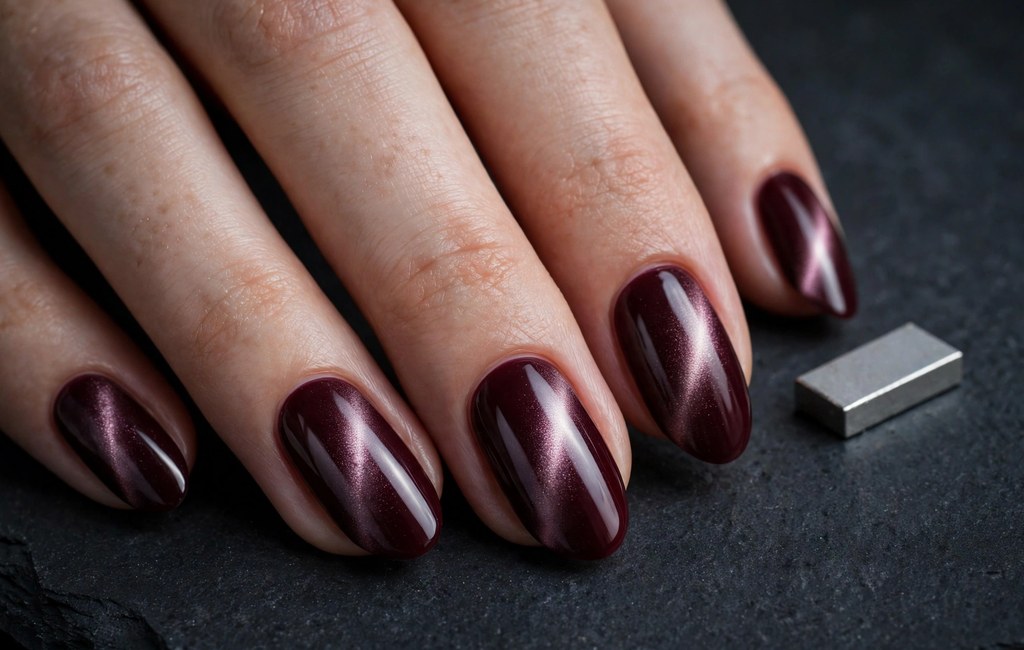
Meanwhile, fans of simple cat eye nails enjoy another soft light effect. Aura nails instead spread color outward from one center. Therefore, choose aura when you prefer a diffused halo.
Use Gel in Principle for Aura Blending
First, gel blending follows the same center and fade idea. You apply thin gel layers and cure each layer. Meanwhile, uncured gel gives you extra blending time before curing.
However, protect skin before lamp curing each time. Apply sunscreen or wear fingerless gloves around the lamp. Then blend the center shade before you cure it.
Also, gel removal needs patience at the end. Finally, soak gel polish off with acetone carefully. Never pry or scrape cured gel from natural nails. In practice, aura nail designs suit both short and long nails.
Pair Soft Shades With Aura Nail Designs
For example, blush centers glow beautifully over milky white bases. Peach centers also warm soft cream bases very gently. Still, lilac centers create calm contrast over pale blue.
Overall, neighboring shades create the smoothest modern palettes. The following pairings keep contrast gentle but still visible.
- Powder blue and lavender: Pair these cool shades for a calm glow.
- Mint and soft sage: Layer these greens for a fresh, quiet finish.
- Blush and dusty rose: Deepen the center for a romantic, soft effect.
- Butter yellow and peach: Warm the base gently with a sunny center.
However, test each pairing on one nail first. The overlap shade reveals the true blend most honestly. In addition, sheer bases soften strong centers very effectively.
Finish Choices That Change the Glow
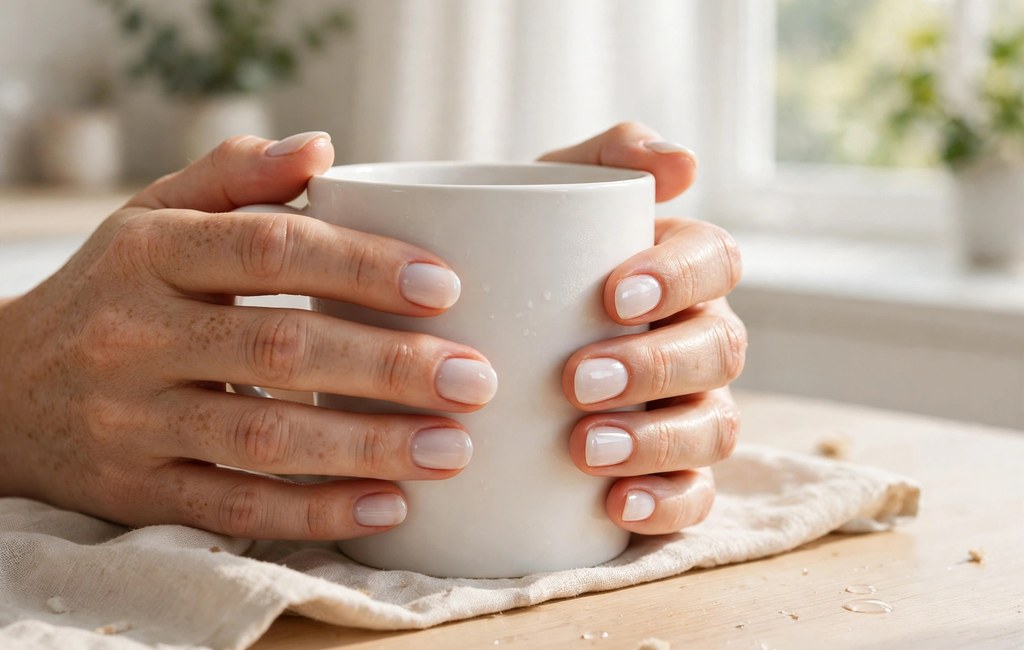
Meanwhile, a glossy top coat deepens the aura blend noticeably. Fans of the glazed donut nail look also enjoy that luminous shine. However, aura nails keep their shine over blended color.
Instead, a matte top coat softens the glow further. It suits dusty shades and muted, modern palettes especially. Overall, glossy finishes show contrast more clearly than matte.
Adjust the Aura for Nail Length
Aura Designs on Short Nails
First, short nails need a smaller aura center overall. Keep a clear base border around every short nail. Then the small halo stays neat and readable.
Also, use only two shades on short nails usually. Extra shades crowd the small surface very quickly. For example, blush over milk suits short nails beautifully.
Aura Designs on Long Nails
Meanwhile, long nails give the blend more room. You can widen the halo across the nail gradually. Next, add a smaller second center for extra depth.
However, keep the widest color below the nail tip. This placement protects the soft, balanced aura shape. Still, almond and oval nails carry wide blends elegantly.
Keep the Blend Smooth Every Time
First, thin coats prevent lumps and harsh color rings. Thick polish pools quickly and ruins the soft fade. Therefore, build color slowly across several light passes.
However, patchy spots usually need one more light dab. Dab the center again and feather the edge immediately. Also, work while regular polish stays slightly wet.
Next, clean stray polish with a small flat brush. Dip the brush lightly and trace the cuticle line. Finally, let each nail dry before touching anything.
Frequently Asked Questions
Can you do aura nails with regular polish?
Yes, regular polish also creates aura nails with careful sponge dabbing.
How do you blend aura nail colors smoothly?
First, dab thin layers and feather every edge gently.
What colors work best for aura nails?
Soft pairings like blush over milk work best overall.
Do aura nails work on short nails?
Still, short nails suit smaller centers and two shades.
Why does my aura nail look patchy?
Heavy layers usually cause patchiness, so use thinner coats.
Conclusion
Overall, simple aura designs reward patience, thin layers, and soft pairings. A sponge or brush can create a smooth glow. Still, careful feathering makes the finish look truly seamless.
Try one soft pairing on a single nail today. Then practice the blend and paint the full set. Finally, share your favorite soft shade pairing with friends. For beginners, aura nail designs forgive small blending mistakes gracefully.