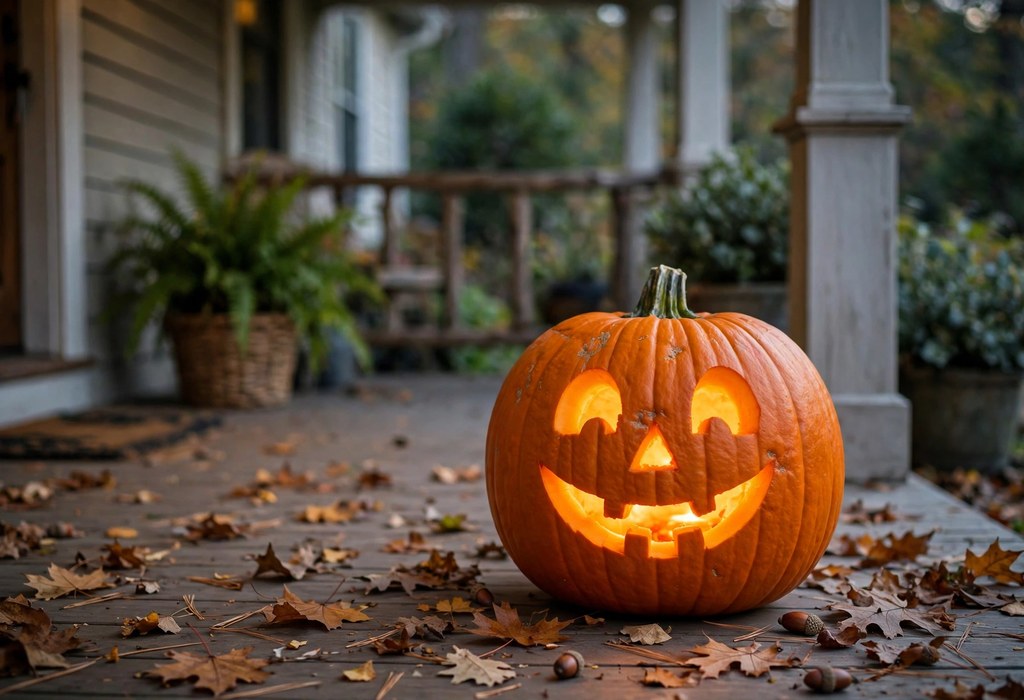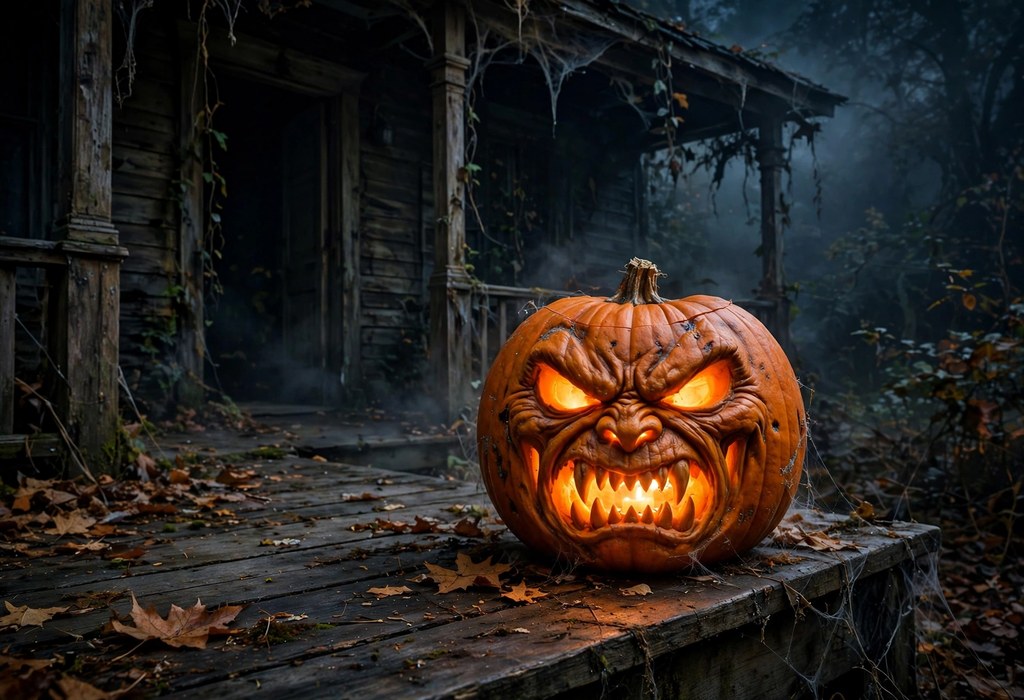
Scary patterns turn a plain jack-o’-lantern into a frightening porch centerpiece fast. Angled eyes, jagged teeth, and deep shading create faces that glow with menace. Grouped lighting then amplifies every shadow for visitors approaching after dark.
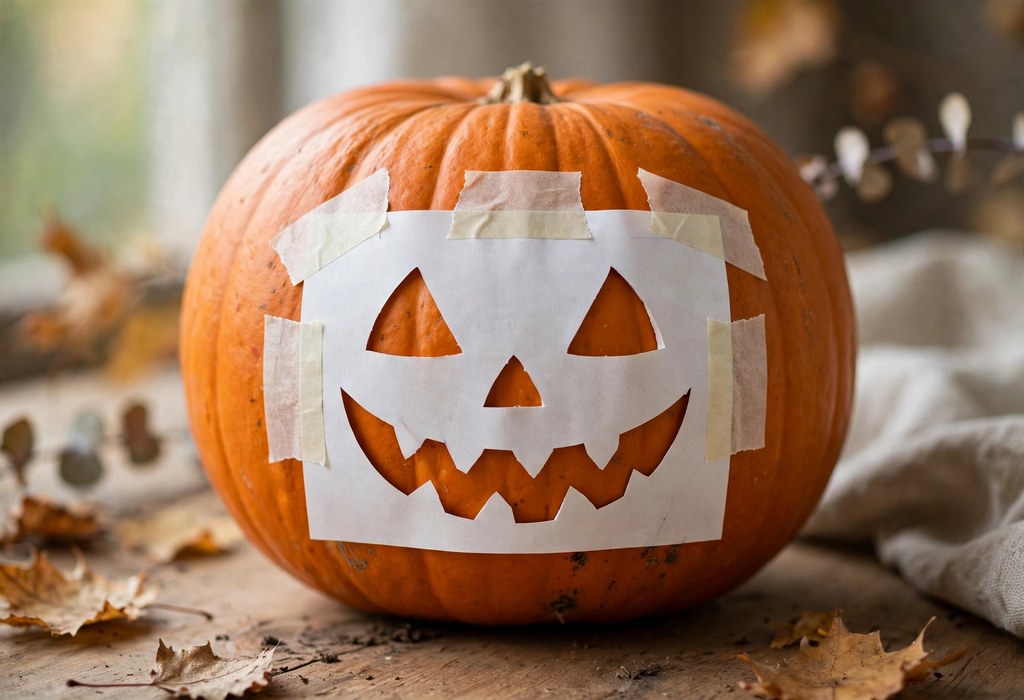
Start with a sturdy stencil or template that matches your pumpkin size. Next, transfer the design carefully and carve the smallest details first. Meanwhile, plan your haunted house display before you cut anything at all. Finally, test each light inside before you arrange the full scene.
Explore broader Halloween Pumpkin carving when you want mixed themes nearby. However, scary designs work best when you commit fully to dread.
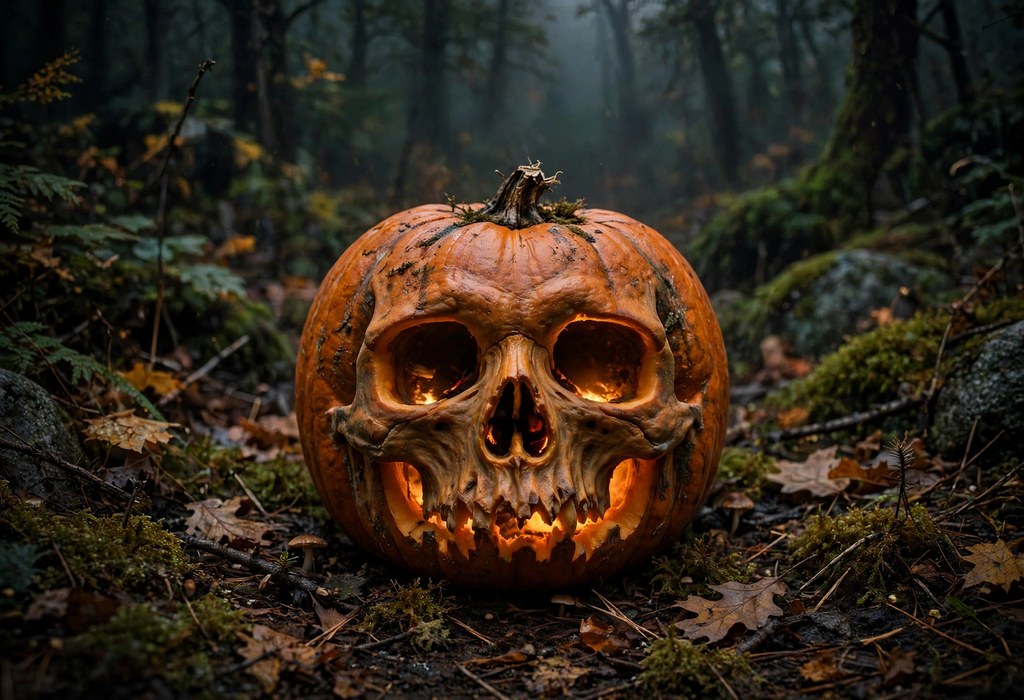
Choose Frightening Faces That Read From the Street
Bold shapes stay visible from sidewalks, driveways, and dim porches. Specifically, large eyes and wide mouths carry fear across longer distances. Additionally, asymmetry twists a familiar face into something unsettling quickly.
Snarling Faces and Twisted Expressions
- Snarling mouths: Stretch the mouth wide and pack it with uneven teeth. Slightly tilt the jaw sideways for a lunging, hungry effect.
- Angled brows: Slash thick brows downward toward the nose bridge area. Deepen the inner corners further for a furious glare.
- Hollow eyes: Carve tall, uneven eyes with sharp upper points. Instead, leave thin bridges near centers for glowing pupils.
Together, these choices create a face that threatens rather than grins. In contrast, small neat features often look cheerful under warm light.
Carve Skulls and Haunted House Scenes
Skulls and haunted scenes add story beyond a single expression. For example, cracked bones and crooked rooftops suggest danger before lighting. Still, clear silhouettes keep complex scenes readable for passing visitors.
Skull Patterns With Hollow Depth
Hollow eye sockets deliver the strongest scare inside any skull design. First, cut sockets fully through for deep black centers. Afterwards, shave cheekbones lightly for pale, bone-like highlights nearby.
Haunted House Silhouettes and Scenes
Haunted house scenes layer windows, doors, bats, and bare trees effectively. Use a template with strong bridges between every thin section. Cut glowing windows fully and shade rooftops more softly afterward.
Use Shading and Depth Tricks for Realism
Shading creates three light levels across one carved surface beautifully. Fully cut areas glow brightest and demand the main focus. By contrast, shaved areas glow dimmer and build soft middle tones. Uncut skin stays darkest and frames every frightening detail sharply.
- Shallow shaving: Scrape skin away gently for cheeks, smoke, and ghostly veils. Gradually, deepen selected spots for stronger contrast after lighting tests.
- Deep relief: Thin the wall behind large shapes for an even glow. However, leave enough flesh for strength across narrow bridges.
- Layered outlines: Etch fine cracks and wrinkles around fully cut openings. Consequently, faces gain age, texture, and a haunted realism.
Fans of intricate pumpkin carving designs often combine shading with careful relief work. Overall, patience and frequent light checks prevent costly depth mistakes.
Set Up Tools and Carve Safely
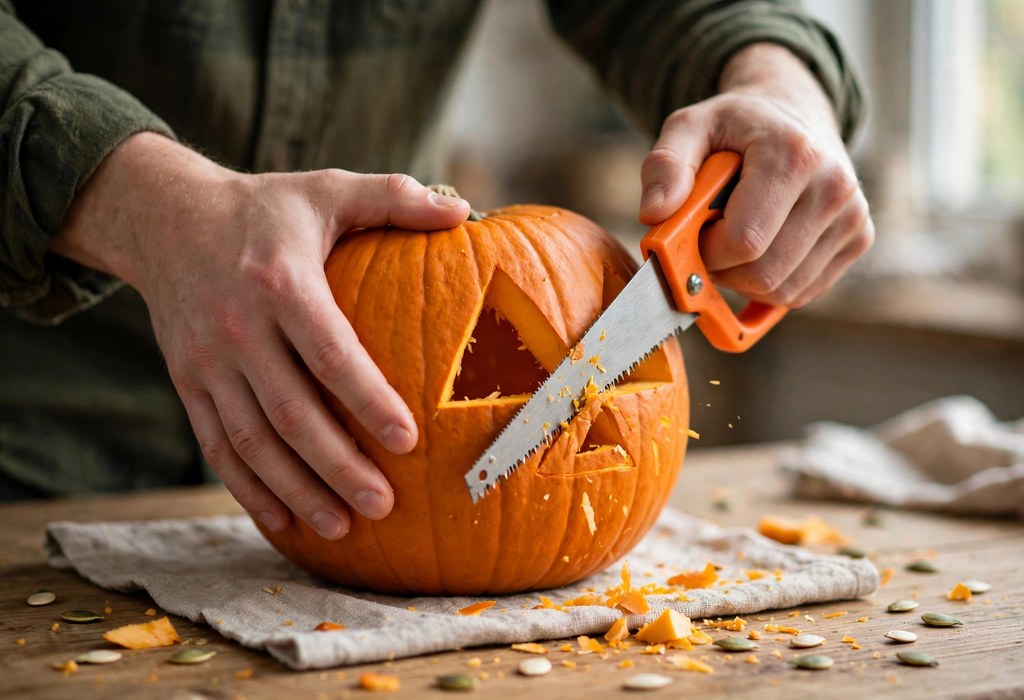
A complete pumpkin carving kit gives carvers control, speed, and cleaner edges. Begin by scooping seeds and strings until walls feel smooth. Next, thin the front wall evenly for easier cutting later.
- Serrated knife control: Grip a serrated knife firmly and saw with short strokes. Always cut away from hands and stabilize the pumpkin first.
- Adult supervision: Adults should handle sharp tools and complete every difficult cut. Children can draw faces, scoop pulp, and arrange props safely.
- Dry workspace: Keep hands, handles, and tabletops dry throughout each carving session. Additionally, slow down whenever the blade binds or twists unexpectedly.
Responsible technique protects fingers and preserves delicate bridges during carving. Therefore, rest often and inspect cuts before forcing stubborn sections free.
Group Pumpkins and Light Them for Maximum Scare
Grouping turns separate carvings into one connected nightmare scene outdoors. Place the largest haunted house display pumpkin at the center rear. Flank it with snarling faces at staggered heights nearby tonight.
Visitors enjoy contrast when one pumpkin breaks the tension briefly. For instance, nearby funny pumpkin face ideas can sharpen the surrounding horror. Keep scary pumpkins dominant throughout your main porch decoration.
- LED candle glow: Set an LED candle inside each hero pumpkin for steady brightness. Choose flicker settings for restless, haunted movement effects around entries.
- Tealight accents: Use a real tealight only inside a supervised, ventilated pumpkin outdoors. Never leave any open flame unattended near decorations or leaves.
- Height and shadow: Raise rear pumpkins on sturdy crates, steps, or hay bales. Consequently, shadows stretch upward and faces loom over approaching guests.
Test the scene from the street after darkness settles fully. Finally, adjust angles and brightness until every silhouette reads clearly.
Preserve Your Display Through the Night and Beyond
Smart pumpkin preservation starts immediately after you finish carving. First, give the finished pumpkin a brief bleach soak outdoors. Rinse it lightly and dry every surface thoroughly afterward too.
Rub petroleum jelly along cut edges for moisture protection overnight. Also, choose LED lights over flames for cooler display conditions. Store finished pumpkins in cool shade between display evenings whenever possible.
Frequently Asked Questions
What Is the Scariest Pumpkin Carving Pattern?
Snarling faces with hollow eyes and jagged teeth usually scare visitors most effectively.
How Do You Carve a Scary Face on a Pumpkin?
Transfer a bold stencil and cut large angled features deeply for impact.
What Lighting Makes a Pumpkin Look Scariest?
Flickering LED lights create restless shadows and make carved faces appear alive.
How Long Does a Carved Pumpkin Last?
Most carved pumpkins last three to five days with careful preservation steps.
How Do You Keep a Pumpkin From Rotting Quickly?
A bleach soak and petroleum jelly slow moisture loss and mold growth significantly.
Conclusion
Scary patterns reward bold shapes, controlled shading, and deliberate grouping choices. Start tonight with one snarling centerpiece and build outward confidently. Light your display, test the view, and welcome brave visitors.