Transforming your living space through a fresh coat of paint can be an incredibly rewarding DIY project. Whether you’re aiming to enhance your home’s aesthetic appeal, boost its market value, or simply create a more personalized atmosphere, this comprehensive guide will equip you with the knowledge and techniques to achieve a flawless finish.
1. Meticulous Planning and Preparation:
The success of any painting project hinges on meticulous planning and preparation. Begin by carefully selecting your desired color scheme. Experiment with paint samples in various lighting conditions to ensure they complement your furniture and overall décor. Once you’ve settled on your colors, accurately estimate the required paint quantity to avoid running out mid-project.
Thorough surface preparation is crucial for achieving a professional finish, whether you’re painting your living room walls or giving your gas meter box a fresh coat. Patch any holes or cracks with spackle, sand rough surfaces, and clean the walls to remove dust and grime. For previously painted surfaces, lightly sand them to create a smooth base for the new paint to adhere to. To learn more about choosing the gas meter box paint and other exterior surfaces, read more here.
2. Essential Tools and Materials:
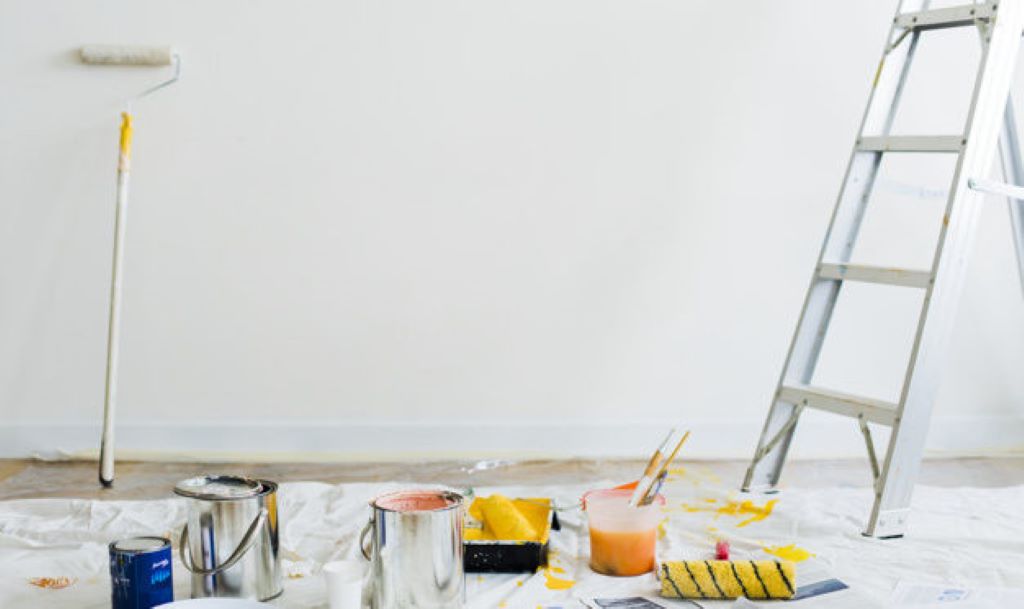
Gather all necessary tools and materials before you begin. You’ll need drop cloths, painter’s tape, paint trays, rollers, brushes of varying sizes, extension poles, sandpaper, a putty knife, and of course, your chosen paint. Invest in high-quality brushes and rollers as they significantly impact the final result.

Related: How to Paint Kitchen Cabinets
3. The Art of Painting:
- Primer Application: Applying a primer coat is recommended, especially for bare surfaces or when painting over dark colors. Primer enhances paint adhesion, improves coverage, and prevents stains from bleeding through.
- Cutting In: “Cutting in” refers to painting the edges and corners of walls with a brush before using a roller. This technique ensures clean lines and prevents the roller from bumping into trim or ceilings.
- Rolling Techniques: Use a roller to cover large areas quickly and evenly. Load the roller with paint and apply it in a “W” pattern, overlapping strokes for consistent coverage.
- Multiple Coats: Most painting projects require at least two coats of paint for optimal coverage and color depth. Allow ample drying time between coats as per the paint manufacturer’s instructions.
4. Pro Tips for a Flawless Finish:
- Temperature and Humidity: Ideal painting conditions involve moderate temperatures and humidity levels. Extreme temperatures or high humidity can affect paint drying and adhesion.
- Natural Light: Paint in well-lit areas to accurately assess your progress and ensure even coverage.
- Wet Edge Maintenance: Maintain a “wet edge” while painting to avoid visible lap marks. This means painting adjacent sections while the previous one is still wet.
- Cleaning: Promptly clean brushes and rollers after use to prevent paint from drying and hardening.
Bedroom Makeover Magic: DIY Ideas for a Stylish and Relaxing Retreat
5. Gas Meter Box Paint Insights:
For gas meter boxes, it’s important to use paint specifically designed for metal surfaces. Ensure proper ventilation during the painting process and consider using a rust-inhibiting primer if the box shows signs of corrosion. Choose colors that blend well with your surroundings or opt for reflective shades to minimize heat absorption.
Additional Tips:
- Safety First: Wear protective gear such as gloves and goggles. If painting in enclosed spaces, ensure adequate ventilation.
- Cleanliness: Keep your workspace tidy to prevent accidental spills and splatters.
- Patience is Key: Don’t rush the process. Take your time to achieve a flawless finish.
- Professional Help: If the project seems overwhelming, don’t hesitate to seek assistance from a professional painter.
In conclusion, painting your home can be a gratifying and transformative experience. By following this comprehensive guide and incorporating the valuable insights shared here, you’ll be well on your way to achieving a professional-looking finish that elevates your living space for years to come.