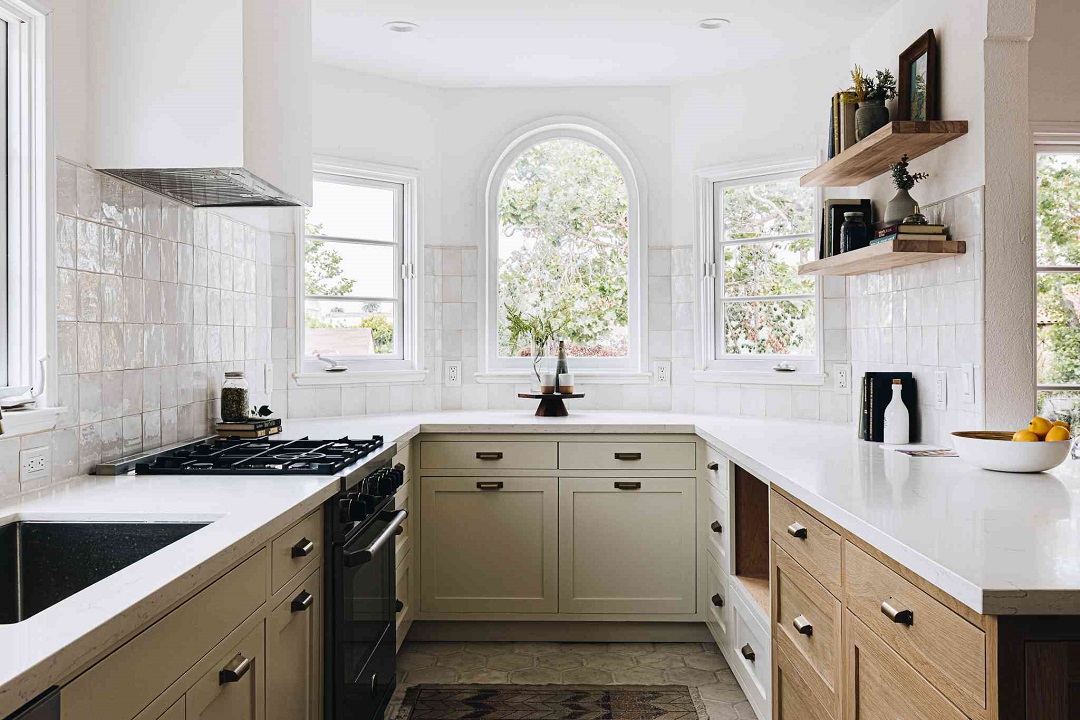
Alright, fellow DIY enthusiasts, gather ’round because we’re about to embark on a mission that will transform your kitchen from drab to fab – painting those kitchen cabinets! Imagine your kitchen as a canvas, and you’re the artist wielding the brush, ready to add a splash of color and a touch of personality. So, grab your paint cans and let’s dive into the wonderful world of cabinet transformations.
Step 1: The Prep Rally
Before you unleash your inner Picasso, it’s all about the prep work. Think of it like priming the canvas before creating a masterpiece. Start by removing all the cabinet doors and hardware. Lay them flat on a protected surface – a garage or a well-covered outdoor area is perfect. Clean the surfaces thoroughly. This is the canvas, and you want it pristine.
Step 2: Sanding – The Smooth Operator
Now, let’s talk sanding. It’s the smooth operator of the painting process. Sand all surfaces to remove any existing finish and create a surface that’s paint-friendly. Think of it as giving your cabinets a spa day – they come out refreshed and ready for their makeover.
Step 3: Prime Time
Priming is like the underpainting of a masterpiece. Apply a high-quality primer to ensure the paint adheres properly. It’s the foundation that makes your colors pop. Allow it to dry completely before moving on to the next act.
Step 4: Choosing the Right Palette
Ah, the fun part – choosing your colors. Consider the overall vibe of your kitchen. Do you want it bright and airy, or bold and dramatic? It’s like picking the color scheme for your own personal art gallery. And don’t forget to choose a durable, high-quality paint for a lasting finish.
Step 5: Brushing and Rolling – Your Artistic Tools
Armed with your chosen colors, it’s time to unleash your inner artist. Use a high-quality brush and roller for a smooth finish. Brush in the direction of the wood grain to mimic the natural flow. It’s like giving your cabinets a gentle stroke, revealing their true beauty.
Step 6: Drying – The Waiting Game
Now, the waiting game begins. Let your cabinets dry completely between coats. Patience is key – it’s like waiting for a polaroid picture to develop. Rushing might smudge the details.
Step 7: Finishing Touches – Sealing the Deal
Once your final coat is dry, it’s time to seal the deal. Apply a clear polyurethane or a topcoat to protect your masterpiece from daily wear and tear. It’s like framing a painting to preserve its beauty for years to come.
FAQs: Unveiling the Cabinet Painting Secrets
Q1: Do I need to sand before painting kitchen cabinets?
A: Yes, sanding is crucial. It creates a smooth surface, removes existing finishes, and helps the paint adhere properly.
Q2: Can I skip the primer when painting cabinets?
A: It’s not recommended. Primer creates a stable surface for the paint and ensures better adhesion, durability, and a smoother finish.
Q3: What type of paint is best for kitchen cabinets?
A: Choose a high-quality, durable paint specifically formulated for cabinets. Acrylic or oil-based paints are popular choices for their durability.
Q4: How long should I wait between coats of paint?
A: Allow each coat to dry completely before applying the next one. It typically takes a few hours, but follow the paint manufacturer’s recommendations for drying times.
Q5: Do I have to seal painted kitchen cabinets?
A: Sealing is highly recommended. It adds a protective layer, enhances durability, and ensures your painted cabinets withstand daily wear and tear.
And there you have it – your guide to transforming your kitchen cabinets into a work of art. Now, go ahead, channel your inner Michelangelo, and let those cabinets become the masterpiece that ties your kitchen’s aesthetic together. Happy painting!


