Ah, the joy of working in the garden—digging in the dirt, tending to your plants, and watching them thrive. But what about your trusty garden tools? After a hard day’s work, they deserve a little TLC too! In this guide, I’ll show you how to clean and care for your garden tools to keep them in top-notch condition for years to come.
Why Clean Your Garden Tools?
Before we dive into the nitty-gritty of cleaning, let’s talk about why it’s important. Cleaning your garden tools not only helps them last longer but also prevents the spread of diseases between plants. Plus, a clean tool is more efficient and pleasant to use, making your gardening experience more enjoyable.
Gather Your Supplies
To clean your garden tools effectively, you’ll need a few basic supplies:
- A bucket or large container
- Water
- Dish soap or mild detergent
- Steel wool or wire brush
- Sandpaper
- Lubricating oil or spray
Step-by-Step Cleaning Process
Now that you have your supplies ready, let’s get cleaning! Follow these simple steps to give your garden tools some much-needed TLC:
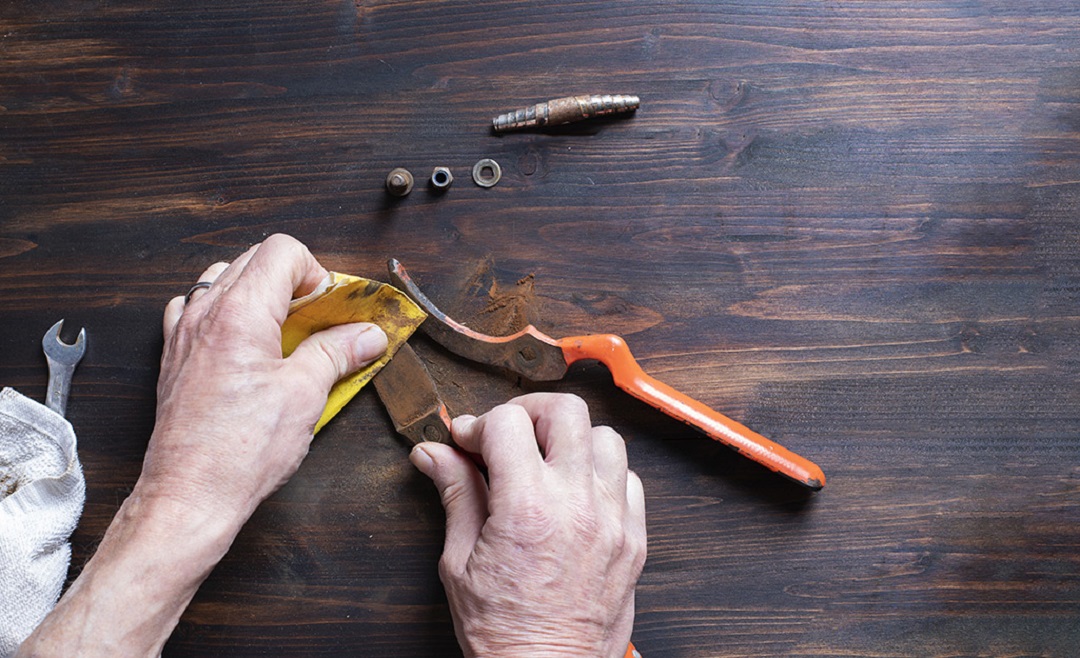
- Remove Dirt and Debris: Start by removing any dirt, mud, or plant residue from your tools using a stiff brush or your hands. For stubborn grime, you can use a putty knife or steel wool to scrape it off.
- Soak in Soapy Water: Fill your bucket or container with warm water and add a few drops of dish soap or mild detergent. Submerge your tools in the soapy water and let them soak for 10-15 minutes to loosen any remaining dirt or residue.
- Scrub Away Rust: If your tools have any rust or corrosion, now is the time to tackle it. Use steel wool or a wire brush to gently scrub away the rust, focusing on any affected areas. For stubborn rust, you can use sandpaper to buff it out.
- Rinse Thoroughly: Once your tools are clean and rust-free, rinse them thoroughly with clean water to remove any soap residue. Pay special attention to hinges, joints, and other hard-to-reach areas.
- Dry Completely: After rinsing, use a clean towel or rag to dry your tools thoroughly. Make sure to remove any excess moisture to prevent rust and corrosion.
- Apply Lubricating Oil: To keep your tools in top condition, apply a thin layer of lubricating oil or spray to metal parts, such as blades, hinges, and springs. This will help prevent rust and keep your tools working smoothly.
FAQs (Frequently Asked Questions)
Q: How often should I clean my garden tools?
A: It’s a good idea to clean your garden tools after each use to prevent dirt and debris from building up. Additionally, give them a thorough cleaning and inspection at the end of each gardening season.
Q: Can I clean wooden-handled tools the same way as metal ones?
A: Yes, you can clean wooden-handled tools using the same method as metal ones. Just be sure to dry them thoroughly after cleaning to prevent the wood from swelling or rotting.
Q: Do I need to sharpen my garden tools after cleaning?
A: Sharpening your garden tools is optional but recommended, especially for tools like pruners and shears. Use a sharpening stone or file to sharpen the blades, ensuring clean cuts and optimal performance.
Q: Can I use WD-40 as lubricating oil for my garden tools?
A: While WD-40 can be used as a temporary lubricant, it’s not ideal for long-term tool maintenance. Instead, opt for a dedicated lubricating oil or spray formulated specifically for garden tools.
Q: Is it necessary to clean stainless steel garden tools?
A: Yes, even stainless steel tools can benefit from regular cleaning to remove dirt, sap, and other residues. Cleaning and oiling stainless steel tools can help maintain their appearance and performance over time.
Conclusion
Cleaning your garden tools may not be the most glamorous task, but it’s essential for maintaining their longevity and performance. By following these simple steps and incorporating regular cleaning into your gardening routine, you can ensure that your tools are always ready for action when you need them most.