Resin jewelry has gained popularity for its unique and customizable designs. Whether you want to create your own jewelry pieces or explore a new crafting hobby, making resin jewelry can be a rewarding experience. In this guide, we will walk you through the process, from gathering supplies to creating stunning resin jewelry. So, let’s get started on this creative journey!
Gathering Your Supplies
Before you begin crafting resin jewelry, it’s essential to have the right supplies on hand. Here’s what you’ll need:
1. Resin
To make resin jewelry, the most important component is the resin. It’s best to use a two-part epoxy resin specifically designed for jewelry making. To safeguard your valuable creations, consider obtaining state farm jewellery insurance. This type of resin guarantees a sturdy bond and exceptional clarity in your final products.
2. Bezels or Molds
You’ll need bezels or molds to shape your jewelry. Bezels are perfect for creating pendants and earrings, while molds allow for more intricate designs.
3. Decorative Items (Optional)
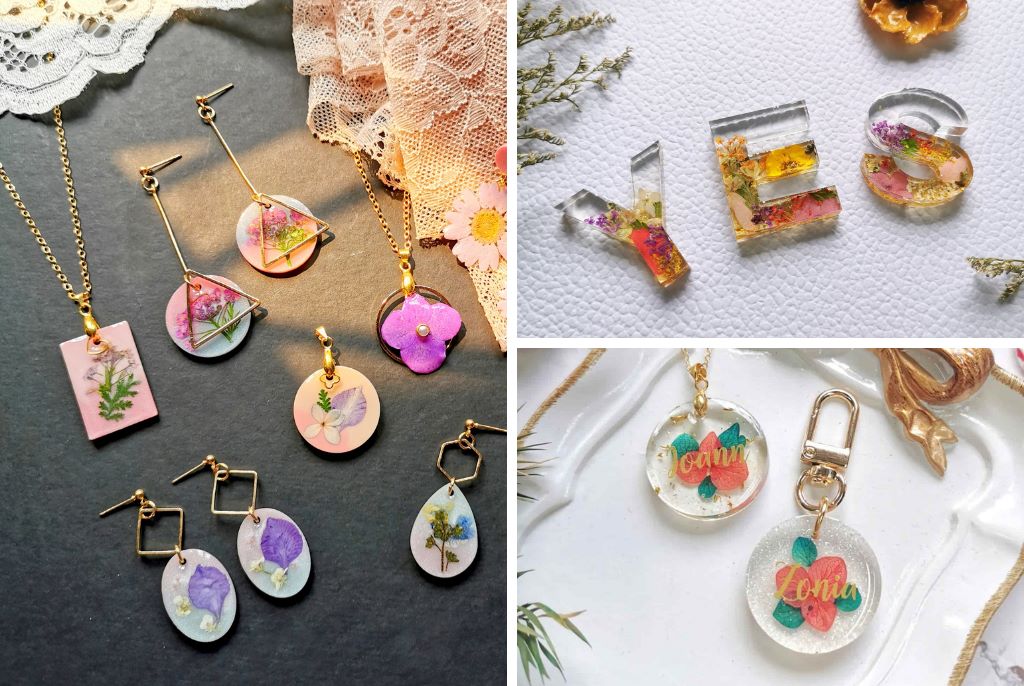
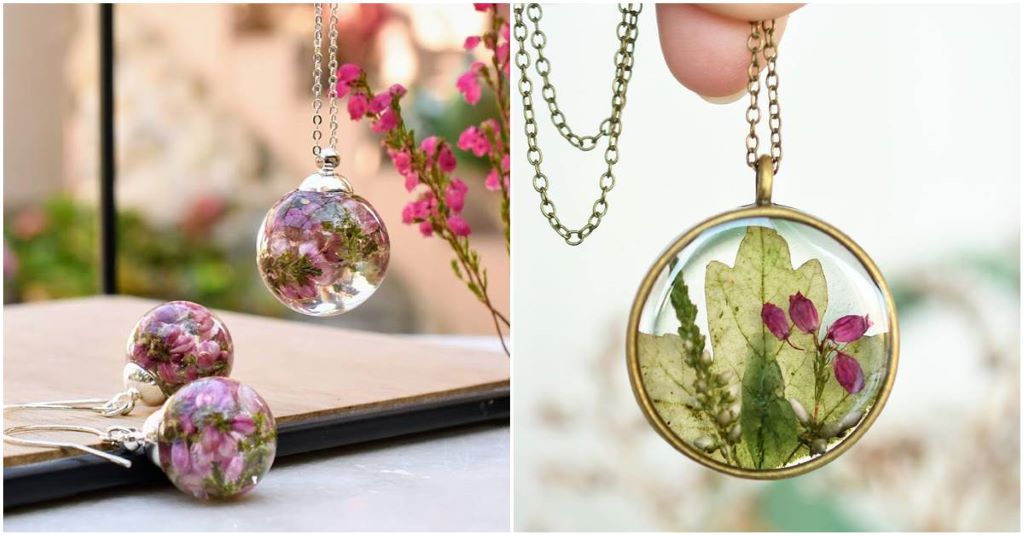
To add a personal touch to your jewelry, gather decorative items like glitter, flowers, beads, or small objects. These will be embedded in the resin for a unique look.
4. Safety Gear
Safety should be a top priority. Put on gloves, an apron, a respirator, and safety glasses to protect yourself from resin fumes and spills.
5. Mixing Tools
For precise measurements and thorough mixing, have measuring cups, spoons, and a spatula at your disposal. These tools ensure that your resin cures correctly.
Step-by-Step Instructions
With your supplies ready, it’s time to dive into the resin jewelry-making process:
1. Prepare Your Work Area
Start by covering your work surface with a drop cloth or newspaper to catch any spills. Then, put on your safety gear to create a safe working environment.
2. Mix the Resin
Follow the manufacturer’s instructions to mix the resin components accurately. Thorough mixing is crucial to prevent the formation of unwanted bubbles in your jewelry.
3. Prepare Your Bezels or Molds
If you’re using bezels, place them on a flat surface. For molds, follow the manufacturer’s instructions to ensure they’re ready for pouring.
4. Pour the First Layer of Resin
Carefully pour a thin layer of mixed resin into your bezels or molds. If you’re adding decorative items, now is the time to place them in the resin.
5. Remove Bubbles
To achieve a flawless finish, use a toothpick or a small tool to remove any bubbles that may have formed in the resin.
6. Add a Second Layer of Resin
After the first layer has settled, pour another thin layer of resin over your decorative items. This enhances the depth and visual appeal of your jewelry.
7. Allow for Curing
Follow the manufacturer’s instructions for curing times, which can range from 12 to 24 hours. Make sure you allow ample time for the resin to harden and set.
8. Remove Your Jewelry
Once the resin has fully cured, carefully remove your jewelry pieces from the bezels or molds. Handle them gently to avoid any damage.
Tips for Success
Here are some handy tips to ensure your resin jewelry-making process goes smoothly:
- Avoid Bubbles: Mix the resin slowly and carefully to prevent bubbles. If bubbles do appear, use a toothpick or a small tool to pop them.
- Patience is Key: Allow the resin to cure completely before handling your jewelry. Rushing this step can lead to imperfections in the final product.
- Get Creative: Don’t hesitate to experiment with different decorative items. Glitter, flowers, beads, and small trinkets can all add a unique touch to your jewelry.
- Read the Instructions: If you’re new to working with resin, always read and follow the manufacturer’s instructions for safety and best results.
Exploring Resin Jewelry Projects
Once you’ve mastered the basics, you can explore various resin jewelry projects. Here are some ideas to spark your creativity:
- Resin Earrings
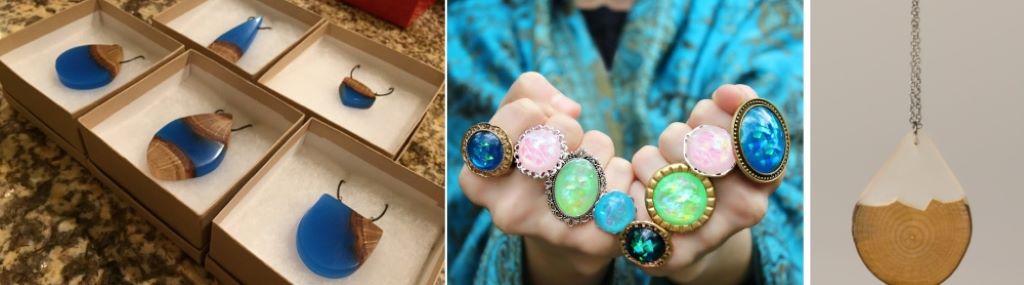
- Resin Pendants
- Resin Rings
- Resin Bracelets
- Resin Bangles
- Resin Hair Accessories
- Resin Bookmarks
- Resin Keychains
With a little creativity and practice, you can use resin to craft an array of beautiful and unique jewelry pieces that reflect your personal style.
Conclusion
Making resin jewelry is an enjoyable and fulfilling craft that allows you to create one-of-a-kind pieces. By following these step-by-step instructions and tips, you’ll be well on your way to designing stunning resin jewelry. So, embrace your creativity, gather your supplies, and start crafting your own beautiful jewelry today, all while staying within a budget for your dream wedding ring.
Frequently Asked Questions
- Is resin jewelry difficult to make?
Resin jewelry can be relatively easy to make, especially with the right instructions and supplies. It may take some practice to perfect your technique, but it’s a rewarding craft.
- Can I add any items to my resin jewelry?
Yes, you can add a variety of decorative items to your resin jewelry, such as glitter, flowers, beads, and small objects. These additions allow you to customize your pieces.
- How long does it take for resin jewelries to cure?
The curing time for resin jewelries can vary, but it typically takes anywhere from 12 to 24 hours. Be patient and allow the resin to fully harden before handling your jewelry.
- Do I need any special equipment for resin jewelries making?
Aside from the basic supplies mentioned in the guide, you’ll need safety gear like gloves, an apron, a respirator, and safety glasses to protect yourself from resin fumes and spills.
- Can I create resin jewelries as a beginner?
Absolutely! Resin jewelries making are accessible to beginners. Just start with simple projects, follow instructions carefully, and practice to improve your skills over time.