A Quick Quack car wash works by guiding your vehicle through an automated tunnel using a conveyor belt. The process includes a pre-soak, foam wash, rinse, and dry cycle. The entire sequence takes about three minutes from entry to exit.
This guide walks through every stage of the tunnel in order, explaining what each step actually does to your vehicle. You’ll also learn what to expect as a driver, how the technology works behind the scenes, and what happens with optional add-ons. Read on to understand the full process before your next visit.
Arriving And Entering The Wash
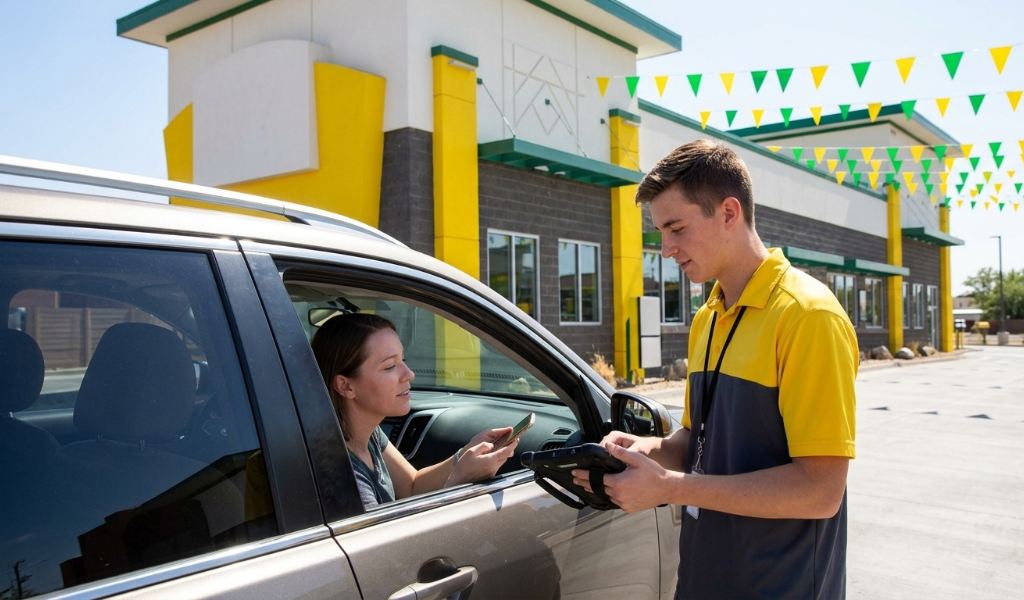
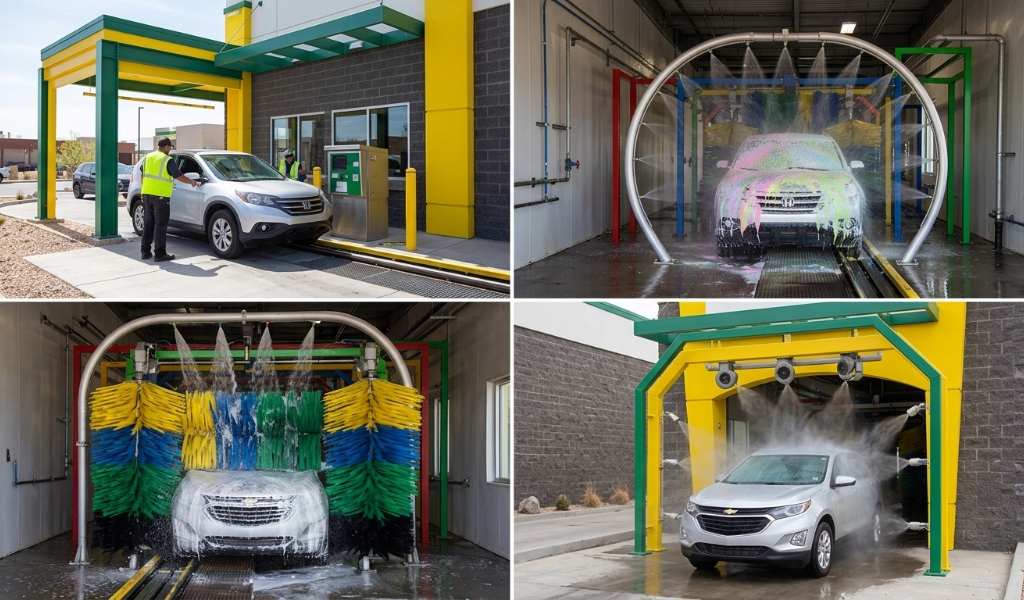
The process starts the moment you pull into the entry lane. A scanning system reads your license plate or membership tag automatically. This confirms your account and selected wash tier before you even reach the payment point.
A team member typically guides you onto the conveyor belt from there. You’ll shift your vehicle into neutral and keep your hands off the wheel. The belt takes over completely once your tires engage the track.
Stage One: The Pre-Soak Treatment
Once inside the tunnel, your vehicle first passes through a pre-soak stage. Chemical treatments spray across the exterior to loosen dirt, bugs, and road grime. This step prepares the surface for deeper cleaning in the stages that follow.
Pre-soak chemicals work faster than plain water alone. Breaking down stubborn debris early prevents scratching during the physical wash stages ahead. This step matters most for vehicles that haven’t been washed in a while.
Stage Two: Foam And Soap Application
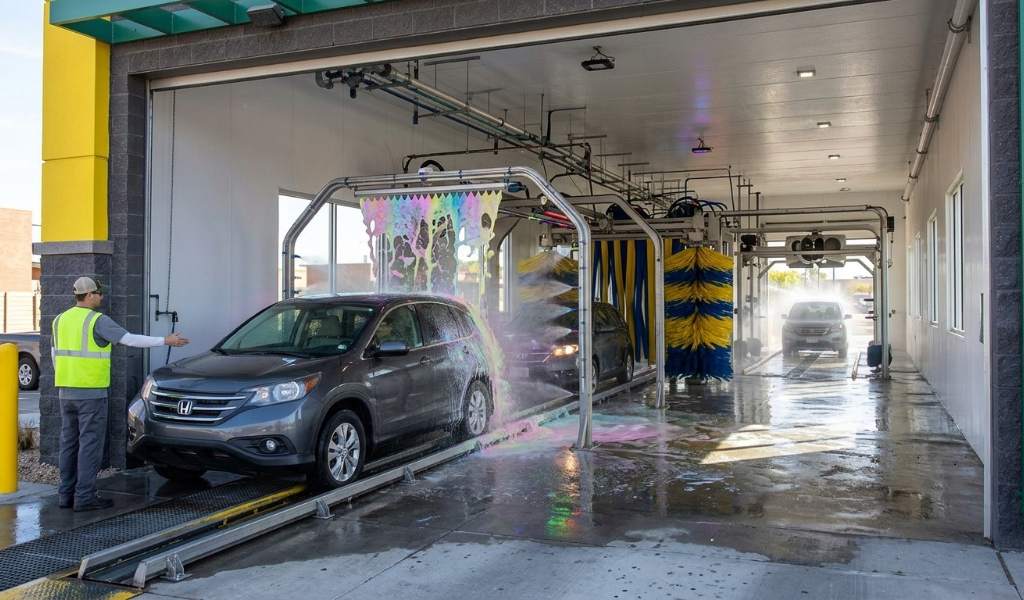
Next comes the triple foam polish stage, often the most visually striking part of the wash. Bright, colorful foam coats the entire vehicle surface. This foam lifts remaining debris while adding a glossy polish agent to the paint.
Different wash tiers apply different foam formulas at this stage. Premium tiers include additional polish agents designed for extra shine. Basic tiers still apply enough foam to clean effectively without the added extras.
Stage Three: The Physical Wash
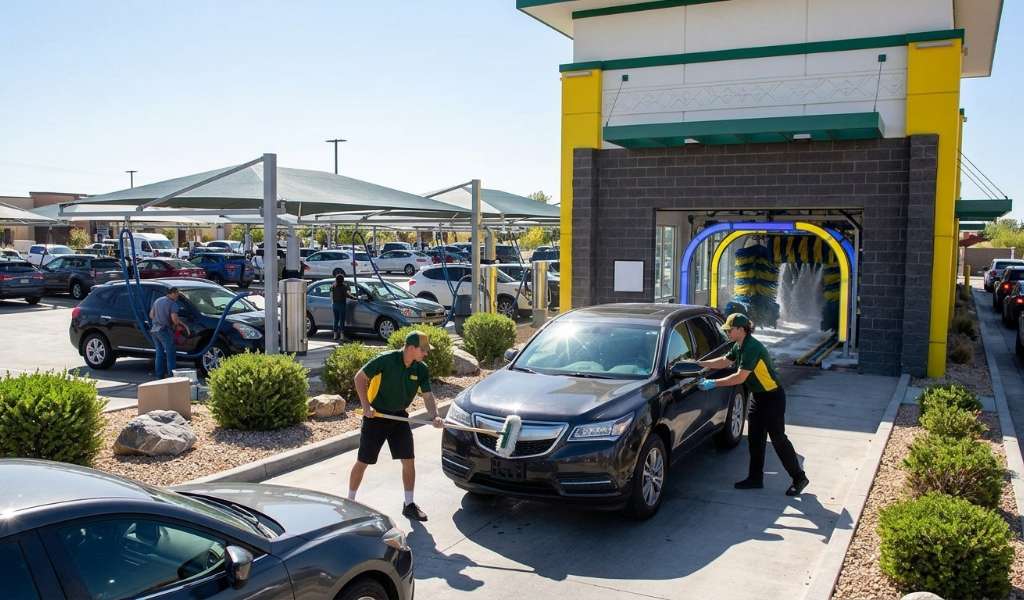
After foam application, soft-cloth strips or foam brushes make contact with your vehicle. These materials gently scrub the exterior surface to remove remaining dirt. Modern equipment uses soft, non-abrasive materials specifically designed to avoid scratching paint.
Some locations use touchless systems instead of physical brushes entirely. High-pressure water jets handle the scrubbing work without any direct contact. Both methods clean effectively, though drivers with delicate paint sometimes prefer touchless options.
This stage represents the core cleaning action of the entire tunnel. Everything before it prepares the surface, and everything after it finishes the job. The combination of chemistry and gentle friction removes nearly all surface dirt.
Stage Four: Wheel And Undercarriage Treatment
Specialized equipment targets wheels, tires, and the vehicle’s undercarriage during this stage. Dedicated jets spray cleaning solution specifically formulated for wheel wells and rims. This targeted approach cleans areas the main wash stages often miss.
Undercarriage washing also applies a rust inhibitor treatment at many locations. This step matters significantly in regions using road salt during winter months. Drivers in snowy or coastal areas benefit most from this particular stage.
Stage Five: The Spot-Free Rinse
Before drying begins, your vehicle passes through a final rinse stage. This rinse uses filtered, reclaimed water specifically treated to prevent mineral spots. Regular tap water often leaves spots behind as it dries, which this stage avoids entirely.
Water reclamation systems recycle this rinse water continuously throughout the day. This process reduces total water consumption significantly compared to a driveway hand wash. Environmental benefits stack up considerably across hundreds of daily washes at each location.
The spot-free rinse completely removes any remaining soap residue from the pre-soak and foam stages. This thorough rinse ensures nothing gets left behind as the drying stage begins. A clean rinse directly affects how polished the final result looks.
Stage Six: Drying
The final stage relies on high-powered blowers positioned throughout the tunnel’s exit area. These blowers remove remaining water from the vehicle’s surface as it passes through. Strong airflow prevents water spots from forming during the drying process.
Drying typically takes just a few seconds given the blower strength involved. Vehicles exit the tunnel largely dry, though some moisture may remain in tight crevices. Mirrors, door handles, and wheel wells sometimes retain small amounts of water.
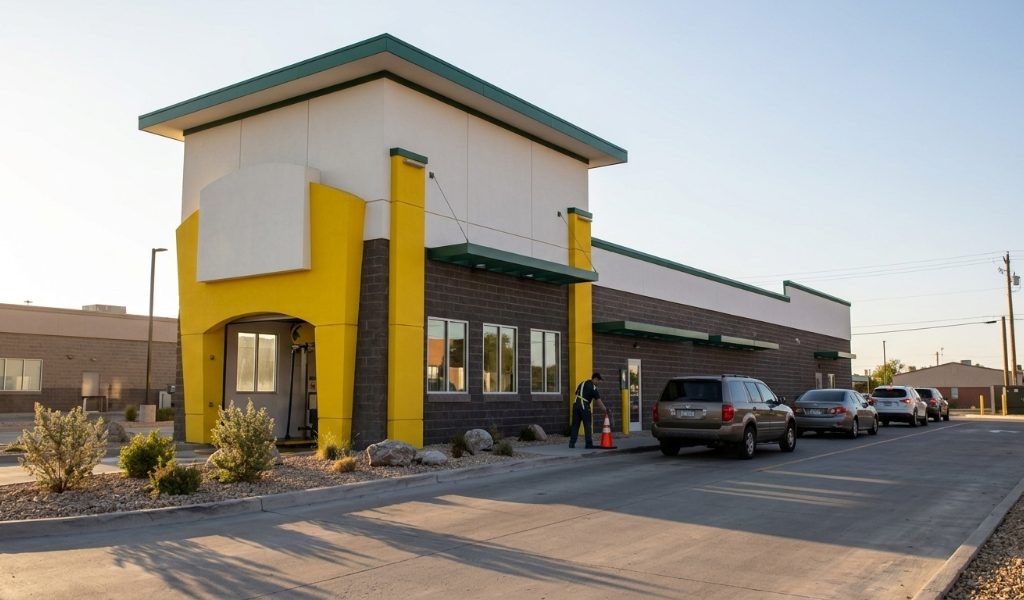
Once drying completes, your vehicle rolls out onto the adjacent lot. This is where free vacuum stations become available for member use. Many drivers use this moment to clean their interior before driving off.
What Happens With Optional Add-Ons
Some locations offer optional add-on treatments beyond the standard tunnel stages. Extra tire shine applications, bug and tar removal, and interior scent boosts represent common options. These add-ons typically apply during the standard tunnel sequence without extending total time significantly.
Selecting an add-on usually happens at the payment kiosk before entering the tunnel. The system flags your vehicle for the additional treatment automatically. No extra steps are required from the driver once selected.
Add-on pricing stays relatively low compared to upgrading an entire wash tier. Drivers wanting just one extra feature often find add-ons more cost-effective than a full tier upgrade. This flexibility lets customers customize their wash without overpaying for unused features.
How Long Does The Entire Process Take
From entry scan to exit, the full tunnel sequence takes roughly three minutes. This includes all six stages described above, from pre-soak through final drying. Wait times before entering the tunnel vary based on how busy the location is.
Total visit time, including any wait and vacuum use, typically runs between five and fifteen minutes. Off-peak visits move fastest, while weekend mornings sometimes add a few extra minutes of waiting. Planning around slower traffic periods keeps your total visit time shorter.
Final Thoughts
A Quick Quack car wash moves your vehicle through six distinct stages, from pre-soak through final drying, in about three minutes total. Understanding each stage helps explain why the results come out so consistently clean and spot-free. The combination of chemistry, gentle mechanics, and strong drying power produces reliable results every visit.
Ready to see the process firsthand? Find your nearest Quick Quack location and experience the full tunnel wash on your next visit.
Frequently Asked Questions
How long does a Quick Quack wash actually take?
The full tunnel process takes about three minutes from entry to the final dry stage.
Do I need to do anything while driving through the tunnel?
No, the conveyor belt moves your car automatically once you shift into neutral.
Does the wash use brushes or touchless technology?
Many locations use soft-cloth brushes, though some offer touchless high-pressure water systems instead.
What happens to the water used during the wash?
Reclamation systems filter and recycle the water continuously throughout the entire wash day.
Can I add extra treatments during my wash?
Yes, optional add-ons like tire shine or bug removal apply automatically once selected at checkout.