When it comes to upgrading your bathroom experience, one of the easiest and most effective changes you can make is installing a new shower head. Whether you’re looking for a rainforest-style shower or a water-saving option, choosing the right shower head and installing it correctly can make a world of difference. In this guide, we’ll take you through the best way to install a shower head step by step, ensuring you get the most out of your daily showers.
Choosing the Perfect Shower Head
Before we dive into the installation process, let’s start with selecting the right shower head. This is a crucial step as it sets the foundation for your showering experience.
Consider Your Water Pressure
- Assess Your Water Pressure: The first thing to do is check your water pressure. If it’s low, you might want to choose a high-pressure shower head to improve your showering experience.
Types of Shower Heads
- Explore Different Types: There are various types of shower heads available, including rain showers, handheld showers, and massaging shower heads. Consider your preferences and needs.
Water Efficiency
- Think About Water Efficiency: If you’re eco-conscious, look for a water-saving shower head to reduce water consumption without sacrificing performance.
Tools You’ll Need
Now that you’ve chosen the perfect shower head, it’s time to gather the necessary tools for installation.
Tools and Materials
- Basic Tools and Materials: You’ll typically need an adjustable wrench, Teflon tape, a rag, and a ladder (if necessary).
The Installation Process
With everything ready, let’s proceed with installing your new shower head.
Step 1: Remove the Old Shower Head
- Turn off the Water: Start by turning off the water supply to the shower. You can usually find a shut-off valve in the bathroom.
- Remove the Old Shower Head: Use an adjustable wrench to carefully remove the old shower head. Turn it counterclockwise until it comes off.
Step 2: Prepare the Pipe
- Clean the Pipe Threads: Before installing the new shower head, clean the threads of the shower arm with a rag to remove any residue.
- Apply Teflon Tape: Wrap Teflon tape around the threads of the shower arm in a clockwise direction to ensure a tight seal.
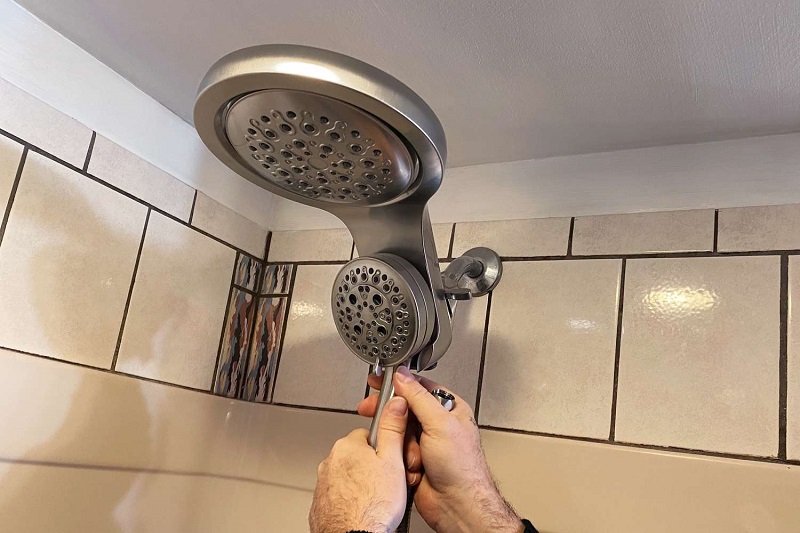
Step 3: Install the New Shower Head
- Hand-Tighten the New Shower Head: Carefully screw the new shower head onto the shower arm by hand until it’s snug.
- Use the Adjustable Wrench: Use the adjustable wrench to give the shower head an extra quarter turn to ensure a secure fit.
Step 4: Test the Installation
- Turn on the Water: Turn on the water supply to the shower and check for any leaks. If you see any, tighten the shower head a bit more.
- Adjust the Spray Pattern: Test the different spray patterns and adjust the shower head to your desired angle.
Conclusion
Congratulations! You’ve successfully installed your new shower head. Now you can enjoy a refreshing and invigorating shower experience tailored to your preferences. Remember that choosing the right shower head is key to enhancing your daily routine, and the installation process is relatively simple when you follow these steps.
FAQs (Frequently Asked Questions)
How long does it take to install a shower head?
Installing a shower head typically takes around 15-20 minutes, depending on your familiarity with the process.
Can I install a shower head without a wrench?
While it’s possible to hand-tighten a shower head, using an adjustable wrench ensures a secure fit and prevents leaks.
Do I need a professional to install a shower head?
No, you can easily install a shower head yourself by following the steps outlined in this guide.
What’s the difference between a fixed and handheld shower head?
A fixed shower head is mounted to the wall, while a handheld shower head has a flexible hose, providing more versatility during your shower.
Are water-saving shower heads worth it?
Water-saving shower heads can significantly reduce water consumption and save you money in the long run while still providing a satisfying shower experience.