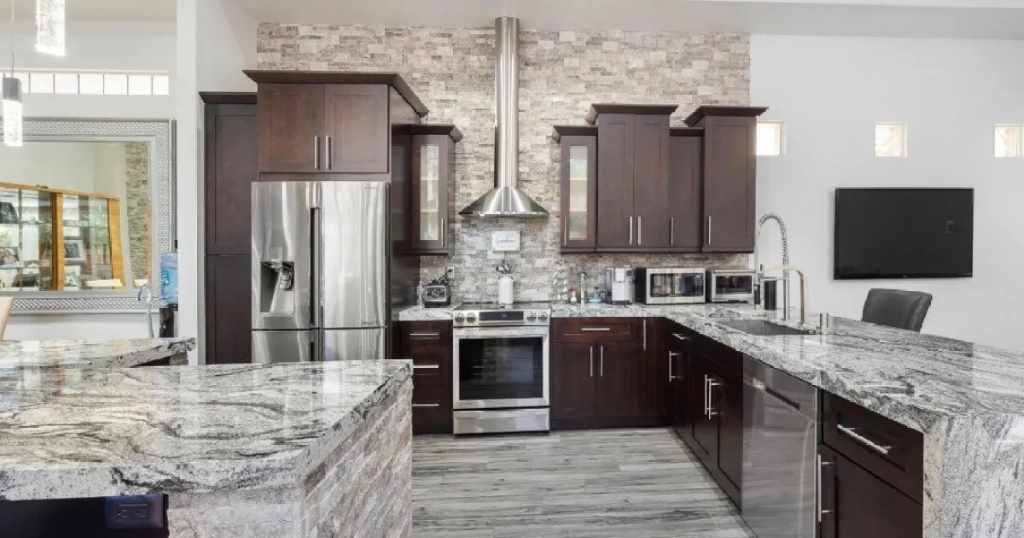
Tired of outdated or damaged countertops? Replacing them can be a significant investment. Fortunately, there’s a budget-friendly and surprisingly effective alternative: painting your countertops to achieve a stunning faux granite finish. This comprehensive guide will walk you through the process step-by-step, providing insights and tips for a successful transformation.
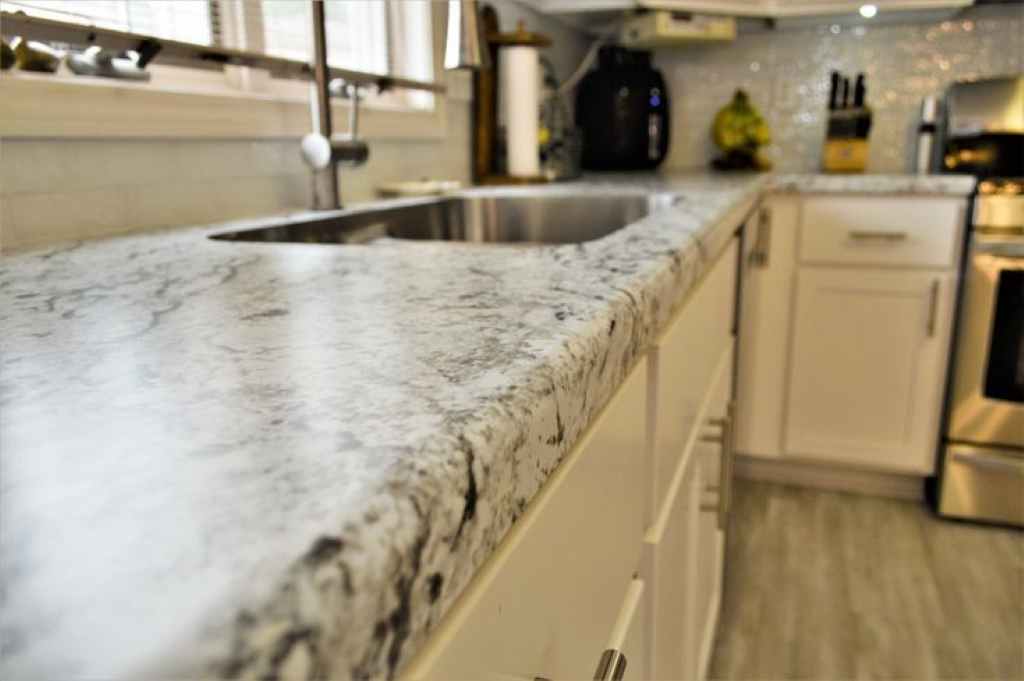
Why Choose a Faux Granite Finish?
- Cost-effective: Painting is a fraction of the cost of replacing countertops.
- Customization: Choose colors and patterns that match your décor perfectly.
- Durability: When done correctly, painted countertops can be surprisingly durable.
- DIY-friendly: This project is achievable for most homeowners with basic DIY skills.
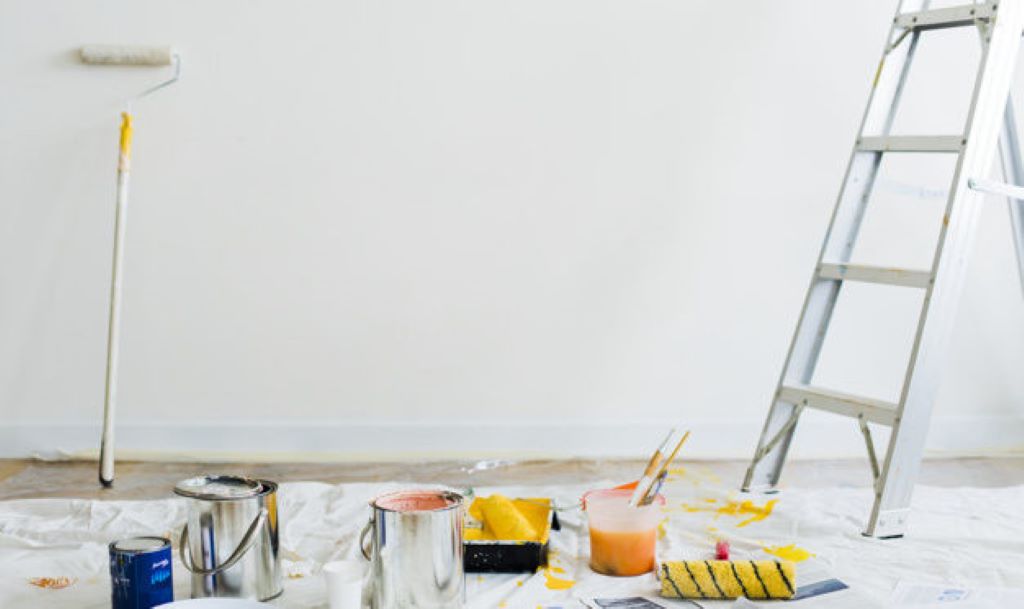
Materials You’ll Need:
- Cleaner and degreaser: To prepare the surface properly.
- Painter’s tape and plastic sheeting: To protect surrounding areas.
- Sandpaper (120-grit and 220-grit): For smoothing and preparing the surface.
- Primer: A high-quality primer designed for surfaces like laminate or tile.
- Base coat paint: Choose a color that resembles the base color of granite.
- Veining paint: Select multiple shades of grey, black, and brown for realistic veining.
- Sponges and brushes: For applying and blending paint.
- Epoxy or polyurethane sealant: To protect the finished surface.
Step-by-Step Instructions:
- Preparation:
- Thoroughly clean the countertops: Remove all dirt, grease, and grime using a cleaner and degreaser.
- Protect surrounding areas: Use painter’s tape and plastic sheeting to cover cabinets, walls, and backsplashes.
- Sand the surface: Use 120-grit sandpaper to roughen the surface for better adhesion. Wipe away dust with a damp cloth.
- Priming:
- Apply primer: Use a brush or roller to apply an even coat of primer. Allow it to dry completely according to the manufacturer’s instructions.
- Lightly sand: Once dry, lightly sand the primed surface with 220-grit sandpaper to create a smooth base.
- Base Coat:
- Apply base coat paint: Use a roller to apply a thin, even coat of the base color. Allow it to dry completely.
- Repeat if necessary: Apply a second coat if needed to achieve full coverage.
- Veining:
- Start with the lightest shade: Dip a sponge or brush into the lightest veining color and create random, irregular patterns across the surface.
- Add darker veins: Gradually add darker shades, using different techniques like feathering or dabbing to create realistic veining.
- Blend colors: Use a damp sponge to gently blend the colors together for a natural look.
- Sealing:
- Choose your sealant: Epoxy provides the most durable finish, but polyurethane is easier to apply. Follow the manufacturer’s instructions carefully.
- Apply sealant: Apply multiple thin coats of sealant, allowing each coat to dry completely before applying the next.
Read Also: Can Home Renovations Boost Your Sydney Home’s Worth
Tips for Success:
- Research granite patterns: Look at photos of real granite to get inspiration for your veining.
- Practice on a sample board: Experiment with different techniques before painting your countertops.
- Work in sections: Don’t try to paint the entire countertop at once. Divide it into manageable sections.
- Be patient: Allow each coat of paint and sealant to dry completely before proceeding to the next step.
- Don’t be afraid to experiment: Have fun with the process and create a unique look that you love.
Important Considerations:
- Maintenance: While painted countertops are durable, they may require touch-ups over time.
- Heat resistance: Use trivets or hot pads to protect the surface from hot pots and pans.
- Sharp objects: Avoid cutting directly on the painted surface to prevent scratches.
Conclusion:
Painting your countertops to look like granite is a rewarding DIY project that can dramatically transform your kitchen or bathroom. With the right materials, techniques, and a little patience, you can create a beautiful, durable, and personalized surface that will elevate your home’s style and value.